Introduction to DIY Jewelry Organizers
In today’s fast-paced world, managing and organizing personal accessories can be challenging. Jewelry, in particular, tends to tangle, scatter, and clutter valuable space if not stored properly. A well-thought-out DIY jewelry organizer can effectively address these common issues, offering not only functional benefits but also a creative outlet for individuals looking to enhance their home decor.
Many people experience frustrations such as misplaced rings, tangled necklaces, and jumbled earrings, which complicate the process of selecting the right accessory for any outfit. This disorganization can lead to wasted time and increased stress when preparing for special occasions or even daily activities. A DIY approach to jewelry organization allows for a customized solution tailored to individual needs, preferences, and available space.
The benefits of creating a personalized jewelry organizer extend beyond merely decluttering space. Engaging in DIY projects can significantly enhance the satisfaction derived from crafting unique items that complement personal style. This form of self-expression not only showcases one’s creativity but also results in a functional product that addresses specific storage challenges. Furthermore, a DIY jewelry organizer can be cost-effective, allowing individuals to utilize materials they already have at home or inexpensive resources found in craft stores.
Ultimately, by organizing jewelry through DIY projects, individuals can cultivate a tidy environment that promotes serenity and efficiency. A well-structured storage solution is not merely a luxury, but a necessity that adds clarity to the daily routine. By exploring various DIY options, everyone can discover innovative ways to keep their jewelry neat while enjoying the process of creation.
Materials Needed for Your DIY Projects
Creating a personalized jewelry organizer can be a fulfilling DIY project that adds both functionality and aesthetic appeal to your space. To embark on this creative journey, it is essential to have a well-thought-out list of materials. Common household items can serve as the foundation for your organizer. For instance, cardboard is an excellent choice for constructing small compartments or backing for pin displays. Similarly, picture frames can be repurposed to create beautiful hanging organizers by attaching mesh or wire to hold earrings or necklaces securely.
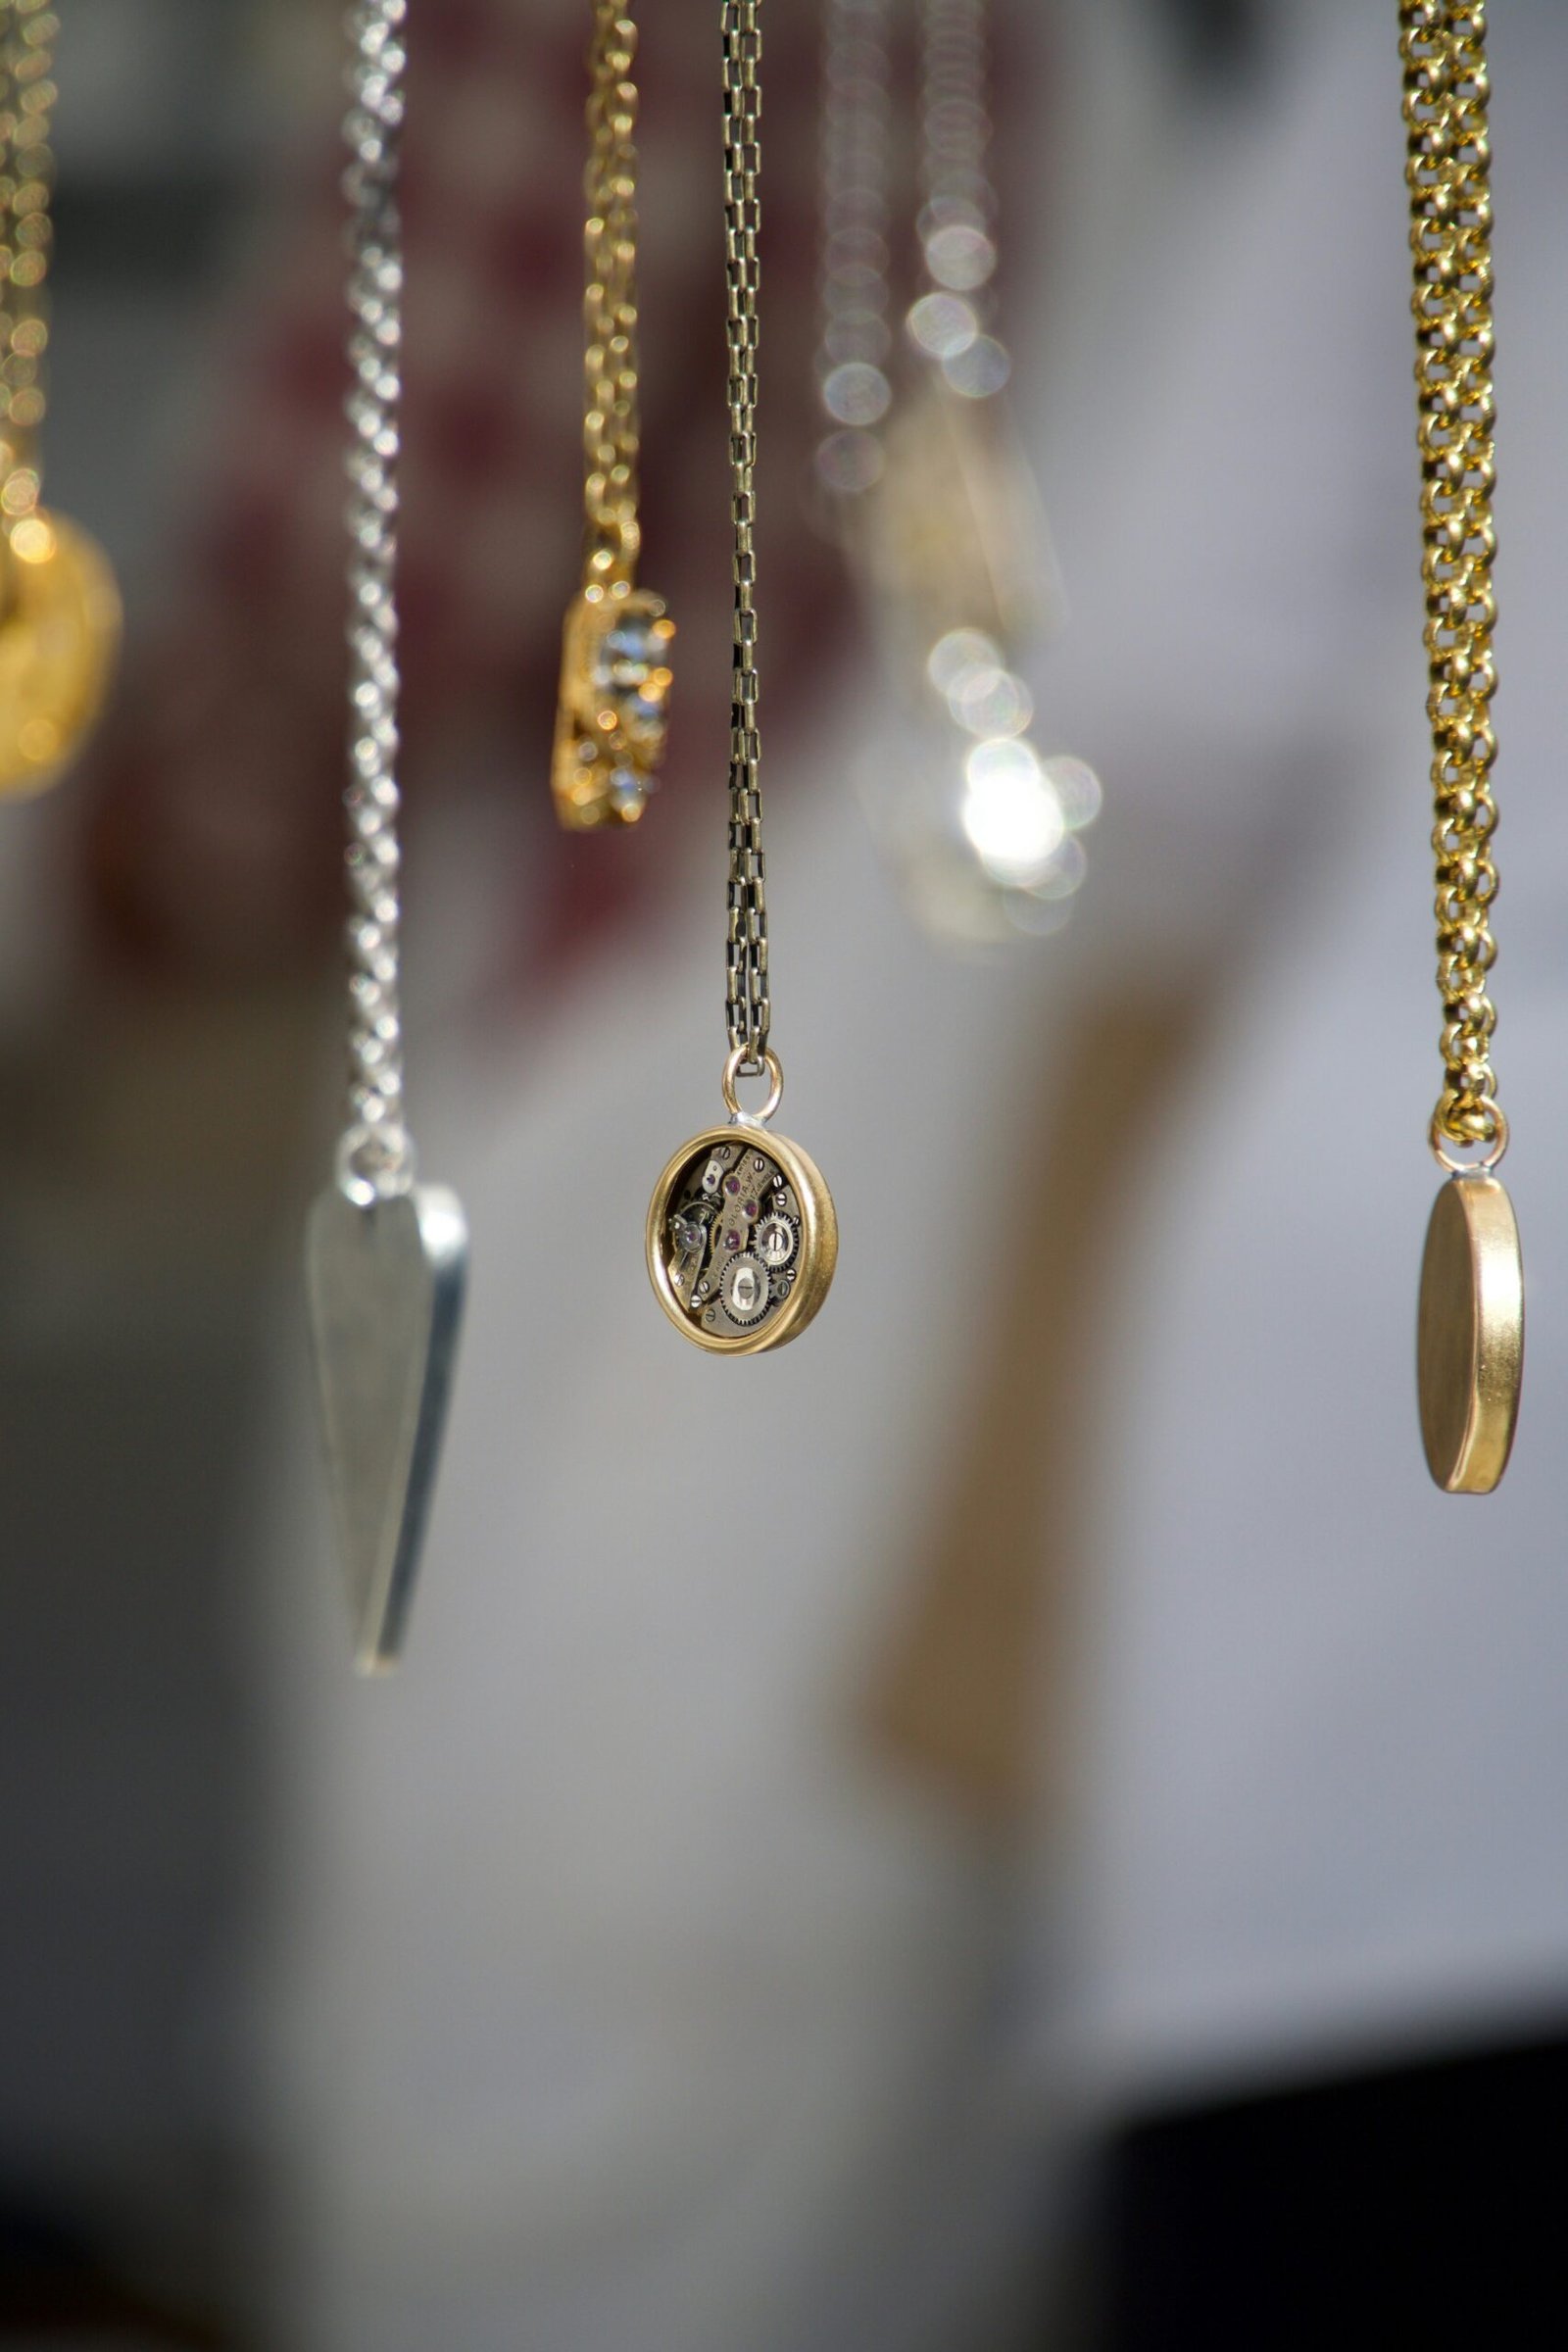
In addition to these items, fabric can be utilized for a softer touch. Old linens or scraps can be transformed into hanging pouches to store various types of jewelry. For more intricate designs, specialized hardware such as hooks, pegboards, and containers can be incorporated to enhance organization. Hooks, for instance, are perfect for hanging necklaces and minimizing tangling, while pegboards allow for a customizable arrangement of different accessories. Small containers, like jars or trays, can bring order to smaller items, ensuring that beads, rings, and other components are easily accessible.
Sourcing materials sustainably is also an important consideration in your DIY endeavors. Shop at local thrift stores or check online marketplaces for second-hand items that can be upcycled into functional storage solutions. By repurposing what you already have, you not only save money but contribute to a more sustainable lifestyle. Engaging in DIY projects enables you to express your individuality while maintaining an organized space. Whether utilizing everyday objects or specialized supplies, the right materials will make your jewelry organizer both practical and visually appealing.
Step-by-Step Tutorial for Creating Your Organizer
Creating a DIY jewelry organizer can be an enjoyable and rewarding project that results in a personalized storage solution for your accessories. In this tutorial, we will guide you through the process of making a wall-mounted jewelry organizer, an ideal choice to save space while adding a decorative touch to your home.
Start by gathering the necessary materials: a wooden board of your preferred size, hooks for hanging necklaces, small containers for rings and earrings, and paint or decorative paper for finishing touches. For tools, you’ll need a drill, a measuring tape, and a level. Once you have everything ready, follow these steps:
1. Measure and Cut the Board: Decide on the dimensions for your wall-mounted organizer, ensuring it will fit your space. Cut your wooden board accordingly, using a saw. Sand the edges for a smooth finish.
2. Paint or Decorate: Apply paint or decorative paper to the board. Choose colors and patterns that complement your decor. Allow this to dry completely before proceeding.
3. Install Hooks: Determine where you want to place your hooks for necklaces, typically around the top half of the board. Use a drill to create pilot holes and then install the hooks securely.
4. Attach Containers: Decide the best locations for small containers or bowls to hold rings and earrings. These can be glued or screwed into place to ensure they stay secure.
5. Mount to the Wall: Use a level to ensure the organizer hangs straight. Use appropriate wall anchors or screws to mount the organizer, considering the weight of your jewelry.
Finally, customize your organizer by adding labels or embellishments that reflect your personality. This DIY project not only organizes your accessories but also enhances your living environment.
Creating this wall-mounted jewelry organizer can simplify your daily routine and showcase your favorite pieces effectively.
Maintenance Tips and Additional Ideas
To ensure that your DIY jewelry organizer remains functional and visually appealing over time, regular maintenance is essential. Start by designating a specific time each month for cleaning and reorganizing your jewelry collection. Gently wipe down the surfaces of your organizer using a soft, damp cloth to remove dust and debris. Avoid harsh chemicals that could damage the material; instead, opt for natural cleaning solutions to preserve both your jewelry and the organizer itself.
As you organize your jewelry, consider implementing a system that works best for you. Categorizing your accessories by type—such as earrings, necklaces, and bracelets—can streamline the process of finding what you need. Additionally, you might choose to organize by color or occasion, which can allow for a more visually appealing display. Regularly assess your collection and remove pieces that you no longer wear. This not only saves space but also helps you maintain a curated selection of jewelry.
Incorporating flexibility into your DIY organizer design is also beneficial. As your collection grows, you may need to adapt your storage solutions. For example, adding extra hooks or stacking additional trays can accommodate new pieces without compromising your organizational system. Alternatively, you could create themed organizers for special events or seasons, making it easier to access jewelry relevant to specific occasions.
For further inspiration, consider embarking on additional DIY projects related to jewelry organization. Craft matching accessories such as bracelet holders or ring dishes that complement your main organizer. Exploring themed designs, such as vintage or bohemian styles, can personalize your space while ensuring your accessories stay neat and accessible. By regularly maintaining your DIY jewelry organizer and exploring new projects, you can keep your collection beautifully organized and reflective of your unique style.


