Introduction to Frame Makeovers
The DIY frame makeover trend has gained considerable popularity in recent years as individuals seek creative and eco-friendly solutions for home decor. Given the increasing awareness of sustainability, many are choosing to repurpose old frames rather than dispose of them, thus giving new life to items that may otherwise be neglected. This approach not only contributes to reducing waste but also fosters a sense of creativity and personalization in home design.
Numerous types of frames can be transformed through the DIY process, including wooden, metal, and even plastic variants. From ornate vintage frames to sleek modern designs, the possibilities for a frame makeover are virtually endless. Refreshing these elements can significantly enhance the visual appeal of a space, allowing homeowners to create unique focal points without the need for expensive new items. By applying fresh paint, decorative accents, or even new backing materials, outdated frames can become stunning pieces of art that complement existing decor.
To successfully undertake a frame makeover, it is essential to gather the right tools and materials. Key supplies include sandpaper, paint, brushes, and any decorative elements such as lace, stencils, or embellishments. Primer may also be beneficial for ensuring that the paint adheres well to the frame’s surface. Additionally, having a designated workspace and protective covering can streamline the DIY process, making it more enjoyable and efficient. By being adequately prepared, individuals can approach their frame makeovers with confidence and creativity, transforming ordinary frames into extraordinary decor pieces.
Choosing the Right Paint and Techniques
When embarking on a DIY frame makeover, selecting the appropriate paint and application technique is crucial to achieving a polished result. There are several types of paint suitable for frame projects, with each offering distinct benefits and aesthetic possibilities. Acrylic paint is a versatile option; it dries quickly and is available in a wide array of colors. It’s perfect for those who enjoy a vibrant finish and quick turnarounds in their DIY endeavors. However, acrylic paint may require a primer depending on the frame’s material, ensuring better adhesion and durability.
Spray paint is another popular choice, especially for those seeking a smooth, even coat. It is ideal for larger frames or intricate details where a brush may leave uneven strokes. However, proper ventilation and protective gear are necessary when using spray paint due to its potentially harmful fumes. Chalk paint, on the other hand, has gained popularity for its matte finish and ease of distressing. Its thicker consistency makes it suitable for achieving textured effects, allowing for a more vintage or rustic feel in DIY projects.
When selecting a color palette, consider the existing decor in your space. Neutral shades complement a variety of settings, whereas bold colors can serve as eye-catching focal points. Testing paint samples on a small area before committing to a full application can provide insights into how different shades appear in various lighting conditions.
For painting techniques, one could explore methods like creating a distressed look for added character, applying solid colors for a sleek appearance, or even experimenting with patterns to display individuality. Prior to painting, it’s essential to prepare the surface by cleaning, sanding, and priming as necessary. Taking these steps will enhance adhesion, ensuring that your DIY frame makeover withstands the test of time.
Adding Decorative Elements
When it comes to refreshing old frames, the possibilities extend well beyond simply applying a new coat of paint. One exciting aspect of DIY frame makeovers is the opportunity to incorporate a variety of decorative elements that can elevate the aesthetics of any frame. Creative embellishments such as stencils, decoupage, fabric, and washi tape can transform a mundane frame into a standout piece uniquely tailored to your personal style.
Stenciling is a popular method that allows for precision and creativity, enabling you to add intricate designs or patterns to the frame surface. By choosing a stencil that complements your decor theme, you can effectively synchronize the frame with your overall interior style. Alternatively, decoupage offers another compelling route for personalization. This technique involves adhering decorative paper or fabric cutouts to the frame with glue, resulting in a visually interesting texture and depth. With a variety of designs available, from vintage newspapers to floral motifs, the potential for creating something truly unique is boundless.
Fabric can also serve as an interesting medium for frame decoration. By wrapping fabric around the frame or attaching it to specific sections, you can create a tactile contrast that softens the overall appearance. Consider using patterned or textured materials that resonate with your existing décor. Furthermore, natural elements such as wood slices or dried flowers can impart an organic touch. These materials can be seamlessly integrated into the frame design, enhancing the overall look while adding a rustic charm.
Incorporating decorative elements into your DIY frame project not only nurtures your creativity but also reflects your personal aesthetic. As you explore various embellishment options, remember that the ultimate goal is to make the frame a true expression of who you are and to harmoniously blend with your home environment.
Display Ideas and Final Touches
Once you have completed your DIY frame makeover, the next step is to think about how to display your newly transformed frames in a way that maximizes their aesthetic appeal. There are numerous options available for showcasing your artwork or photographs that use these revitalized frames, whether you choose to illuminate a focal wall or enhance shelves in your living space.
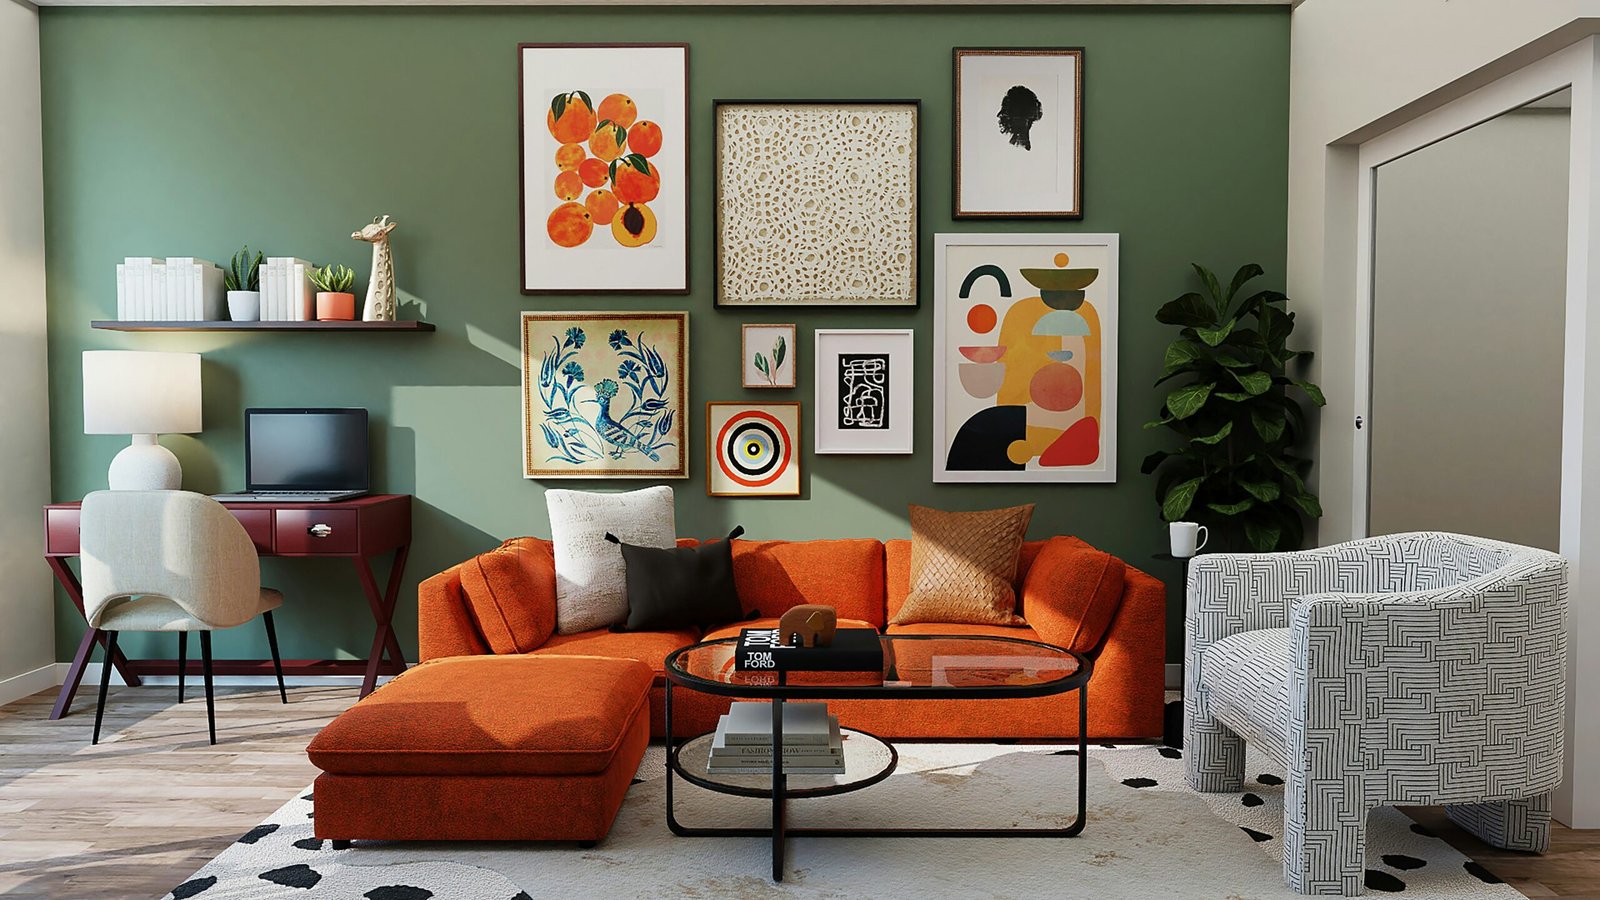
When considering wall display options, a gallery wall can serve as an excellent canvas for your creative vision. Asymmetrical layouts offer a modern and dynamic approach, allowing for a mix of frame sizes and orientations to create visual interest. Alternatively, a uniform pattern—such as aligning frames in a grid layout—can provide a clean, cohesive look that brings balance to the room. It’s also advisable to lay out the frames on the floor first to visualize arrangement options before committing to any wall placements.
In addition, consider incorporating different types of decor elements into your display. For instance, integrating small shelves for decorative objects or potted plants can add depth and a personal touch to your framing arrangement. Using complementary accessories, such as decorative brackets or lighting, can also enhance the overall appeal.
Final touches are essential in completing the look of your frames. Utilizing high-quality mats can elevate the presentation of your artwork, providing a visual buffer and enhancing overall aesthetics. Additionally, ensuring that your frames are equipped with glass or acrylic can protect your pieces while adding a polished finish. Remember also to choose appropriate backing materials that keep your photographs or art securely in place.
Lastly, maintaining your frames over time is vital for preserving their refreshed appearance. Regular dusting and avoiding direct sunlight will help in keeping both the frames and the artwork in excellent condition. With careful planning and execution, your DIY framing project can truly shine, bringing a fresh perspective to your home décor.


