Introduction to DIY Birdhouses and Feeders
Creating your own birdhouses and feeders can be a gratifying endeavor, blending creativity with a love for nature. The process is more than just crafting; it’s an opportunity to personalize the design to suit specific bird species that frequent your area. By making these items yourself, you unlock endless possibilities for customization, allowing you to use materials that resonate with your aesthetic or values, particularly eco-friendly options. Such efforts not only contribute to a more sustainable lifestyle but also provide a safe habitat for birds.
Birdhouses and feeders, crafted from reclaimed wood or other recycled materials, offer a refuge for various bird species, thus promoting biodiversity in your own backyard. When birds find a safe place to nest and feed, their populations can thrive naturally. This, in turn, helps maintain ecological balance, as birds play crucial roles in pest control, pollination, and seed dispersal.
Engaging in DIY projects like building birdhouses or feeders can be deeply satisfying. The hands-on process of measuring, cutting, assembling, and decorating these structures provides a unique sense of accomplishment. Additionally, it serves as a meaningful educational experience, allowing individuals and families to learn about different bird species, their nesting habits, and dietary needs.
From a recreational standpoint, crafting birdhouses and feeders is an enjoyable activity that can be shared with friends and family. As you place these crafted items in your backyard and observe the birds they attract, you gain a newfound appreciation for the avian world. This closeness to nature not only enhances your mental well-being but also encourages a lifelong interest in birdwatching and wildlife conservation.
Materials and Tools Needed
Creating your own DIY birdhouses and feeders is a rewarding and enjoyable project. To get started, you’ll need a range of materials and tools to ensure the structures are both functional and safe for birds. Essential materials include wood, nails, screws, glue, paint, and protective finishes. When selecting wood, opt for untreated varieties like cedar or pine, as treated wood can be harmful to birds. Nails and screws should be of good quality to ensure durability, and a strong adhesive like wood glue is essential for securing joints.
For finishing touches, choose non-toxic paint and bird-safe protective finishes. These will not only enhance the appearance of your birdhouse or feeder but also extend its lifespan by protecting it from the elements. If you wish to personalize your creations further, consider optional decorative materials such as colorful stones, shells, or weather-resistant decals.
The tools you’ll need are just as important as the materials. A saw is necessary for cutting wood to the desired dimensions, while a drill will assist in creating holes for screws and ventilation. A hammer is required for driving in nails, and measuring tape is indispensable for ensuring precise measurements. Other helpful tools include clamps for holding pieces together while the glue dries and sandpaper for smoothing rough edges.
When choosing materials, it’s vital to consider sustainability and bird safety. Opt for eco-friendly materials that won’t harm the environment. For example, recycled wood can be an excellent choice, providing it’s free of chemicals. Additionally, avoid using synthetic adhesives or finishes that could leach harmful substances.
Safety should always be a priority when undertaking any DIY project. Wearing protective gear such as goggles and gloves can prevent injuries. Goggles will protect your eyes from wood particles and dust, while gloves will safeguard your hands from cuts and splinters. Following these guidelines will ensure that your birdhouse and feeder building process is both enjoyable and safe.
Step-by-Step Guide to Building Birdhouses
Building birdhouses can be an enriching and rewarding experience, offering enjoyment and utility for various bird species. This step-by-step guide provides thorough instructions for constructing both beginner-friendly and more advanced birdhouse designs.
Materials and Tools Needed
Before starting, gather the necessary materials and tools. For a basic birdhouse, you’ll need:
- Wood (preferably cedar or pine)
- Screws or nails
- Wood glue
- Paint or wood stain (optional)
- A saw
- A drill with different bit sizes
- Measuring tape
Beginner Birdhouse Model
For a simple beginner birdhouse, follow these steps:
- Cut wood pieces according to dimensions: two sides, one front, one back, one base, and one roof.
- Drill an entrance hole in the front piece, customizing the size to suit the intended bird species. For example, a 1 1/2 inch hole works well for small birds like chickadees.
- Assemble the sides, back, and front by applying wood glue at the edges and securing them with screws or nails.
- Attach the base in the same manner, ensuring it fits snugly to avoid gaps.
- Affix the roof, either as a single piece or two sheets angled to shed water effectively.
- Sand any rough edges and, if desired, paint or stain the exterior for weatherproofing. Ensure the paint is non-toxic to avoid harming the inhabitants.
Advanced Birdhouse Design
An advanced design may include additional features like perches, feeding trays, or multiple compartments. Here’s a brief outline for constructing a multi-compartment birdhouse:
- Cut the wood pieces for multiple sections, ensuring all walls, bases, and roofs align accurately.
- Drill entrance holes tailored for the different bird species intended to occupy each compartment.
- Assemble compartments as you would for a basic birdhouse, but incorporate internal dividers and connecting frames between sections.
- Consider adding a hinged roof or back panel for easy cleaning and nesting monitoring.
Customizing for Different Bird Species
Customizing birdhouses is pivotal to attract specific bird species. Pay attention to:
- Entrance Hole Size: Adjust the hole size according to species; for instance, 1 1/2 inches for chickadees, while bluebirds prefer a 1 9/16 inch hole.
- Interior Space: Ensure enough space for the species to nest, generally 5×5 inches for small birds.
- Height of Placement: Install birdhouses at appropriate heights; for example, higher placements for wrens and lower for robins.
Troubleshooting and Weatherproofing
Common issues include:
- Leakage: Ensure seams are sealed well and roofs properly angled.
- Pest Intrusion: Use predator guards around entrance holes.
- Rotting: Use weather-resistant wood and treat with a non-toxic sealant.
Follow these guidelines to ensure your birdhouse is both functional and safe for its avian inhabitants, providing them a comfortable home and you a delightful birdwatching experience.
Crafting and Maintaining Bird Feeders
Creating your own bird feeders can be an enriching experience, offering an opportunity to support local wildlife while engaging in a hands-on project. Bird feeders come in various forms, notably seed feeders, suet feeders, and nectar feeders, each catering to different avian dietary needs.
For seed feeders, materials such as wood, plastic bottles, or even recycled cans can be used. Begin by crafting a container with small openings that allow birds to peck at the seeds while preventing spillage. Suet feeders, ideal for winter months, can be made by binding animal fat with seeds and grains, then placing the mix in a net or a mesh container. Nectar feeders focus on attracting hummingbirds and are often simple inverted bottles with feeding ports. The creation process for these can be straightforward, but ensuring they are leak-proof is essential.
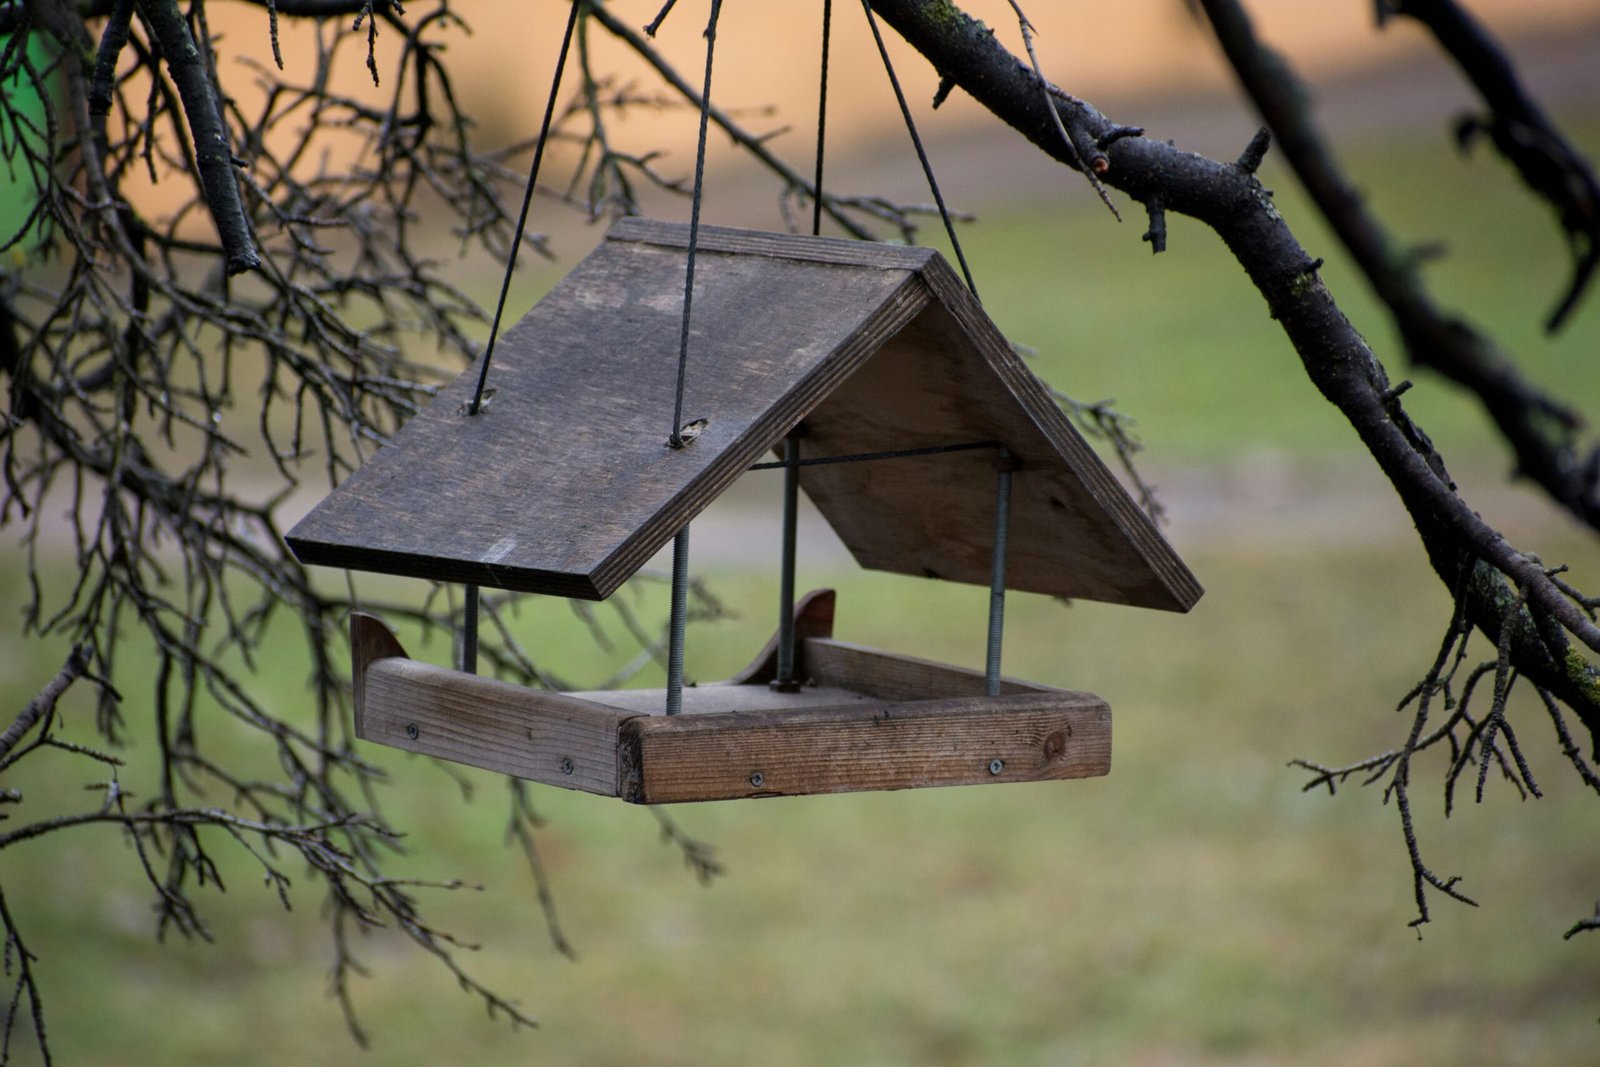
Positioning your bird feeders thoughtfully enhances their efficiency and accessibility. Ideal locations consider ease of access for birds while protecting them from predators. Position feeders in moderately sheltered areas, away from windows to prevent collisions, yet visible enough to enjoy from a distance. Additionally, placing feeders in spots that are easy for humans to reach ensures straightforward maintenance.
Maintaining cleanliness is crucial in preventing avian diseases. Regularly cleaning feeders with a mild bleach solution—followed by a thorough rinse—removes harmful residues. Ensuring that the feeding area is free from moldy food and droppings is also essential to keep visiting birds healthy.
Refilling feeders varies by season. Birds require higher energy in winter, necessitating more frequent refills of fatty sustenance like suet. Conversely, in the summer, fresh nectar in hummingbird feeders should be refreshed every few days to prevent fermentation. Always keep seed feeders stocked to provide a reliable food source throughout the year.
Finally, observing birds as they visit your feeders can be incredibly rewarding. Take the time to watch and document the different species that grace your garden. Not only does this provide a wonderful pastime, but it also contributes to local wildlife monitoring efforts.


