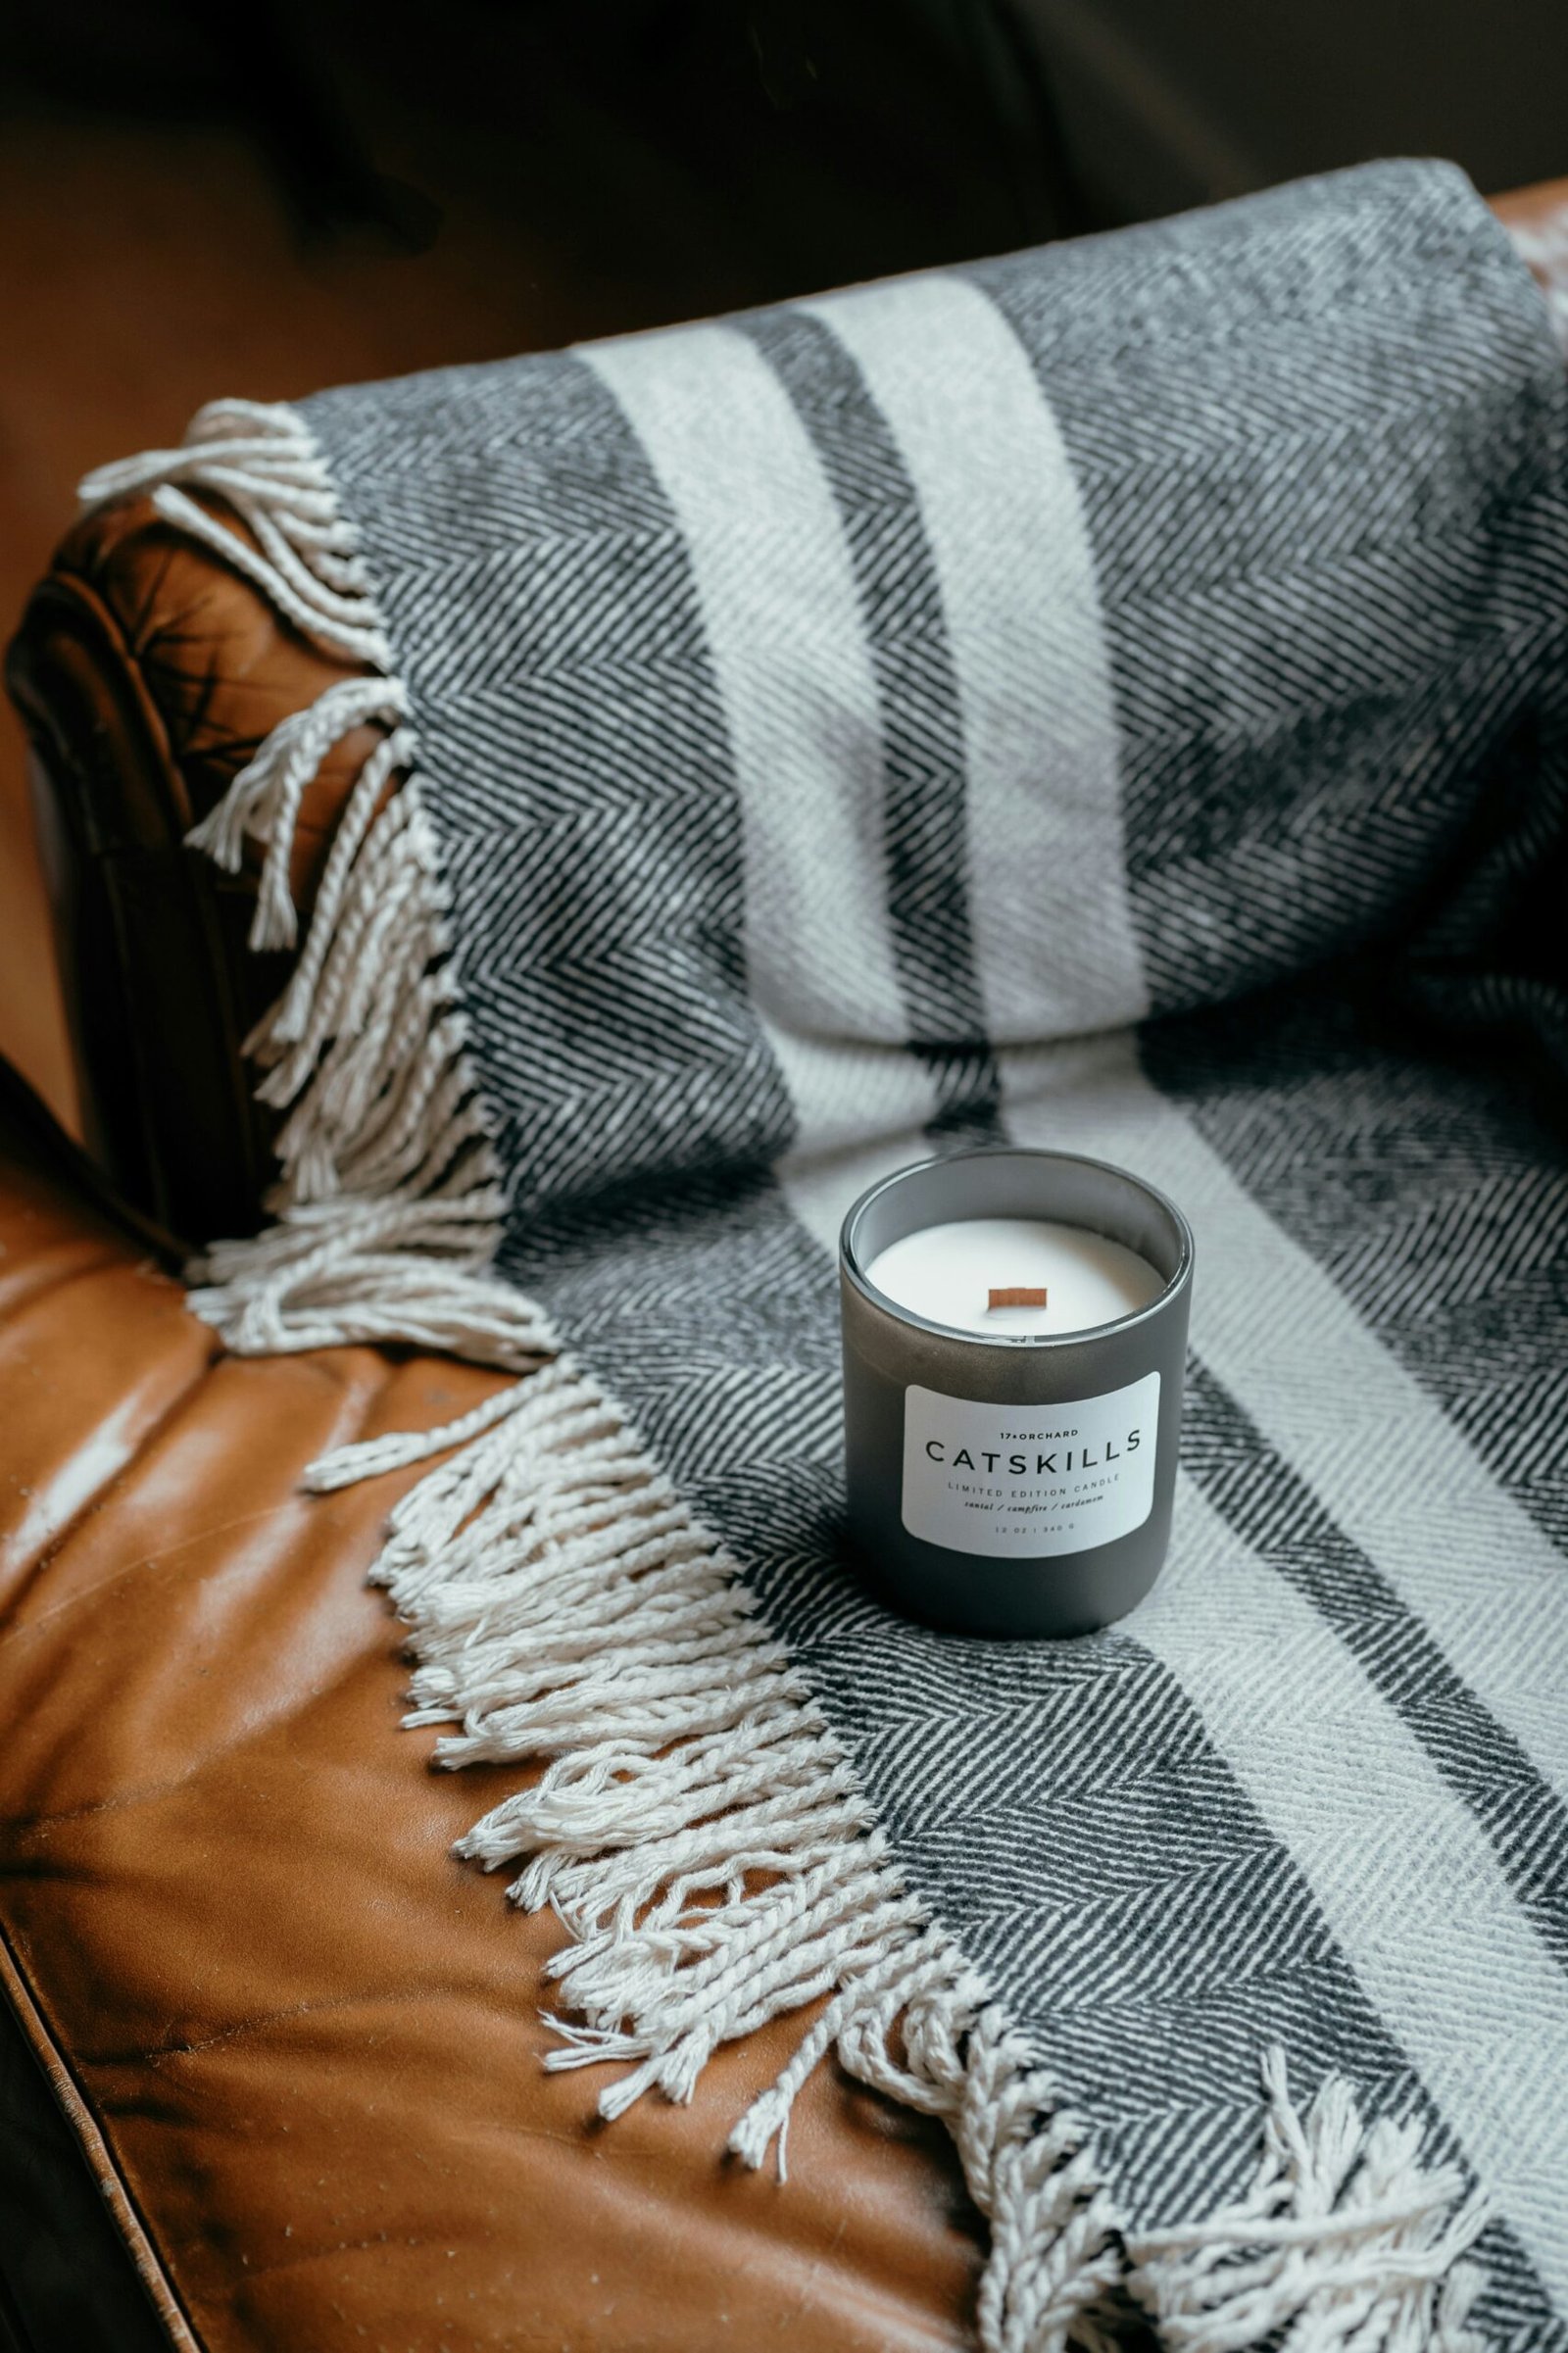
Introduction to DIY Candle Making
DIY candle making has become increasingly popular due to its multifaceted benefits. One of the principal advantages is its cost-effectiveness. Creating your own candles at home can save you significant amounts of money when compared to purchasing high-end commercial candles. Moreover, it opens the door to endless creative freedom, allowing enthusiasts to produce a wide variety of scents and shapes tailored precisely to personal preferences.
Aside from economic benefits, the process of crafting candles can be remarkably therapeutic. Engaging in a hands-on, creative activity such as this can serve as a stress reliever and a means to unwind after a long day. The meditative rhythms of melting, mixing, and pouring wax can provide a sense of calm and fulfillment.
DIY candles also stand out as personalized gifts or unique home decor items. By experimenting with different fragrances and molds, you can craft truly one-of-a-kind pieces that resonate with the recipient’s tastes or enhance the ambiance of your living space. From tantalizing citrus and lavender blends to bespoke geometric or floral molds, the possibilities are virtually limitless.
Beyond the sheer enjoyment and utility, DIY candle making promotes environmental and health benefits. Unlike many commercial candles that may contain harmful chemicals and synthetic fragrances, homemade candles can be crafted using natural, non-toxic ingredients. Options such as beeswax, soy wax, and essential oils not only reduce environmental impact but also ensure a cleaner burn, contributing to indoor air quality.
In summary, the appeal of DIY candle making extends from budget-friendly aspects and creative expression to mental well-being and ecological mindfulness. It’s a gratifying hobby that merges aesthetic pleasure with practical benefits, offering an enriching and sustainable way to illuminate any setting.
“`
Essential Tools and Materials
Before embarking on your journey into the world of DIY candle making, it’s crucial to gather the essential tools and materials. Understanding the purpose of each item will not only streamline your process but also enhance the quality of your candles.
First and foremost, you’ll need wax. There are several options to consider, including soy wax, beeswax, and paraffin wax. Soy wax is popular due to its clean burning properties and renewable nature. Beeswax, while more expensive, offers a natural honey scent and is known for its long burn time. Paraffin wax, although less eco-friendly, is widely used due to its affordability and versatility.
The next crucial component is the wick. Selecting the right wick depends on the type of wax used and the size of your container. Cotton wicks are commonly used and are recommended for beginners due to their reliability. Pre-waxed and tabbed wicks help maintain stability during the pouring process.
Containers come in various shapes and sizes, each influencing the final aesthetic of your candle. Jars and molds are popular choices. Jars, like mason jars, are user-friendly and make cleanup a breeze. Silicone molds offer more creative freedom, allowing for intricate designs and shapes.
To infuse your candles with enticing aromas, essential oils are essential. They come in a wide range of scents, from calming lavender to invigorating citrus. Choose high-quality, therapeutic-grade oils for the best aromatic experience.
Coloring agents, such as liquid dyes or dye blocks, can be used to add a visual flair to your candles. These agents should be specifically designed for candle making to ensure safe and effective use.
Optional tools can further simplify the candle-making process. A double boiler is invaluable for safely melting wax without direct heat. A thermometer helps monitor the wax temperature, crucial for ensuring a smooth and even pour. Wick holders or centering devices keep the wick in the center of the container, promoting an even burn.
Sourcing these materials can be done through specialty craft stores or reputable online retailers. When purchasing online, review customer feedback and research the product specifications to ensure quality. Gathering these essentials will set a solid foundation for your candle-making endeavors, paving the way for a rewarding and creative experience.
Step-by-Step Guide to Candle Making
Creating your own scented candles can be an enjoyable and rewarding activity. This guide will take you through each step of the candle-making process, ensuring it’s suitable for beginners. Start by preparing your workspace and gathering all needed materials: wax, wicks, fragrance oils, dyes, a heatproof container, a double boiler, a thermometer, and a stirring tool.
Begin by measuring the wax to ensure you have the right amount for your container. A general rule is to fill your container twice with solid wax, as it reduces by half when melted. Melt the wax using a double boiler to prevent direct heat, maintaining a temperature of around 170-185°F for optimal melting. Once the wax is fully melted, remove it from the heat source and let it cool to 150-160°F before adding any fragrance oils and dyes.
Incorporate fragrance oils at a ratio of 1 ounce per pound of wax, stirring gently to ensure even distribution. If using dyes, add them at this stage, ensuring they are fully dissolved in the wax for a consistent color. Meanwhile, prepare your container by securing the wick at the center. Use a wick holder or adhesive to keep it steady.
With everything set, carefully pour the melted wax into your container, leaving some space at the top. Allow the wax to cool and harden slowly at room temperature to avoid cracks and imperfections. This cooling process usually takes several hours to overnight. In case of sinkholes or uneven tops, reheat some leftover wax to around 170°F, and pour a thin layer over the imperfections to fill them in smoothly.
To troubleshoot common issues, make sure to keep an eye on temperatures and cooling rates. For instance, frosting can often be minimized by cooling candles slowly, while uneven tops may be rectified by reheating and repouring wax. Properly managing these aspects will result in beautifully formed, aromatic candles that you can take pride in.
Tips and Tricks for Perfect Candles
When crafting your own scented candles, achieving a professional finish requires attention to various details. To enhance your candle-making experience and the quality of your final product, consider these advanced tips.
First, to achieve a stronger scent throw, choose the right type of wax. Soy wax, for instance, is highly recommended because it holds fragrances well and burns longer. Additionally, the temperature at which you add the fragrance oil plays a crucial role. Pour the fragrance oil at a temperature between 175°F and 185°F to ensure proper binding, resulting in a stronger scent throw once the candle is lit.
For a longer burn time, it’s essential to use the correct wick size. If the wick is too thick, the candle will burn too quickly; if too thin, it will struggle to remain lit. Conduct a burn test for each new combination of wax and fragrance to determine the optimal wick size. Moreover, a smooth finish on your candles can be achieved by pouring the wax slowly and steadily, avoiding rapid temperature changes that might cause unsightly frosting and cracks.
Experimenting with different wax blends can also yield exciting results. Mixing paraffin and soy wax, for instance, combines the best attributes of both materials—better scent throw and a longer burn time. Additionally, consider combining complementary fragrances to create unique scent profiles.
Decoration techniques such as layering colors and embedding dried flowers can enhance the visual appeal of your candles. To layer colors seamlessly, pour the first layer and wait for it to solidify before adding the next. When embedding dried flowers, ensure they are positioned strategically within the candle to prevent the wick from getting obstructed.
Proper candle care and maintenance are equally vital to maintain their fragrance and appearance. Before each lighting, trim the wick to 1/4 inch to promote an even burn and reduce soot buildup. Store candles in a cool, dark place when not in use to preserve their scent and prevent discoloration.


