Introduction to DIY Quilting
DIY quilting is a timeless craft that has captivated the hearts of artisans for generations. With roots tracing back to ancient civilizations, quilting has evolved into a versatile and cherished hobby, enjoyed by individuals of varying skill levels. The essence of DIY quilting lies in creating something unique and personal, all while engaging in a soothing, hands-on activity. This process involves piecing together layers of fabric, batting, and backing to form a single cohesive work of art.
There are numerous types of quilts, each with its own distinct style and technique. Traditional quilts often feature classic patterns like Log Cabin or Grandmother’s Flower Garden, while modern quilts may showcase bold colors and abstract designs. Baby quilts, lap quilts, and wall hangings are some of the varied forms quilts can take, catering to different purposes and tastes.
The appeal of DIY quilting extends beyond its aesthetic outcomes; it encompasses numerous benefits that make it a fulfilling endeavor. Quilting by hand fosters a sense of creativity and self-expression, allowing quilters to infuse their personality into each piece. Moreover, the repetitive motions of sewing can offer relaxation and stress relief, transforming quilting into a meditative practice.
One of the most significant advantages of quilting is its accessibility. Contrary to popular belief, quilting does not require advanced skills or complex tools. Beginners can embark on their quilting journey with simple sewing techniques and basic materials. The satisfaction derived from completing a handmade quilt is unparalleled, instilling a deep sense of accomplishment and pride.
In this guide, we will explore the fundamental aspects of DIY quilting, ensuring that all readers, regardless of proficiency, can create beautiful quilts. By mastering straightforward techniques and understanding essential principles, anyone can enjoy the enriching experience of quilting. Welcome to a world where fabric, thread, and imagination merge to craft lasting memories.
Essential Materials and Tools
Embarking on a DIY quilting project begins with gathering the necessary materials and tools. Selecting quality items ensures a smoother and more enjoyable crafting experience. Let’s delve into what you’ll need.
Fabric: The cornerstone of any quilt, fabric selection is crucial. Opt for 100% cotton fabrics, renowned for their durability and ease of use. Quilting cotton comes in an array of colors and patterns, allowing for endless creativity. If you are a novice, choose fabrics with contrasting colors; they make piecing easier. Specialty stores, both online and brick-and-mortar, offer a wide range of quilting fabrics.
Batting: Batting is the layer of insulation between the quilt top and backing. Options include cotton, polyester, and blends. Cotton batting is favored for its natural texture and warmth, but polyester offers a lighter and fluffier alternative. For beginners, a medium-weight cotton-poly blend is often recommended.
Thread: High-quality thread is essential to avoid breakage during sewing. Cotton or cotton-polyester blend threads are popular choices in quilting due to their strength and smooth finish. Matching the thread to your fabric color helps create seamless stitches.
Needles: Use quilting needles specifically designed for hand or machine quilting. Size 11 or 14 needles are suitable for most fabrics. Needles for machine quilting need to be changed regularly to ensure precision.
Cutting Mat and Rotary Cutter: A self-healing cutting mat protects your work surface and helps you make precise cuts. A rotary cutter equipped with a sharp blade makes cutting fabric quick and accurate. Beginners may start with a 45mm rotary cutter, which is versatile for numerous projects.
Quilting Ruler: A clear, grid-marked quilting ruler is indispensable for measuring and cutting fabric accurately. Common sizes include 6×24 inches and 12.5×12.5 inches.
Sewing Machine: While hand-quilting is a traditional method, a sewing machine streamlines the process. A machine with features like a walking foot and adjustable stitch length is beneficial for quilting. Ensure your machine is serviced and in good working condition before starting your project.
For added ease and enjoyment, consider optional tools like fabric scissors, pins, basting spray, and seam rippers. Investing in quality materials and tools not only enhances your quilt’s durability but also makes the process enjoyable. Local craft stores, quilting specialty shops, and online retailers are excellent resources for purchasing these essentials.
Step-by-Step Quilting Process
The journey to creating your own DIY quilt begins with meticulous planning and designing. Start by selecting a pattern that resonates with your aesthetic. Patterns range from simple geometric shapes to intricate designs, so choose one that aligns with your skill level. Once you’ve settled on a pattern, measure your fabric accurately to ensure you have the right amount, considering any allowances for seams.
Next comes the crucial step of cutting and piecing the fabric. Use a rotary cutter and a cutting mat for precision. Begin with straight stitching; this fundamental technique ensures your pieces fit together seamlessly. For more efficiency, try chain piecing, which involves stitching consecutive pieces in a continuous chain without cutting the thread between them. Remember to press seams carefully; pressing to one side or open depends on the pattern instructions and the desired quilt texture.
With all your pieces cut and stitched, you’re ready to assemble the quilt layers. The quilt top is the decorative front, the batting provides warmth and thickness, and the backing is the fabric on the underside. Lay the backing fabric flat, smooth out the batting atop the backing, and finally, position the quilt top over the batting. Basting these layers together is crucial to prevent shifting. You can use safety pins, basting spray, or even hand basting for this purpose.
Now, you’re poised to quilt the layers together. This step can be done by hand or with a sewing machine. Quilting involves stitching through all three layers to hold them together. Use straight lines, free-motion quilting, or follow the pattern’s design. Begin in the center and work your way out to avoid any wrinkles or puckers.
Finally, bind the edges of your quilt to give it a finished look. Cut binding strips from your fabric, fold them in half lengthwise, and stitch them to the edge of your quilt, mitering the corners for a polished finish. Secure the binding on the back, either by machine stitching or hand stitching for a refined touch.
Creative Tips and Inspiration
Creating a DIY quilt is a rewarding endeavor that allows you to merge practicality with artistic expression. To add a personal touch to your quilt, consider incorporating creative embellishments and advanced techniques that elevate its uniqueness. One popular method is to introduce appliqué to your design. Appliqué involves sewing fabric shapes onto the quilt top, adding dimension and intricate designs. Whether you opt for simple shapes or complex patterns, appliqué can transform an ordinary quilt into a work of art.
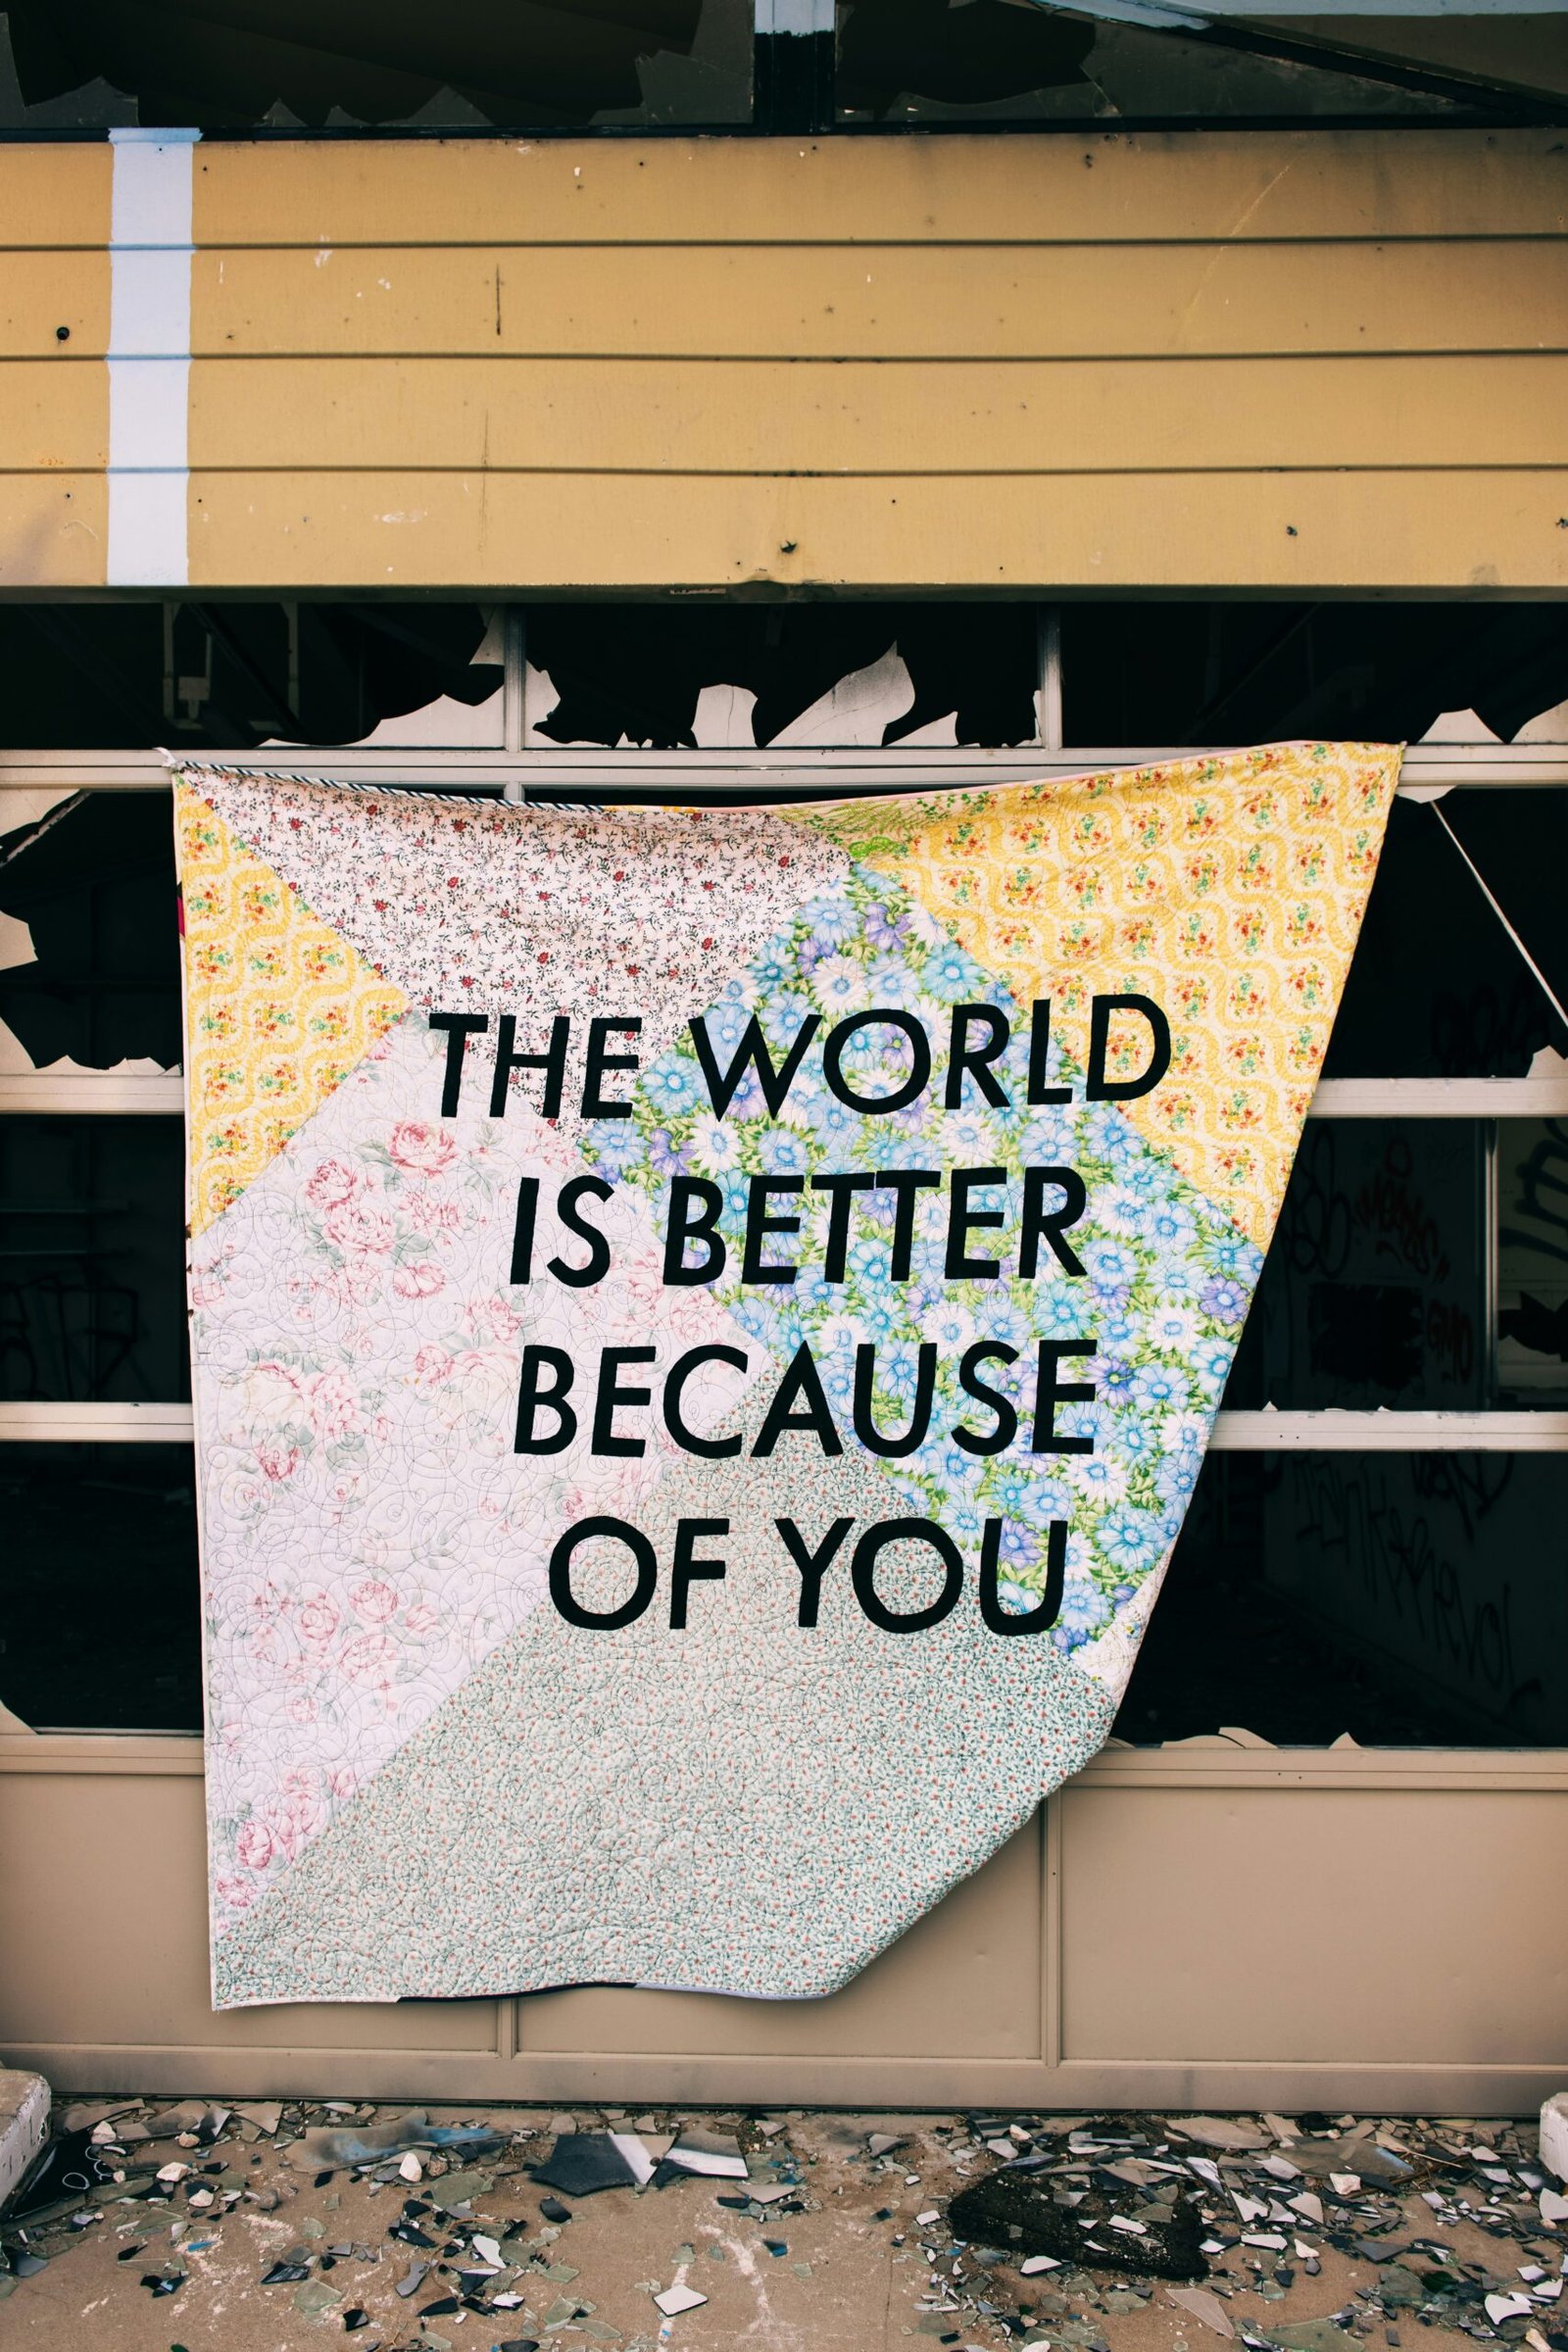
Embroidery is another technique that can add significant detail and personalization to your quilt. Hand or machine embroidery allows for delicate and intricate designs, enhancing the overall aesthetic of your creation. Imagine stitching a monogram, a significant date, or even a favorite quote directly onto the quilt – these personal touches make your quilt truly unique.
Exploring different quilting patterns can further distinguish your work. Free-motion quilting, for example, allows for more fluid and varied designs compared to traditional straight-line quilting. This technique involves using a quilting machine’s free-motion foot, enabling you to move the quilt freely and stitch any design you desire. If you prefer a more hands-on approach, hand quilting offers a timeless and charming finish, with stitches that add a human touch to your work.
Finding inspiration for your quilt design is crucial. Look into various quilt styles and color schemes to spark your creativity. From modern minimalist designs to intricate traditional patterns, the possibilities are endless. Consider incorporating themes that hold personal significance, such as memories from the past, favorite hobbies, or cultural symbols.
Once your quilt is complete, displaying and caring for it properly ensures it remains a cherished item for years. Display your quilt on a bed, a wall, or even as a centerpiece on a table. Proper care, such as gentle washing and adequate storage, will preserve the quality and vibrancy of your quilt, allowing it to be an enduring testament to your creativity and effort.


