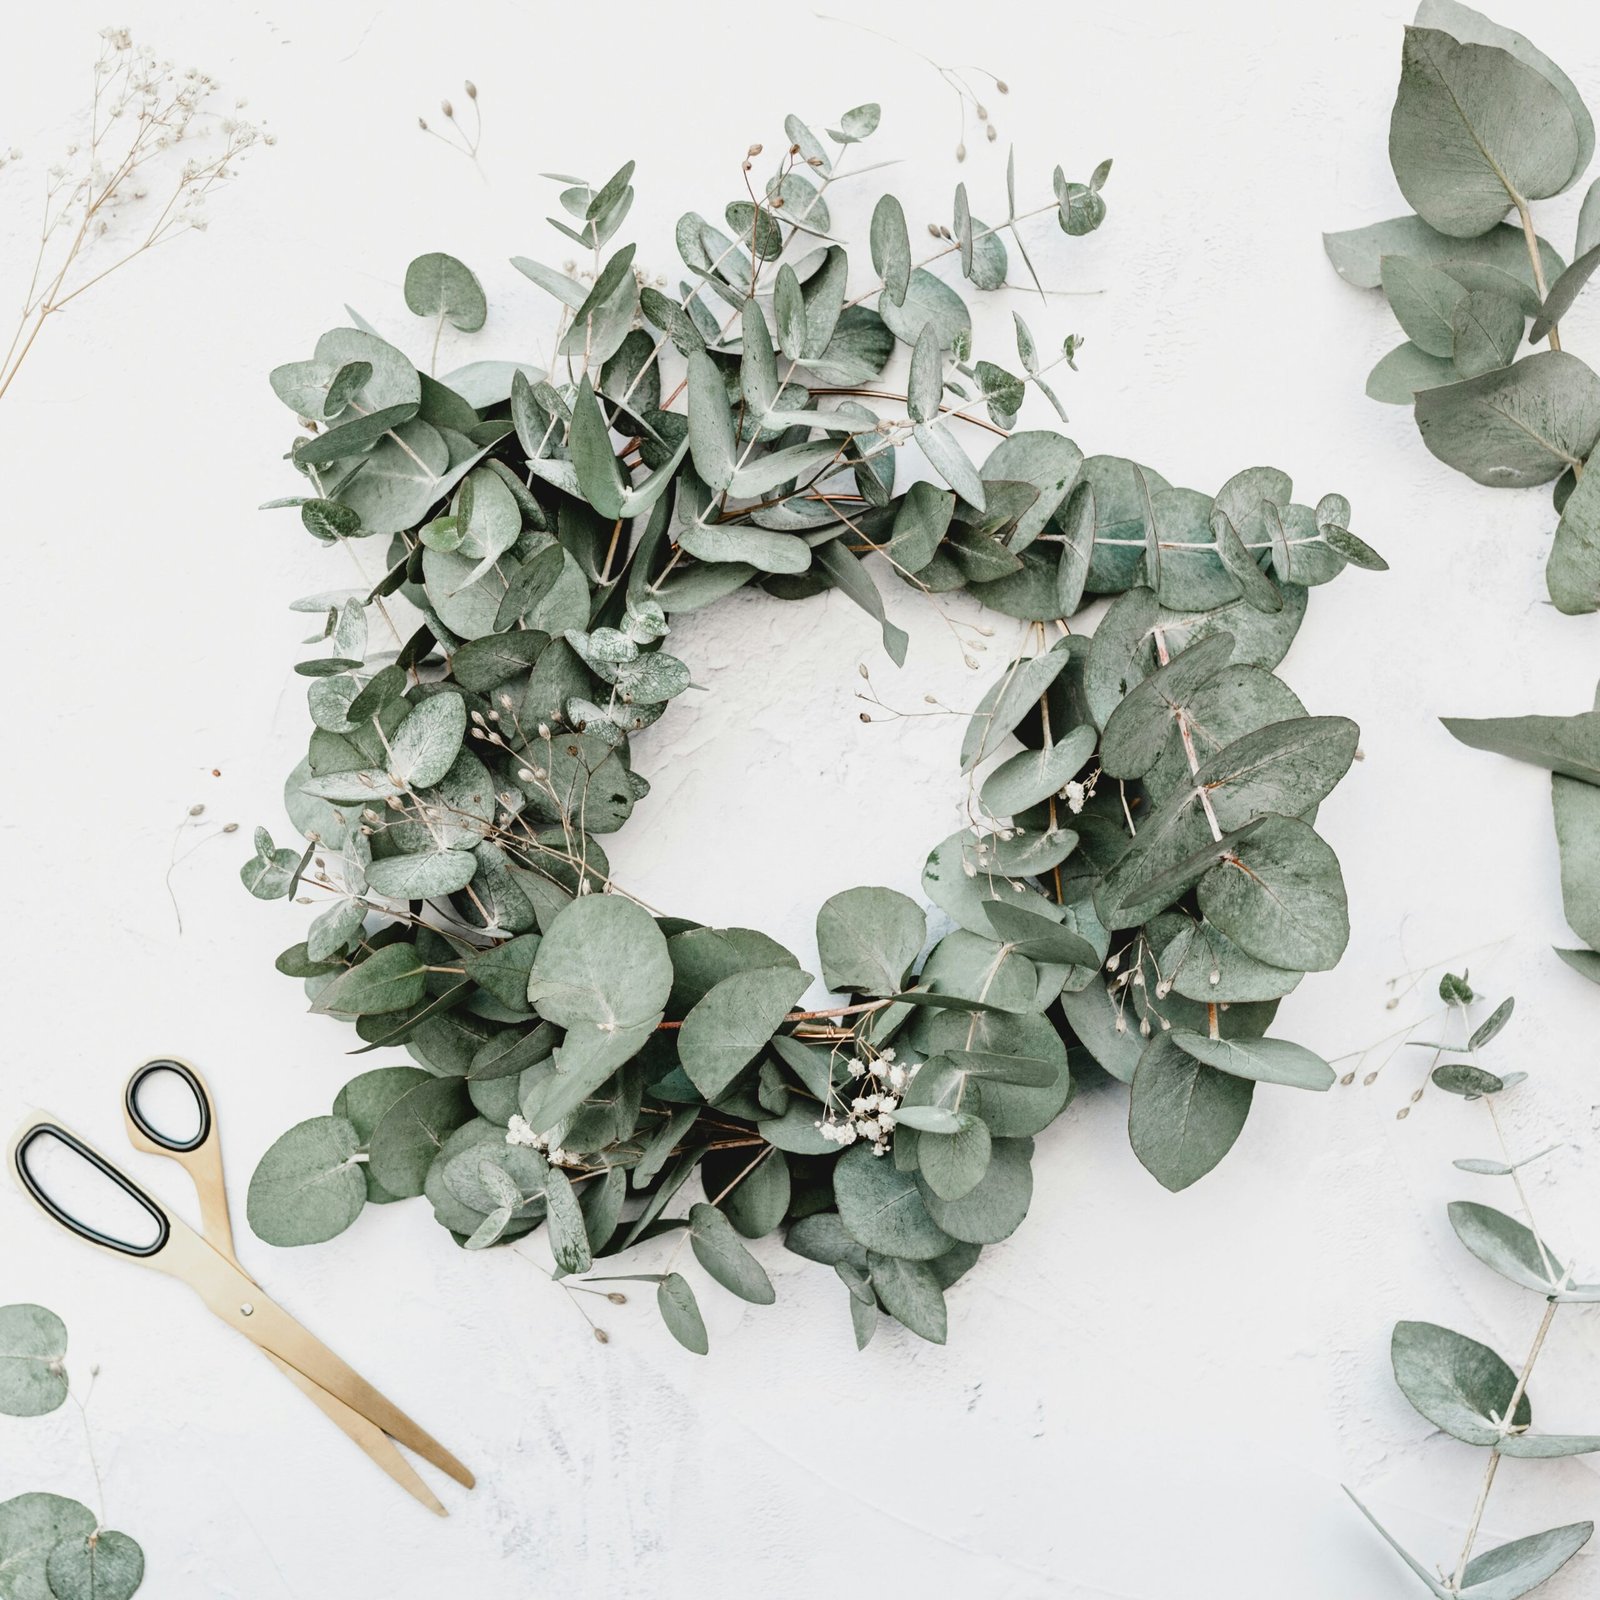
Creating your own DIY picture frames offers numerous benefits that make this craft a rewarding and fulfilling experience. One of the primary advantages is the ability to personalize each frame to perfectly complement your photos and interior décor. Unlike store-bought frames, DIY picture frames allow you to infuse your personality and creativity into every detail, making each frame a unique piece of art.
The process of crafting DIY picture frames is not only enjoyable but also promotes a sense of accomplishment. The hands-on nature of the activity provides an excellent opportunity to engage in a relaxing and mindful pastime, turning a simple project into a therapeutic session. As you design and assemble your frames, you gain a deeper appreciation for the craftsmanship involved in creating personalized photo displays.
In addition to the personal satisfaction, DIY picture frames are also highly cost-effective. By utilizing readily available materials such as cardboard, wood, or even recycled goods, you can significantly reduce expenses. This practice not only saves money but also promotes an eco-friendly approach to home decoration. Reusing and recycling materials minimizes waste and contributes to environmental sustainability, aligning your crafting hobby with green initiatives.
The diversity in DIY picture frame creations is another appealing aspect. From rustic wooden frames to sleek, modern designs, there are countless styles to explore. In the following sections, we will delve into various types of DIY picture frames, explaining the techniques and materials required for each. Whether you are a novice or an experienced crafter, these upcoming segments will offer valuable insights and inspirations to enhance your photo displays.
Materials and Tools You Will Need
Creating DIY picture frames is a fulfilling project that requires a selection of essential materials and tools. One of the primary materials you will need is cardboard, which serves as a versatile base for many frame designs. For a more durable option, consider using wood, which can be cut and shaped with greater precision. Wood provides a professional finish to your picture frames.
To bind your materials together, glue is essential. For a strong and dependable bond, a hot glue gun can be particularly effective, especially with heavier or more rigid materials. Scissors are useful for cutting a variety of lighter materials, while a craft knife is indispensable for making clean and precise cuts.
Decorating your picture frame is where your creativity can truly shine. You might want to gather paints to add a splash of color or designs. Additionally, decorative elements such as beads, ribbons, and stickers can bring a personalized touch to your creation.
For those aiming for a higher level of craftsmanship, some specialty tools can be extremely helpful. A miter box allows for precise angle cuts, crucial for achieving neat corners and edges. If you plan on incorporating glass into your frame, a glass cutter will enable you to size the glass accurately. To ensure all pieces fit well together, a ruler or a measuring tape is vital for maintaining accuracy in your measurements.
Acquiring these materials and tools doesn’t have to be expensive. Many items can be sourced affordably from local craft stores or repurposed from household items, promoting both creativity and sustainability. For instance, old picture frames can be stripped down and their materials reused, or household items such as buttons and fabric scraps can be repurposed as decorative elements.
Step-by-Step Guide to Creating DIY Picture Frames
Crafting your own picture frames is an enjoyable and rewarding project. This section will guide you through making various types of picture frames, including wooden frames, cardboard frames, and fabric-covered frames. Each set of instructions is designed to help you create beautiful and professional-looking frames to showcase your cherished photos.
Wooden Frames
1. Gather Materials: You will need wood planks, a saw, wood glue, sandpaper, paint or wood stain, brushes, and clamps.
2. Cut Wood: Cut your wood plank into four pieces according to your desired frame size. Ensure that the length of the sides matches correctly for a perfect fit.
3. Assemble Frame: Apply wood glue to the ends of the wood pieces and join them to form a rectangular or square frame. Use clamps to hold the pieces together until the glue dries.
4. Sand the Frame: Once the glue is dry, sand the frame to smooth out any rough edges. This step is crucial for achieving a polished look.
5. Paint or Stain: Choose a paint color or wood stain that complements your decor. Apply a coat and let it dry completely before adding any additional layers.
6. Final Touches: Insert a piece of glass or acrylic to protect your photos, and add backing material to complete your frame.
Cardboard Frames
1. Prepare Materials: Gather cardboard sheets, a ruler, a utility knife, strong adhesive, decorative paper, and scissors.
2. Cut Cardboard: Cut two identical rectangles from the cardboard, one for the front and one for the back of the frame. Ensure the front piece has an inner cutout to display the photo.
3. Strengthen Edges: Cut thin strips of cardboard and glue them around the inner edge of the front piece to reinforce the frame structure.
4. Cover with Decorative Paper: Use glue to cover both cardboard pieces with decorative paper. Smooth out any wrinkles or bubbles for a clean finish.
5. Assemble Frame: Attach the front and back pieces together, leaving an opening to insert your photo. You can also include a stand or hanging mechanism on the back.
Fabric-Covered Frames
1. Materials Needed: Obtain a basic wooden or cardboard frame, fabric of your choice, fabric glue, scissors, and a ruler.
2. Measure and Cut Fabric: Measure the dimensions of the frame and cut the fabric accordingly, leaving extra material to wrap around the edges.
3. Glue Fabric: Apply fabric glue to the frame and carefully wrap the fabric around it. Press down firmly to ensure it adheres well, smoothing out any folds.
4. Trim Excess Fabric: Neatly cut away any excess material. For sharp corners, tuck the fabric tightly to avoid bulkiness.
5. Decorate and Finish: Optionally, you can add embellishments like ribbons or buttons to enhance the look of your fabric-covered frame.
Following these comprehensive steps will help you create stunning DIY picture frames. Pay close attention to the details mentioned and use the tips provided to avoid common pitfalls, ensuring a beautiful and professional finish to showcase your favorite photos.
Creative Ideas for Personalizing Your Picture Frames
Personalizing your DIY picture frames allows you to create distinctive and meaningful decor pieces that mirror your unique style. One of the most versatile techniques is decoupage, which involves applying cut-out paper elements onto the frame’s surface and sealing them with a layer of adhesive. This method opens up endless possibilities, from using patterned paper to vintage magazine clippings, ensuring a custom look for your frames.
Adding embellishments is another way to transform a basic frame into a masterpiece. Vintage buttons, beads, seashells, and pressed flowers can be affixed to the frame, providing a rich textural contrast and making it stand out as a unique item. To secure these elements, use a strong adhesive suitable for multiple materials, ensuring durability and longevity.
Custom painting offers an avenue for expressing artistic talent. Whether opting for a sleek, modern look with a monochromatic palette or creating intricate, colorful patterns, paint can dramatically change the appearance of a frame. Consider incorporating metallic shades or a distressed finish for a vintage or shabby chic aesthetic. Additionally, using stencils can add precise shapes and designs to elevate the frame’s visual appeal.
Seasonal and thematic decorations are perfect for celebrating special occasions. Holiday-themed frames adorned with festive colors and ornaments can bring a touch of seasonal charm to your home. For special events like weddings or birthdays, consider using elements that reflect the theme of the occasion, such as lace, ribbons, or even miniature replicas of mementos from the event.
Incorporating personal mementos can infuse a frame with sentimental value. Small keepsakes like ticket stubs, handwritten notes, or small trinkets from memorable events can be integrated into the frame design. This approach not only personalizes the frame but also turns it into a cherished keepsake, preserving memories within its borders.
When it comes to displaying your personalized picture frames, consider the various spaces in your home where they can have the most impact. Grouping frames of different sizes and styles on a feature wall creates an engaging visual story. Alternatively, placing them on shelves or tabletops allows you to create intimate displays that can be easily updated with new photos or decor items.


