Introduction to DIY Holiday Cards
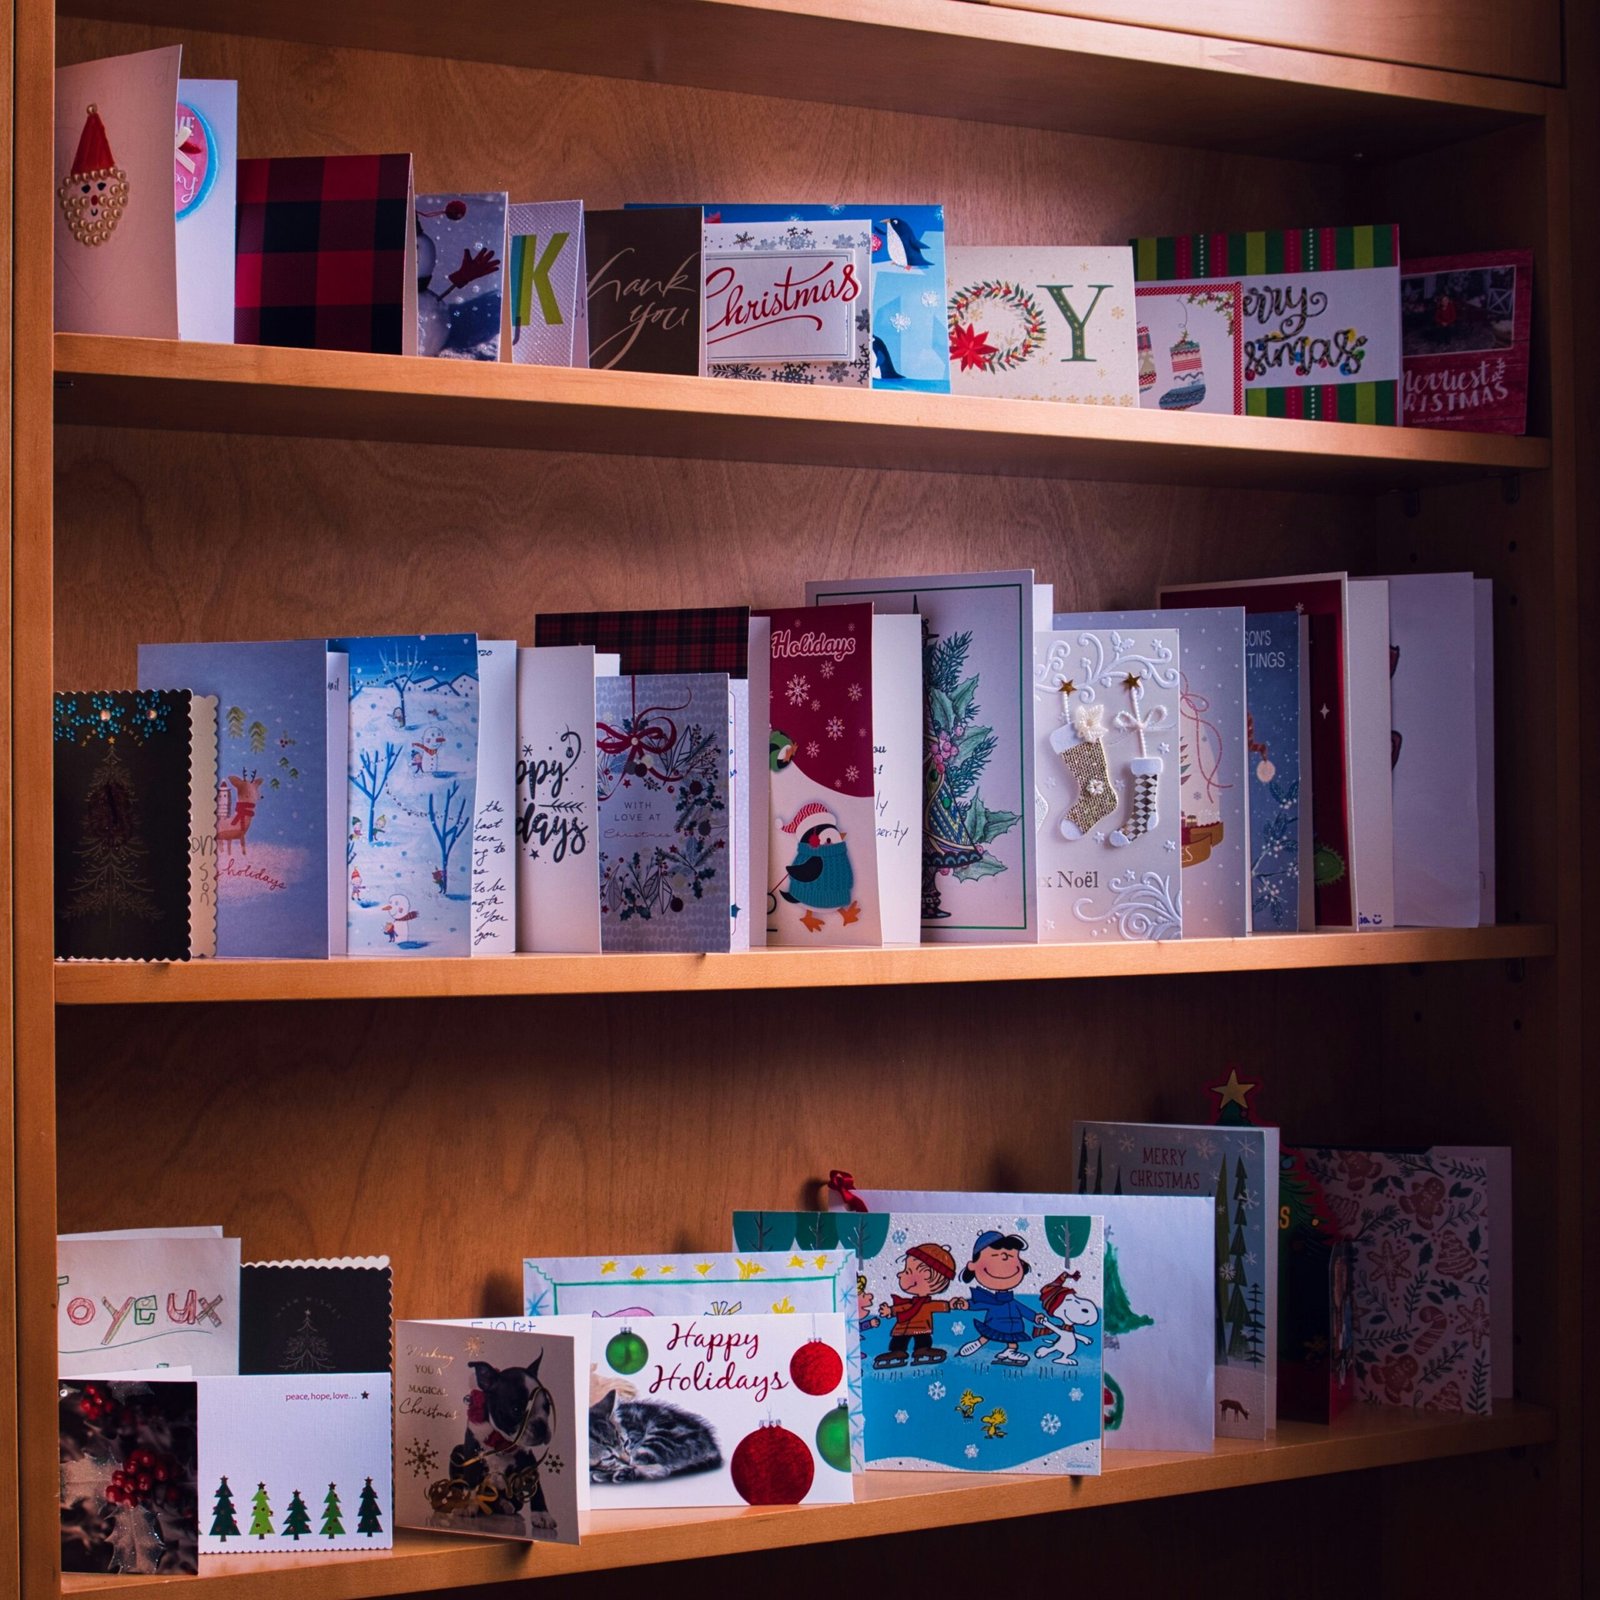
The growing trend of DIY holiday cards has captured the creative spirit of many individuals looking to add a personal touch to their seasonal greetings. Unlike generic store-bought options, personalized holiday cards allow senders to convey more heartfelt messages, resonating deeply with their recipients. This movement towards custom-designed cards is driven by the desire to stand out and make meaningful connections during the holiday season.
DIY holiday cards offer a diverse array of crafting techniques that cater to all skill levels. For those who prefer simplicity, hand-drawn sketches can be a beautiful and sentimental way to create unique cards. On the other end of the spectrum, more elaborate designs can be achieved using various materials such as fabric, glitter, and even digital tools. The flexibility in design ensures that anyone can create a card that reflects their personal style and the personality of the recipient.
Additionally, crafting your own holiday cards presents an opportunity to be mindful of the environment. Opting for recyclable materials not only adds a charming, rustic touch but also promotes sustainability. Many DIY enthusiasts incorporate elements such as recycled paper, natural fibers, and eco-friendly inks, further enhancing the appeal of the card while demonstrating environmental consciousness.
In sum, the rise of DIY holiday cards represents a shift towards more meaningful, personalized ways of celebrating festive occasions. These handmade cards can stand out significantly from mass-produced options by embodying genuine care and creativity. Whether through simple hand-drawn elements or intricate mixed-media designs, DIY holiday cards serve as an authentic expression of holiday cheer.
Tools and Materials You’ll Need
Creating personalized DIY holiday cards requires specific tools and materials to achieve that perfect, festive look. Start with the essentials: good-quality cardstock in various colors forms the base of your card. Opt for a heavier weight to ensure durability and a professional appearance. Colored pens and markers are crucial for adding intricate designs and messages. Watercolor paints and brushes can add a sophisticated touch with softer, more fluid designs.
Glue is another must-have; a strong adhesive is essential for attaching various embellishments securely. Scissors are useful for cutting paper, ribbons, and shapes. Precision scissors or even craft knives can be particularly helpful for more detailed work.
Ribbons and strings add an elegant and tactile element to your cards. They can be tied in small bows or used to create borders around your cards. Embellishments such as stickers, stamps, and washi tape can add instant decoration and are available in numerous festive designs and patterns. Stickers and stamps with holiday themes like snowflakes, reindeer, or Christmas trees can transform a simple design into something special. Washi tape, with its easy-to-apply and remove nature, offers a convenient way to add borders or extra details without the mess of glue.
If you’re seeking more advanced tools, embossing machines can add a professional, 3D touch to your cards by creating raised designs. Digital design software offers the flexibility to design your cards on the computer and print them out, allowing for a polished finish. Such software can include features for adding various fonts, customized images, and even templates for those who need a bit of inspiration.
Most of these materials can be found at local craft stores or online marketplaces. Larger craft stores often have dedicated sections for holiday materials and might offer in-store demonstrations or workshops. Online vendors provide a wider range of options and the convenience of delivery. Consider sourcing materials well in advance to take advantage of seasonal sales or discounts.
Step-by-Step DIY Card Ideas
Creating your own holiday cards can be an enriching and gratifying experience. Let’s explore a variety of card designs that cater to both beginners and seasoned crafters. These step-by-step ideas will guide you through the process, ensuring your cards are both unique and beautifully crafted.
Beginner: Minimalist Design
For a minimalist design, start by cutting an A4 piece of cardstock in half and folding it to create your card base. Select a high-quality paper in a neutral color. Next, use a small holiday stamp to add a simple, elegant image or greeting on the front of the card. Stamps are an excellent introduction to cardmaking because they are easy to use and come in a variety of themes. Be sure to press down firmly when stamping to avoid smudges. To add a touch of sophistication, consider adding a thin ribbon or some glitter accents sparingly.
Intermediate: Layered Design
For those comfortable with basic cardmaking, a layered design adds depth and dimension. Start with a solid color cardstock base and fold it in half. Cut a piece of patterned paper slightly smaller than the front of the card and glue it on top leaving a small border. Next, layer a contrasting piece of cardstock on top of the patterned paper, trimming it to a smaller size. Add embellishments like die-cut shapes or holiday-themed stickers. The key to a successful layered design is ensuring each layer complements the color scheme and theme of the card. Avoid overloading the card with too many layers, as this can make it appear cluttered.
Advanced: Photo-Integrated Design
If you are an advanced card maker, incorporating a photo is an excellent way to personalize your holiday greetings. Begin with a high-quality cardstock base. Print out a festive photo, preferably in black and white for a classic look, and mount it on a slightly larger piece of bright colored paper. This creates a framed effect. Attach the photo to the front of the card using double-sided tape. Enhance the design with intricate elements like pressed flowers, metallic pens for calligraphy, or even small 3D embellishments such as miniature bells or snowflakes. Ensure all elements are securely attached to avoid damage during mailing.
When crafting your DIY holiday cards, consider personal touches and styles that resonate with recipients. Whether you opt for a minimalist, layered, or photo-integrated design, attention to detail and careful execution will result in professional-looking cards. Remember, practice makes perfect, so do not be discouraged by minor imperfections. Happy crafting!
Finishing Touches and Personalization Tips
To truly make your DIY holiday cards stand out, adding personalized touches transforms them from mere greetings into cherished keepsakes. Small yet thoughtful details can significantly elevate the sentiment conveyed. Begin with a meticulously handwritten message—an element that underscores the effort and thoughtfulness behind each card. Address the recipient by name and consider integrating phrases or memories that resonate with your unique relationship. Adding heartfelt expressions can range from playful to deeply sentimental, depending on your connection. For instance, a card for a close family member might include a cherished childhood anecdote, whereas a card for a colleague might focus on shared work achievements and mutual aspirations for the upcoming year.
Custom envelopes create a perfect first impression. Consider embellishing the envelope with hand-drawn designs, coordinated colors, or even tailor-made wax seals. Personalization might also extend to the interior. Including mementos such as a small photograph, a pressed flower, or a piece of decorative ribbon can make each card feel like an exclusive gift. Align these elements with the recipient’s interests or hobbies to add an extra layer of thoughtfulness—maybe a miniature bookmark for an avid reader, or a tiny charm for a jewelry enthusiast.
Incorporating small, tangible gifts into the card not only adds an element of surprise but also shows careful consideration. Attaching a small pack of seeds for a gardening friend or a sachet of fragrant tea for a tea lover can transform a simple card into an interactive, multi-sensory experience. However, maintaining the balance between aesthetics and functionality is crucial. Ensure that any added items are lightweight and securely attached, preventing damage during transit. Consider packaging options like decorative boxes or tying the card with a beautiful ribbon to enhance its visual appeal and protect the contents.
The ultimate goal is to create a lasting impression. A well-thought-out DIY holiday card captures the spirit of the season and highlights the uniqueness of your relationship with each recipient. Through personalized touches, heartfelt messages, and thoughtful packaging, you ensure that your seasonal greetings are not just received—they are treasured.


