Introduction to DIY Garden Features
Creating your own garden features can transform your outdoor space into a personalized haven that reflects your unique style and tastes. Engaging in DIY garden projects not only adds a distinctive touch but also significantly enhances the aesthetic appeal and value of your home. The sense of accomplishment derived from crafting these features can be immensely rewarding, fostering a deeper connection with your environment.
One of the primary advantages of DIY garden features is the potential for substantial cost savings. By utilizing readily available materials and tools, you can create stunning elements without the hefty price tag often associated with professionally designed landscapes. This frugality allows for greater experimentation and creativity, enabling you to bring your vision to life on a budget.
Creative freedom is another compelling benefit of DIY garden projects. Whether you envision a rustic retreat with wooden structures or a contemporary oasis with sleek, modern designs, the possibilities are virtually endless. From repurposing old items to crafting new ones from scratch, you have the liberty to innovate and personalize every aspect of your garden.
The variety of materials and tools available for DIY projects is vast, ranging from common household items to specialized garden supplies. Reclaimed wood, stones, metal, and even glass can be repurposed into charming garden features. Basic tools like hammers, nails, and saws can suffice for simple projects, while more complex designs might require power tools and advanced techniques. This versatility ensures that DIY garden features can be adapted to fit any garden size, style, or skill level.
Overall, embarking on DIY garden projects offers a multitude of benefits, from cost savings and creative freedom to the satisfaction of seeing your hard work come to fruition. With the right materials, tools, and a bit of imagination, you can create stunning garden features that enhance the beauty and functionality of your outdoor space.
Essential Tools and Materials for DIY Garden Projects
Embarking on DIY garden projects requires a well-equipped toolkit to ensure efficiency and success. Basic tools form the backbone of any garden project. Essential hand tools include shovels, trowels, pruners, and hammers. These tools handle fundamental tasks like digging, planting, pruning, and assembling structures. More specialized tools, such as power drills, saws, and levels, are indispensable for intricate work, enabling precision and enhanced capability.
In addition to tools, the materials chosen significantly influence the outcome of garden projects. Versatile materials such as wood, stone, and metal offer diverse aesthetic and functional benefits. Wood can be used for creating garden beds, trellises, or benches, and its natural look complements the garden environment. Stone, whether in the form of pebbles, slabs, or boulders, adds a rustic touch and can be used for pathways, edging, or decorative accents. Metal, known for its durability, is ideal for structures like arches, fencing, or sculpture.
Incorporating recycled items can add unique character to garden features while promoting sustainability. Upcycling materials such as old pallets, bricks, or containers can result in innovative and environmentally-friendly garden designs. For instance, repurposing an old ladder as a vertical planter or transforming used tires into colorful garden seats can provide practical and aesthetic benefits.
Sourcing these materials inexpensively can be achieved through various avenues. Local hardware stores often have sales or clearance sections where materials can be purchased at reduced prices. Online marketplaces, including Craigslist, Facebook Marketplace, and eBay, offer a plethora of second-hand tools and materials at competitive rates. Salvage yards and thrift stores are treasure troves for finding unique and affordable items that can be repurposed for garden projects.
Equipping yourself with the right tools and materials is the first step towards creating stunning garden features. With a bit of creativity and resourcefulness, you can transform any garden space into a beautiful, personalized haven.
Step-by-Step Guide to Popular DIY Garden Features
Creating stunning garden features can elevate the aesthetic and functionality of your outdoor space. Here, we provide detailed instructions for a few popular DIY garden projects, including building raised garden beds, creating a garden path, constructing a garden bench, and making a water feature. Each project is designed to be achievable for DIY enthusiasts, with clear steps, necessary materials, and customization ideas.
Building Raised Garden Beds
Materials and Tools: Wooden planks (cedar or redwood), screws, a drill, a measuring tape, a saw, soil, and plants.
Instructions:
1. Measure and cut the wooden planks to your desired size (typically 4×8 feet).
2. Assemble the frame by attaching the planks at the corners using screws and a drill.
3. Position the frame in your garden, ensuring it is level.
4. Fill the bed with quality soil.
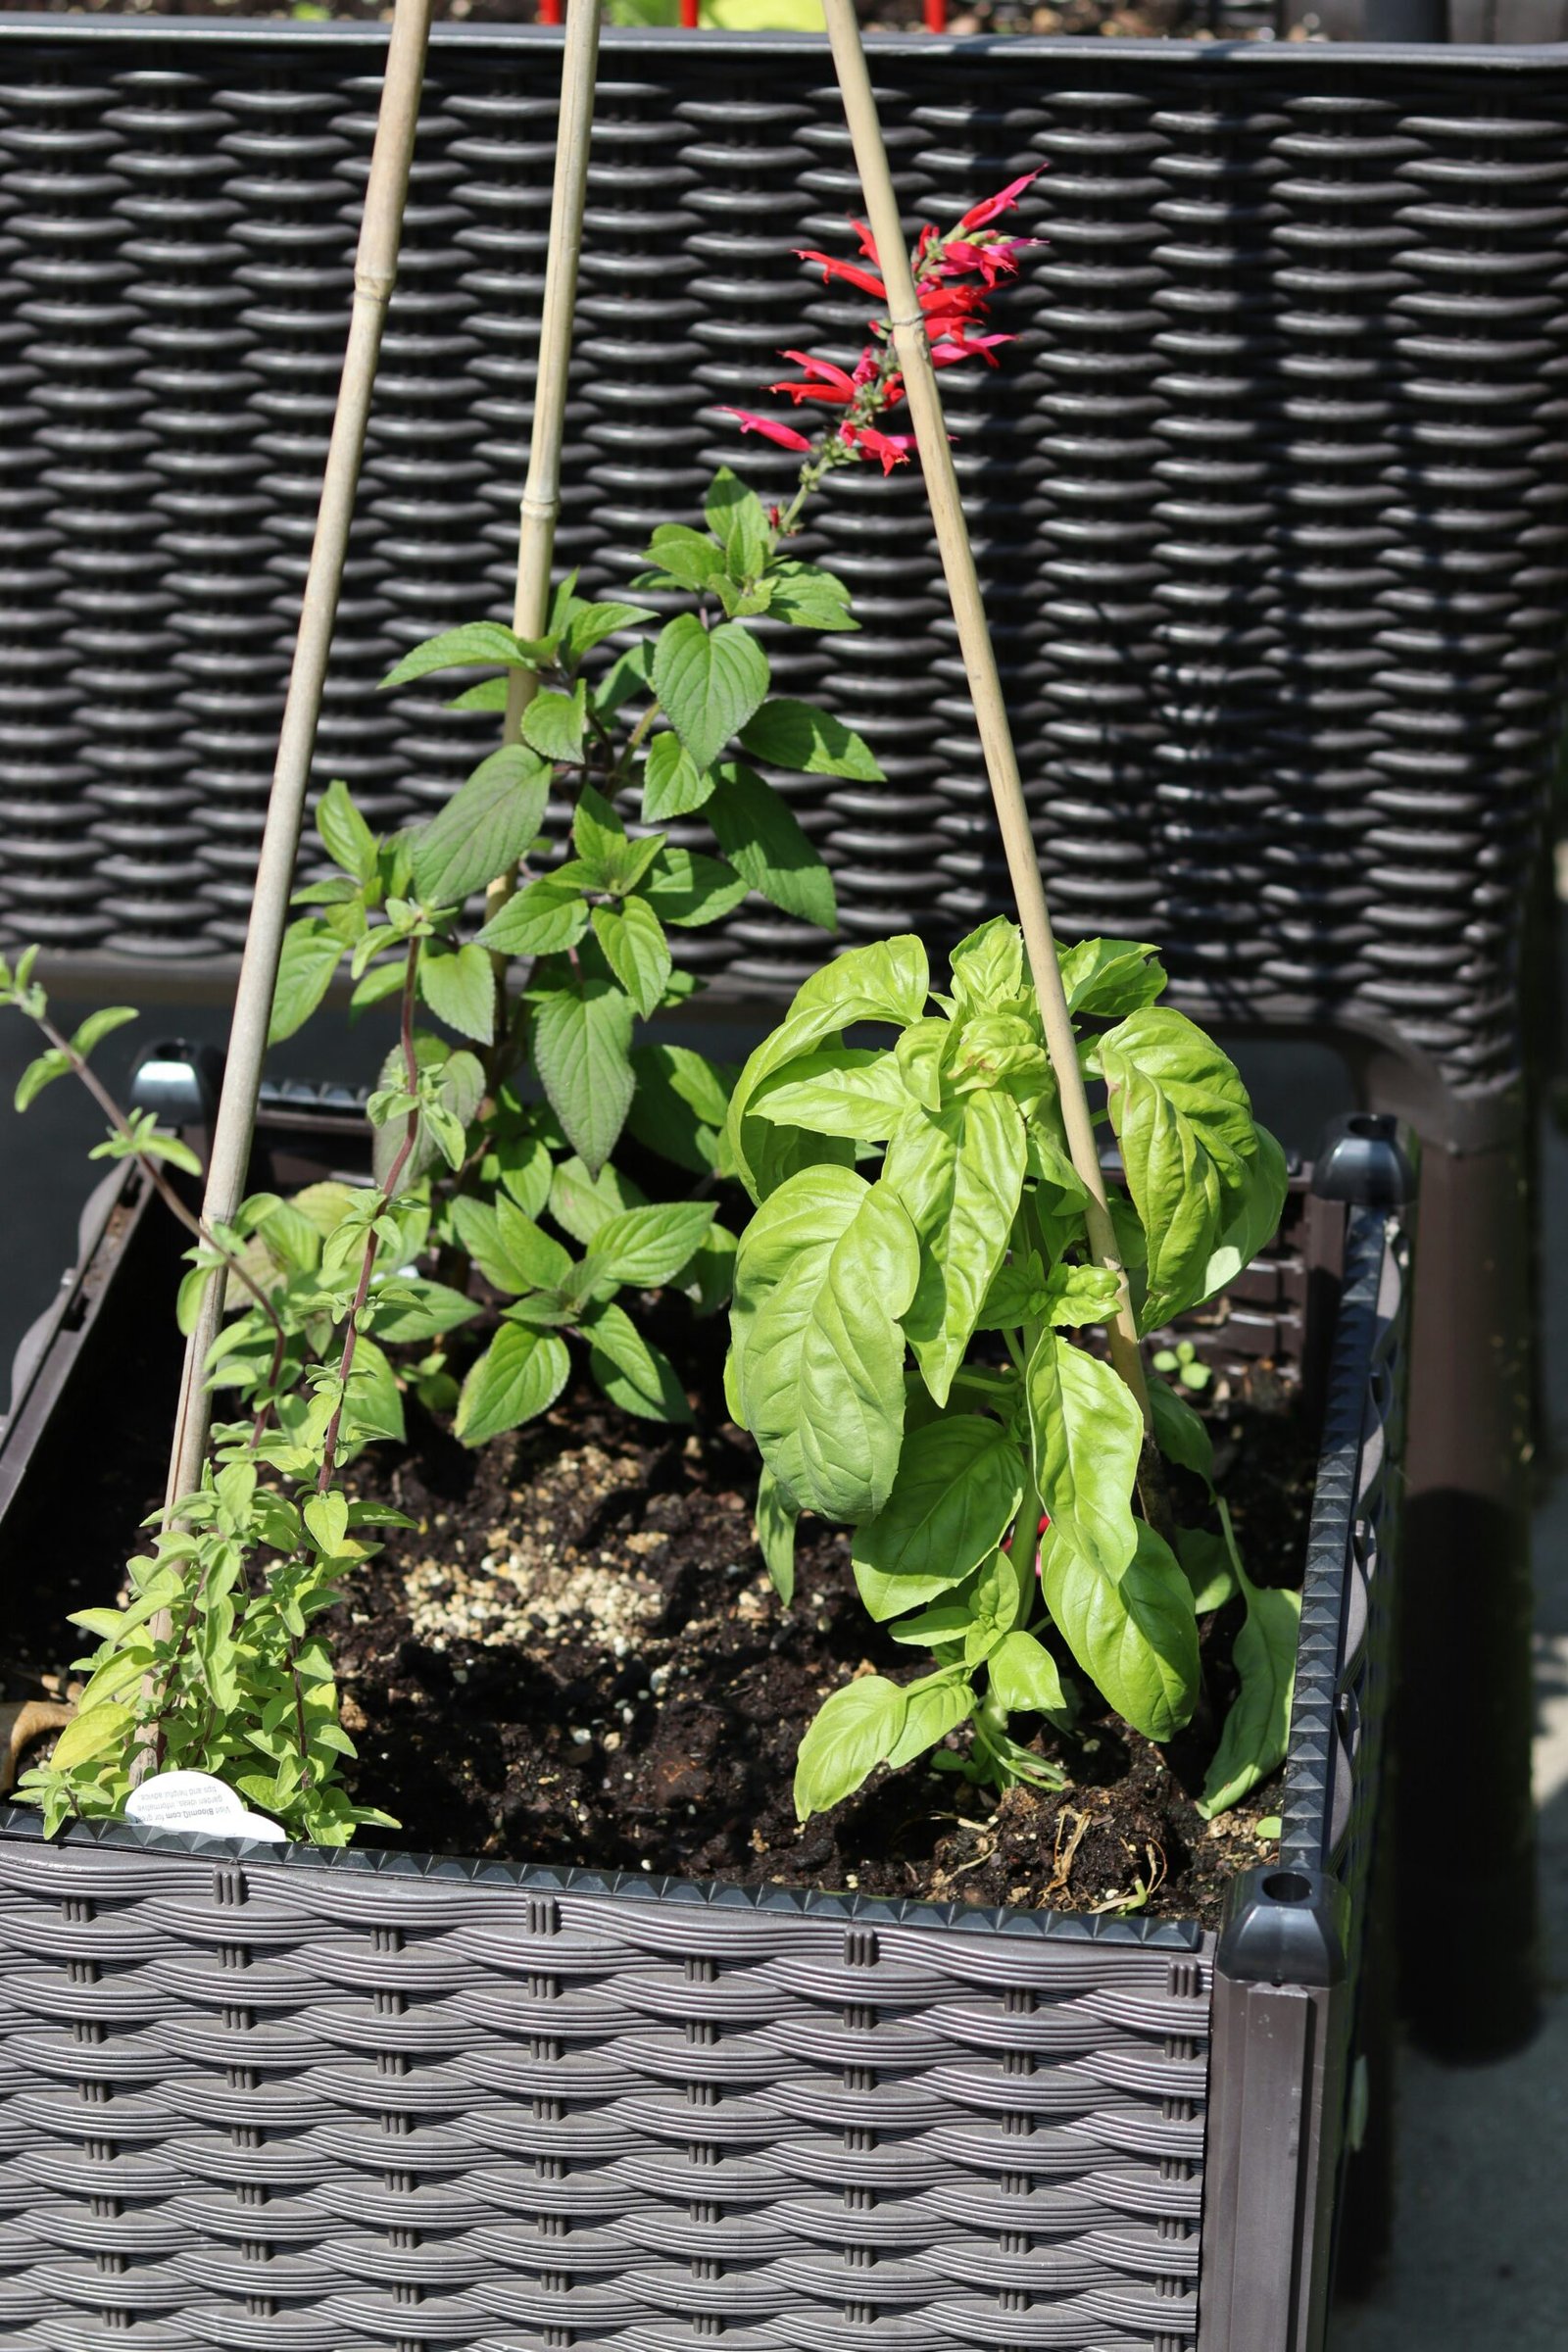
5. Plant your chosen flowers, vegetables, or herbs.
Tips: Use untreated wood to avoid chemicals leaching into the soil. Consider adding a liner for additional protection. Customize the size and shape to fit your garden space.
Creating a Garden Path
Materials and Tools: Pavers or stepping stones, sand, a shovel, a rake, a level, and a tamper.
Instructions:
1. Plan the path layout and mark it with stakes and string.
2. Excavate the path area to a depth of about 4-6 inches.
3. Add a 2-inch layer of sand and level it with a rake.
4. Lay the pavers or stepping stones, ensuring they are level and evenly spaced.
5. Fill the gaps between the pavers with sand and tamp it down.
Tips: Choose pavers that complement your garden style. Add curves to the path for a more natural look.
Constructing a Garden Bench
Materials and Tools: Wooden boards, screws, a drill, a saw, sandpaper, and outdoor paint or sealant.
Instructions:
1. Cut the wooden boards to your desired bench size (e.g., 4 feet long).
2. Assemble the seat by attaching the boards with screws.
3. Construct the bench legs and attach them to the seat.
4. Sand the bench to smooth any rough edges.
5. Paint or seal the bench to protect it from the elements.
Tips: Use weather-resistant wood for durability. Customize the bench with cushions or decorative elements.
Making a Water Feature
Materials and Tools: A water pump, a waterproof container, river rocks, water plants, a drill, and tubing.
Instructions:
1. Choose a location for your water feature that has access to an electrical outlet.
2. Place the waterproof container in the chosen spot.
3. Install the water pump in the container, following the manufacturer’s instructions.
4. Arrange the river rocks and water plants around the pump to create a natural look.
5. Connect the tubing to the pump and fill the container with water.
Tips: Use a variety of rocks and plants for a more dynamic appearance. Consider adding a small fountain or waterfall feature for added interest.
By following these step-by-step guides, you can create stunning garden features that enhance your outdoor space. Customize each project to suit your personal taste and garden style. Happy gardening!
Maintenance and Care for DIY Garden Features
Maintaining and caring for your DIY garden features is crucial to ensure they continue to enhance your garden’s aesthetics and functionality. Regular upkeep not only extends the lifespan of your creations but also keeps them looking their best year-round. Here are some essential tips to help you maintain your garden features effectively.
First, regular cleaning is paramount. Depending on the materials used, your garden features may accumulate dirt, algae, or moss. A simple solution of water and mild soap, combined with a soft brush, can usually do the trick. For more stubborn grime, consider using a pressure washer, but be cautious with delicate materials.
Repainting and sealing wooden features are critical tasks. Wood, being a natural material, is susceptible to weathering. Sand down the surface to remove old paint or sealant, then apply a fresh coat of paint or wood sealer. This not only enhances the appearance but also protects against moisture and UV damage.
Regularly inspect your garden features for signs of wear and tear. Look for cracks, loose fittings, or rust on metal parts. Addressing these issues early can prevent more significant damage. Tighten screws, replace worn-out parts, and apply rust-proof coatings to metal elements.
Seasonal care routines are also important. In autumn, clear away fallen leaves that can trap moisture and cause decay. During winter, protect your garden features from harsh weather conditions. Cover them with tarps or move smaller items indoors. In spring, check for any winter damage and perform necessary repairs.
Troubleshooting common issues promptly can save you time and effort in the long run. If you notice a sagging fence or a wobbly bench, don’t ignore it. Reinforce weak spots with additional supports or brackets. For water features, ensure pumps and filters are clean and functioning correctly.
By implementing these maintenance and care tips, you can ensure your DIY garden features remain stunning and durable, providing enjoyment and beauty to your garden for years to come.


