Introduction to the Mason Jar Herb Garden
The concept of cultivating a DIY herb garden using mason jars has gained popularity as a practical and aesthetically pleasing solution for home gardeners. This method not only makes it convenient to grow herbs indoors but also adds a charming decor element to kitchens and dining spaces. By repurposing these jars, individuals can enjoy the benefits of gardening, even in limited spaces. The simplicity of this approach encourages novices and seasoned gardeners alike to explore the joys of home agriculture.
Growing herbs in mason jars presents numerous advantages, primarily enhancing the flavors of home-cooked meals. Freshly harvested herbs can dramatically improve the taste of dishes compared to dried versions. Popular choices for a mason jar garden include basil, cilantro, parsley, and mint, each offering distinct flavors that can enliven everyday recipes. These ingredients not only elevate culinary creations but also provide numerous health benefits; many herbs are rich in vitamins, antioxidants, and anti-inflammatory properties, promoting overall well-being.
Moreover, cultivating a DIY herb garden with mason jars contributes to sustainability. It reduces reliance on store-bought herbs, which often come with excessive packaging and carbon footprints associated with transportation. By growing herbs from home, one can not only enjoy the freshest flavors but also minimize environmental impact, fostering a connection with nature. The act of gardening itself can be therapeutic, providing a sense of accomplishment and relaxation. Whether you are looking to add a touch of green to your kitchen or wish to enjoy the convenience of having fresh herbs at your fingertips, starting a mason jar herb garden is a rewarding endeavor.
Materials Needed for Your Herb Garden
To embark on your DIY mason jar herb garden project, it is crucial to gather the necessary materials. Here’s a comprehensive list detailing each required item and some optional additions to enhance your gardening experience.
First and foremost, the centerpiece of your garden will be mason jars. Typically, pint or quart-sized jars work well, offering ample space for root growth while maintaining a manageable size for indoor setups. Consider using clear jars to visually appreciate the soil layers and roots as they develop.
Next, potting soil is essential for providing the right nutrients for your herb plants. Opt for a high-quality potting mix that is designed for container gardens. This soil should be well-draining to prevent waterlogged conditions, which can harm delicate herb roots.
In conjunction with potting soil, drainage stones or pebbles are important for ensuring excess water can escape. Placing a layer of stones at the bottom of each jar will help create drainage channels, ultimately contributing to healthier plant growth.
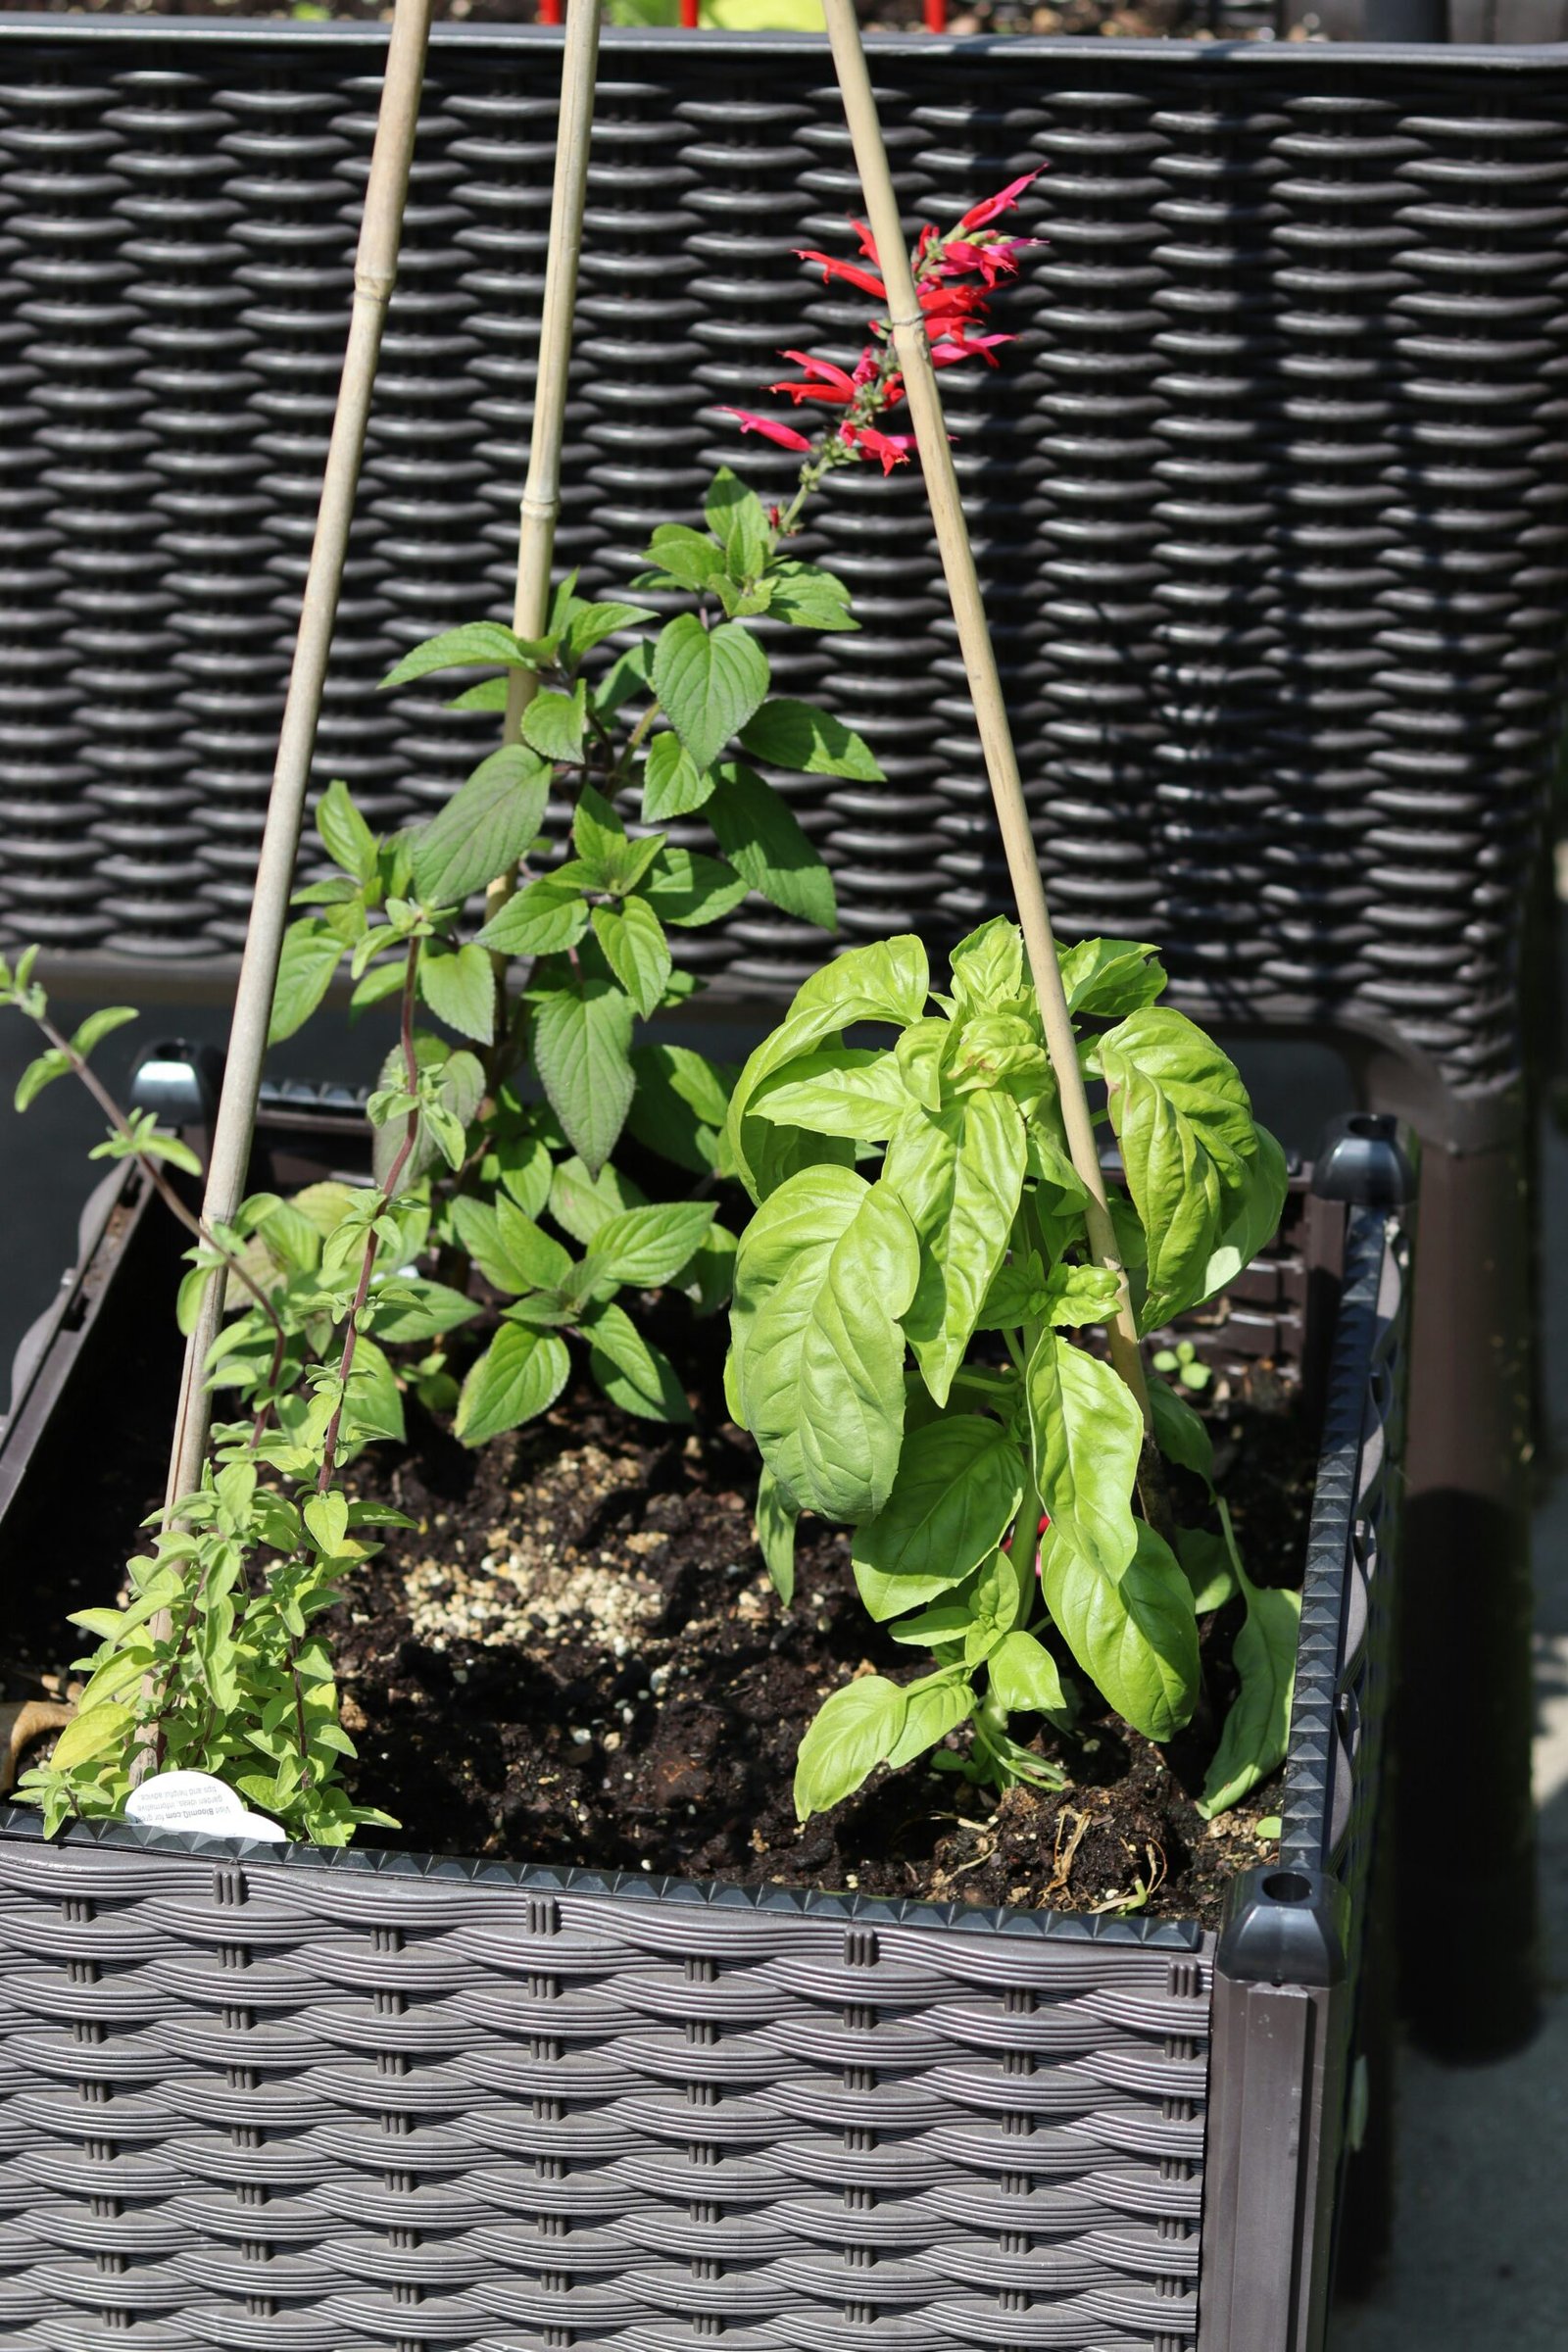
Choosing the right herbs is pivotal for any DIY project. Look for a selection of herb seeds or starter plants that you enjoy or frequently use in your cooking. Common choices include basil, parsley, chives, and mint. If starting from seeds, be sure to follow the recommended planting depth indicated on the seed packaging.
Additionally, while not mandatory, you may want to consider optional materials. Labels can assist in organizing and identifying your herbs as they grow, while decorative elements, such as twine or paint, can personalize your mason jars. Furthermore, tools like small trowels, watering cans, and scissors will simplify the planting process and ongoing maintenance of your herb garden.
By gathering these materials, you set the stage for a successful and vibrant herb garden right in your home.
Step-by-Step Guide to Planting Herbs in Mason Jars
Creating a vibrant herb garden using mason jars is a rewarding DIY project that can bring fresh flavors to your cooking. To start, gather your materials, which include mason jars, small drainage stones, potting soil, and the herbs of your choice. Begin by preparing the mason jars for planting.
First, add a layer of drainage stones at the bottom of each jar. This step is crucial, as it allows excess water to escape, preventing root rot. The amount of stones should be around one to two inches, depending on the size of the jar. Next, fill the jars with potting soil, leaving about an inch of space from the top. Ensure that the soil is suitable for the herbs you have selected, as some may require specific types of soil for optimal growth.
Once your jars are filled with soil, it’s time to plant the herbs. Make small depressions in the soil for each herb and gently place the seeds or small plants in these spaces, adhering to the recommended spacing suggestions based on the type of herb. For example, larger herbs like basil need more room to grow compared to smaller herbs like thyme. After planting, lightly cover the seeds or roots with soil and water gently to settle the soil around the plants without oversaturating them.
Placement and sunlight access are significant factors for successful herb growth. Position your mason jars in a location that receives ample sunlight, ideally six to eight hours daily. If indoor lighting is insufficient, consider supplementing with grow lights to maintain healthy growth. In terms of watering, check the soil moisture regularly; it’s advisable to water when the top inch of soil feels dry. This vigilance will ensure your herbs thrive as they establish themselves in their new environment.
Lastly, maintain an eye on your herbs’ growth and any pests that may arise. You may find it beneficial to document their progress using photographs, which can serve as useful visual aids while sharing your DIY experience with others.
Tips for Maintaining Your Mason Jar Herb Garden
Maintaining a DIY mason jar herb garden involves understanding the specific needs of the herbs you are growing. One of the most critical aspects is the watering schedule. Herbs generally prefer well-draining soil and require watering only when the top layer of soil feels dry. Overwatering can lead to root rot, a common issue in container gardening. Conversely, underwatering can result in wilting and stunted growth. A good rule of thumb is to check your herbs every few days, especially in warm weather, and adjust your watering based on their response.
Light requirements are another vital factor. Most herbs thrive in bright, indirect sunlight, ideally receiving around six hours of light each day. If your indoor setup lacks sufficient natural light, consider using grow lights to supplement. Positioning your mason jars near windowsills or using shelves can also help ensure they get adequate exposure. Monitoring the light levels is essential because too much direct sunlight can scorch delicate leaves, while too little can hinder growth.
Pruning your herbs is advisable to promote bushier growth and prevent them from flowering prematurely, which can alter their flavor. Regular pinching of the tops will encourage new growth. Additionally, be mindful of pest control; common nuisances like aphids can invade your herb garden. A gentle rinse with water or the application of insecticidal soap can often resolve these issues without disrupting your plants significantly.
Seasonal care is crucial for maintaining health in your herb garden. During colder months, it’s important to monitor indoor temperatures and humidity to replicate optimal growing conditions. When harvesting, take care to use clean scissors and only remove leaves or stems as needed to ensure the plant remains vigorous. Addressing these factors will help troubleshoot the common challenges faced by herb gardeners, leading to a productive and vibrant mason jar herb garden.


