Getting Started: Essential Tools and Materials
Beginning your journey into the world of DIY jewelry crafting requires familiarizing yourself with a set of essential tools and materials. Understanding the basics will empower you to create exquisite pieces with ease.
Firstly, acquiring a good set of pliers is imperative. **Round-nose pliers** are used to create loops and curves in wires, a common need in many projects. **Chain-nose pliers** offer a strong grip for bending and manipulating wire, while **flat-nose pliers** are perfect for holding components securely without damaging them. **Wire cutters** allow you to trim the wire to the desired length without fraying ends, and **crimping pliers** are necessary for fastening crimp beads tightly and securely.
Next, investing in quality wire is essential. **Jewelry wire** comes in various thicknesses (gauges) and materials such as sterling silver, gold-filled, and copper. The type of wire you choose will depend on the design and sturdiness required for your project. For beginners, a wire gauge between 20-24 is versatile for most jewelry-making needs.
**Beads** form the heart of most jewelry pieces. They come in a wide array of shapes, sizes, and materials including glass, semi-precious stones, and pearls. Select beads that align with your design vision and the color palette of your project. When sourcing beads, consider both visual appeal and durability.
Among other essential materials are **jewelry findings**. These include clasps, ear wires, jump rings, and headpins. Clasps, such as lobster clasps and toggle clasps, serve as fasteners for your necklaces and bracelets. Ear wires are vital for earring projects, and jump rings link different components together. Headpins are used to make dangles and pendants.
Finding affordable yet high-quality materials is easier than ever. Local craft stores often stock a variety of jewelry-making supplies, and online platforms such as Etsy, Amazon, and specialized craft websites provide a broader selection. Purchasing materials in bulk can often reduce costs while ensuring you have plenty of supplies for future projects.
Understanding how each tool and material operates is the cornerstone of successful jewelry crafting. With patience and practice, the foundational knowledge will enable you to bring your unique jewelry designs to life.
Beginner-Friendly Projects: Simple and Stylish Creations
Starting your journey into jewelry making can be both exciting and rewarding. Below, we present a selection of beginner-friendly projects, each designed to ease you into the basic techniques while allowing you to create stunning pieces. These projects are simple enough for anyone to follow, yet stylish enough to wear with pride or gift to friends and family. Let’s dive into the world of bead bracelets, wire-wrapped rings, and simple earrings.
Bead Bracelets
Bead bracelets are the quintessential beginner project, offering endless customization options. To create your own, you’ll need beads of your choice, stretch cord, and scissors.
1. Cut a length of stretch cord, about 6-8 inches longer than your wrist measurement.2. String your chosen beads onto the cord, experimenting with different patterns and colors.3. Once you’ve reached your desired length, securely knot the ends of the cord and trim excess.4. For added security, apply a small drop of jewelry glue to the knot.
Wire-Wrapped Rings
Wire-wrapped rings are another excellent starting point. For this project, you’ll need jewelry wire (20-22 gauge), a ring mandrel or cylindrical object, and wire cutters.
1. Cut a piece of wire approximately 10 inches long.2. Wrap the wire around the ring mandrel to form a ring shape, leaving about an inch of wire on either side for wrapping.3. Twist the ends of the wire around the ring band’s base and trim any excess.4. Use a small bead or stone if desired, securing it by wrapping additional wire around it.
Simple Earrings
Creating simple earrings is an excellent way to build your confidence. You’ll need earring hooks, headpins, beads, and round-nose pliers.
1. Slide a bead onto a headpin, leaving about half an inch of the pin exposed.2. Using round-nose pliers, create a loop with the exposed wire just above the bead.3. Open the loop on the earring hook and attach the beaded headpin loop.4. Close the earring hook loop securely.
With these projects, you now have the foundation to explore and create personalized jewelry pieces. Experiment with different beads, wire styles, and colors to discover what best suits your taste. Each project provides the basics to build more complex designs, allowing your creativity to blossom as you gain confidence and skill. Happy crafting!
Intermediate Projects: Adding Personal Touches
As you progress in your jewelry crafting journey, intermediate-level projects offer an excellent opportunity to infuse personal touches into your creations. This stage allows for greater creativity and personalization, letting you experiment with various techniques and materials. Projects such as charm bracelets, braided necklaces, and pendant making stand out as wonderful options to explore your unique style and preferences.
Charm bracelets are an excellent starting point for intermediate-level projects. Begin by selecting a sturdy bracelet chain, to which you can attach an array of charms that resonate with your interests and memories. To add a professional touch, use proper jump rings and pliers for secure attachment. The key is in the diversity of charms – consider mixing metals, gemstones, and even resin-filled trinkets to achieve a visually intriguing piece.
Braided necklaces, on the other hand, present an elegant fusion of materials that elevate your jewelry crafting skills. Using silk threads, leather cords, or metallic wires, you can interlace multiple strands into intricate patterns. Securing the ends with clasps or custom end caps ensures a polished finish. Combining different textures and colors can enhance the aesthetic appeal, making your piece truly one-of-a-kind.
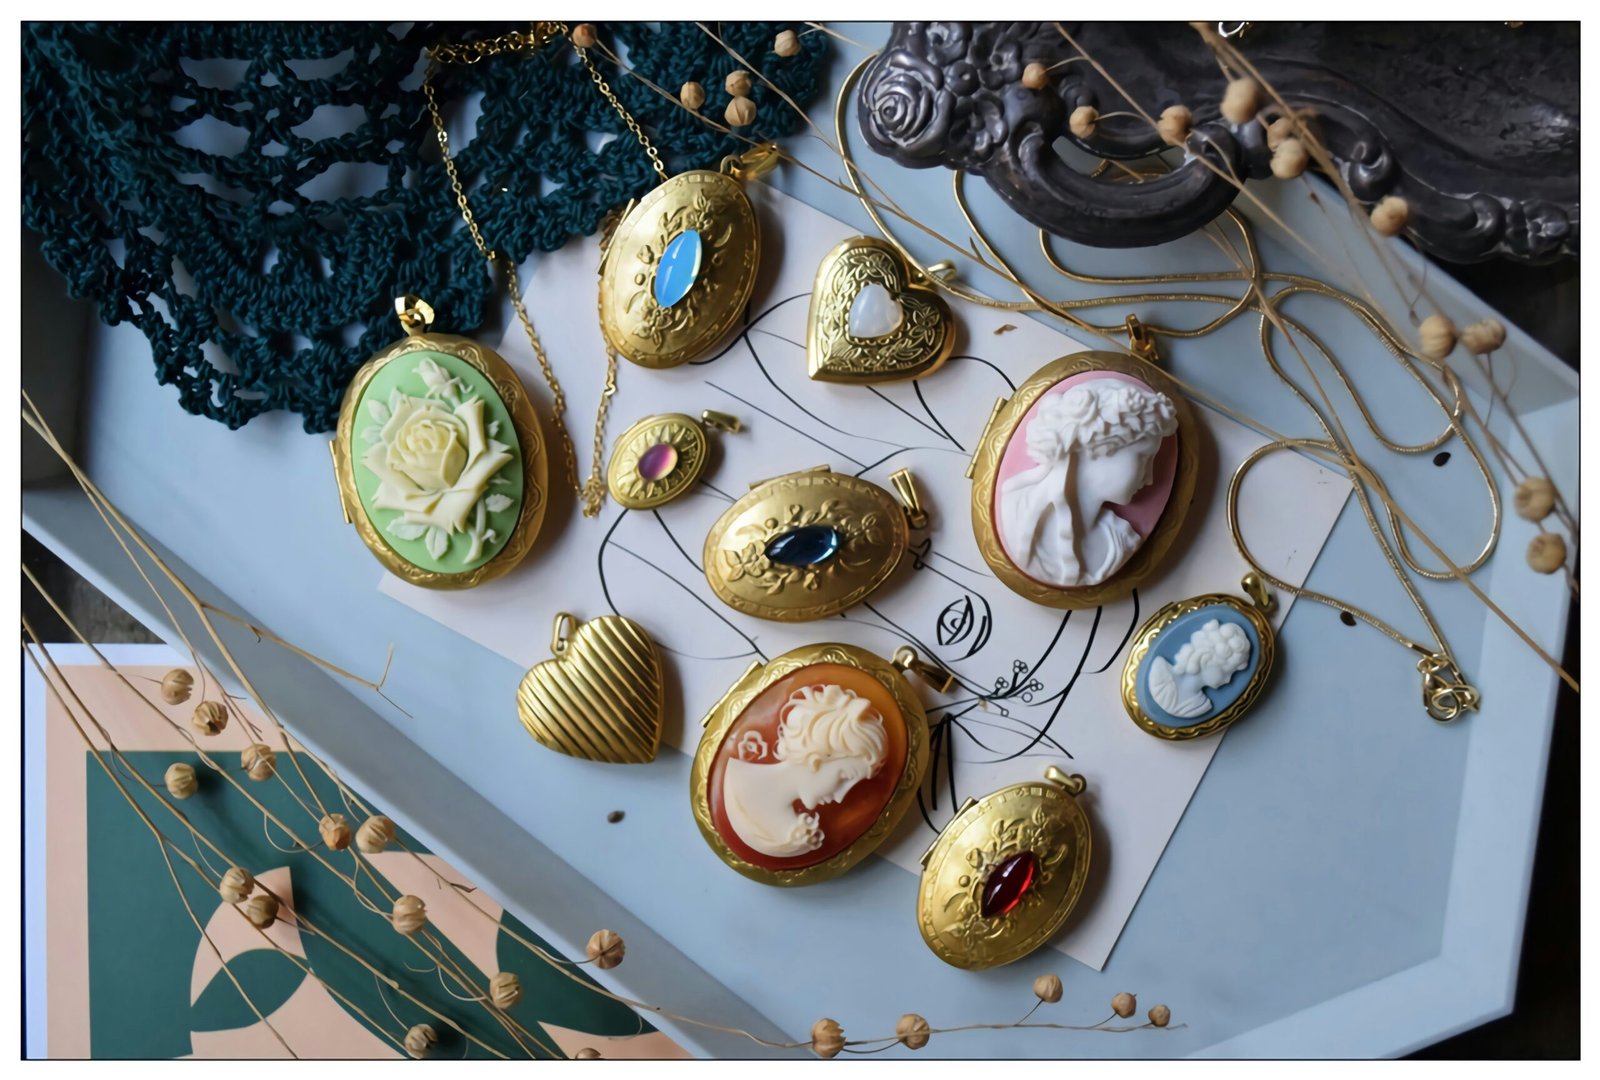
For a more personal touch, consider delving into pendant making. This area offers endless possibilities, from simple wire-wrapping techniques to intricate designs using polymer clay or resin pouring. When working with polymer clay, attention to detail in shaping and curing the clay is paramount for achieving professional results. Similarly, resin usage requires practice in mixing, pouring, and curing to create flawless, crystal-clear pieces. Adding inclusions like dried flowers, pigments, or glitter can make your pendants distinctive and personal.
To master these intermediate techniques, precision and patience are crucial. When soldering, ensure you are working in a well-ventilated area and using appropriate safety gear. Even heating and steady hands will help avoid over-melting and ensure neat joints. For resin projects, meticulous measurement and mixing reduce the risk of bubbles and defects. By investing time and effort into mastering these skills, your intermediate jewelry pieces will exhibit a well-crafted, professional quality.
Advanced Techniques: Mastering the Craft
Once you’ve mastered the basics of DIY jewelry making, you may feel ready to tackle more advanced techniques to elevate your craftsmanship. Delving into areas such as metalworking, stone setting, and intricate bead weaving can significantly enhance the complexity and allure of your creations. These techniques require patience, precision, and a keen eye for detail, but the results are immensely rewarding.
Metalworking
Metalworking forms the backbone of many professional-level jewelry pieces. It involves manipulating metals like silver, gold, and copper using tools such as hammers, anvils, and soldering irons. Begin with basic cutting and shaping exercises to get a feel for the material. Mastering soldering is crucial; it allows you to join metal pieces securely. Renowned jeweler Jane Smith emphasizes the importance of investing in high-quality tools and undergoing formal training to understand the properties and behaviors of different metals.
Stone Setting
Stone setting is another advanced technique that brings a luxurious touch to your jewelry. It involves placing gemstones into the metal securely. Techniques like prong setting, bezel setting, and channel setting each offer different aesthetic and functional benefits. According to expert jeweler John Doe, using a tool called a burr can help you carve out precise settings for your stones. Always wear protective eyewear and handle tools carefully to ensure safety during the process.
Intricate Bead Weaving
Intricate bead weaving can create stunning patterns and textures. This technique utilizes small beads strung together in complex designs, often requiring a bead loom. Ensure you have a good selection of beads and high-quality threads to begin. Advanced patterns may involve peyote stitch, herringbone stitch, and right-angle weave. Professional jewelry designer Emily Davis suggests practicing your tension control for even, consistent results.
Safety remains paramount when dealing with advanced tools and materials. Always work in a well-ventilated area, keep a tidy workspace, and wear appropriate protective gear, such as gloves and goggles. Proper handling and maintenance of tools minimize the risk of accidents.
By integrating these advanced techniques into your jewelry-making repertoire, you can achieve a professional level of craftsmanship. These skills open up endless possibilities for creating unique, high-quality pieces that showcase your dedication and artistry.


