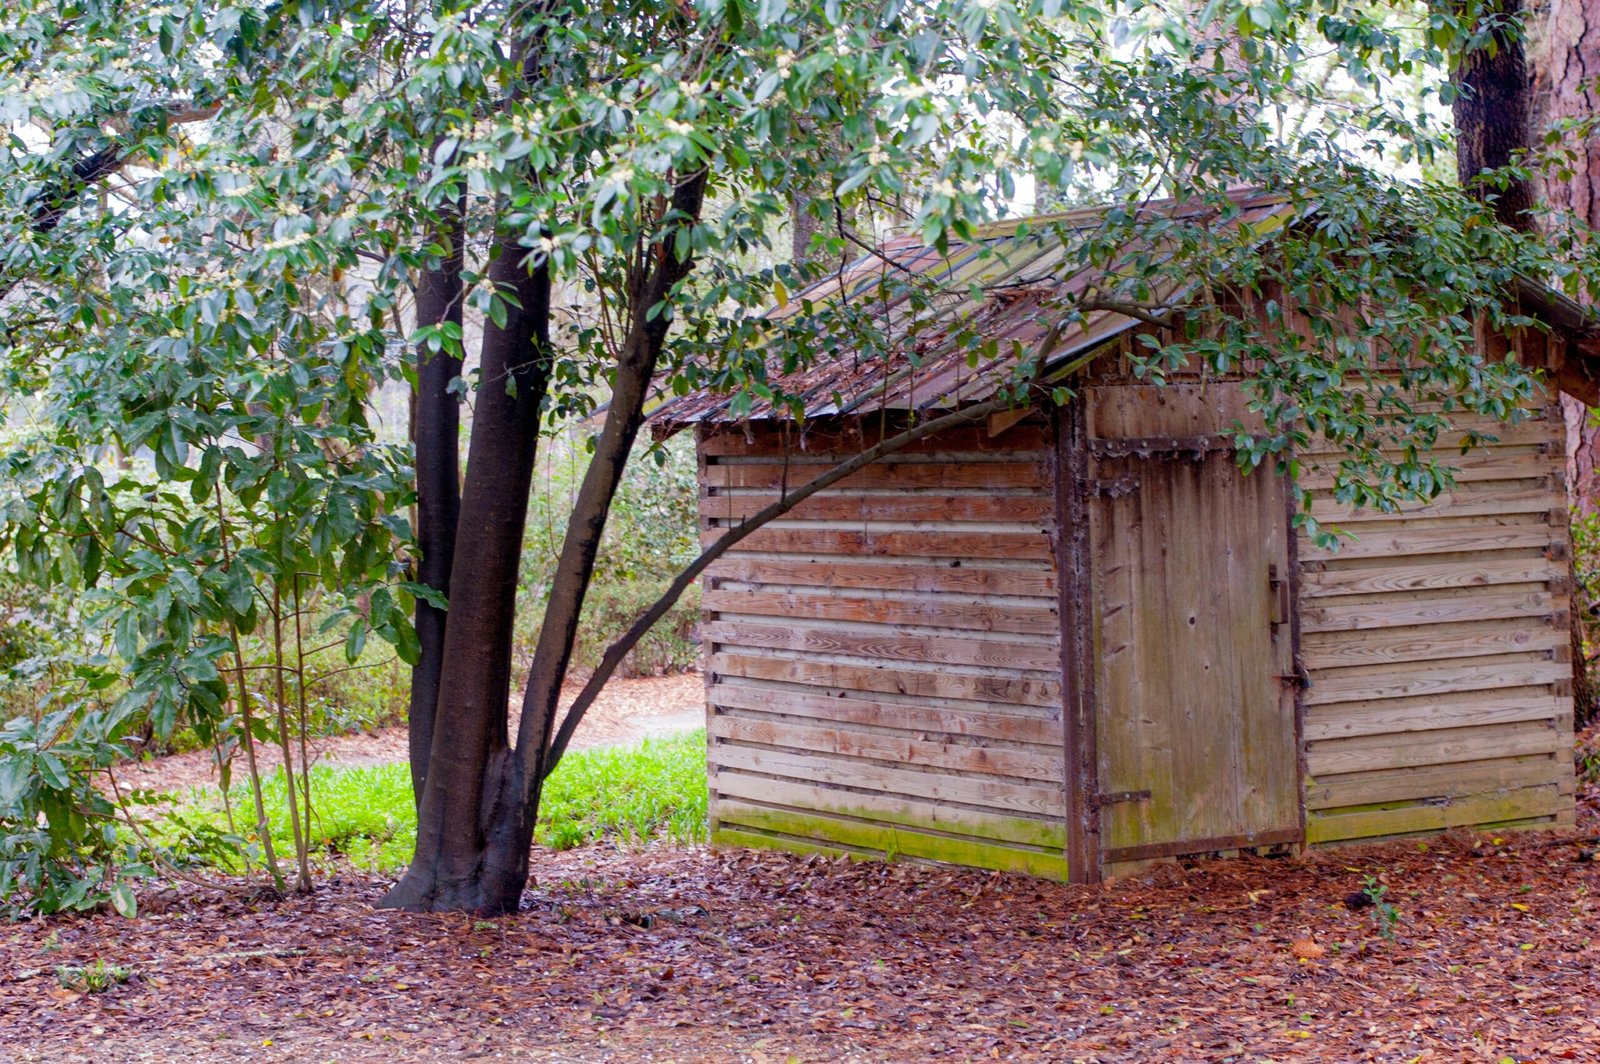
Garden Pathways: Creating a Serene Walkway
Creating a serene garden pathway in your backyard can significantly enhance its aesthetic appeal and functionality. Whether you’re looking to add a simple gravel path or a more elaborate stone walkway, the choices of materials and designs are abundant. To start, consider the different materials you can use for your pathway.
Gravel is an affordable and easy-to-install option. It’s versatile, allowing for curved or straight paths, and provides good drainage. However, it may require periodic maintenance to keep the gravel in place. Stone pathways, whether using flagstones, pavers, or cobblestones, offer a more permanent and sturdy solution. They can handle heavy foot traffic and add a classic or rustic look to your garden. The downside is that stone can be expensive and requires more labor to install. Wood, such as timber or wooden planks, offers a natural look that blends well with garden landscapes. It’s relatively easy to install but may be susceptible to rot and weathering over time.
To lay out your garden pathway, start by marking the desired route with stakes and string. This will help you visualize the path’s shape and make any necessary adjustments. Next, prepare the ground by removing any grass or weeds and leveling the soil. For gravel paths, lay down a landscaping fabric to prevent weed growth, followed by a layer of gravel. For stone or wood pathways, dig a shallow trench, add a layer of sand or gravel for drainage, and then place your stones or wooden planks.
Adding decorative elements can elevate the pathway’s appeal. Edging materials like bricks or metal strips can keep the path’s edges clean and defined. Solar-powered lights or lanterns placed along the path can provide illumination and enhance safety at night. Planting low-growing plants or flowers along the edges can soften the look and add color and fragrance to your walkway.
By carefully selecting materials and adding thoughtful touches, you can create a beautiful and serene garden pathway that transforms your backyard into a tranquil retreat. Whether you prefer the simplicity of gravel, the durability of stone, or the organic charm of wood, a DIY garden pathway can be a rewarding project that brings lasting enjoyment.
DIY Fire Pit: A Cozy Gathering Spot
Creating a DIY fire pit can transform your backyard into a cozy gathering spot for family and friends. There are several types of fire pits to consider, including in-ground, above-ground, and portable options. Each type offers unique benefits and can be constructed using different materials such as bricks, stones, or metal.
To begin, select an appropriate location for your fire pit. Ensure the area is away from overhanging branches, structures, and flammable materials. Once you’ve chosen the spot, mark a circle where the fire pit will be situated. For an in-ground fire pit, excavate the marked area to a depth of about 6-12 inches. For an above-ground fire pit, you can skip the excavation and move directly to the construction phase.
Next, gather your materials. For a brick or stone fire pit, you’ll need fire-rated bricks or stones, fire-resistant mortar, and gravel. If you opt for a metal fire pit, a metal fire ring or bowl will be necessary. Begin by laying a foundation of gravel, which will aid in drainage and stability. For in-ground fire pits, fill the excavated area with gravel up to a few inches below ground level. For above-ground pits, spread the gravel evenly within the marked circle.
Start constructing the walls of your fire pit by laying the first layer of bricks or stones around the perimeter of the gravel foundation. Apply fire-resistant mortar between each brick or stone to secure them in place. Continue stacking layers until the walls reach the desired height, typically 12-18 inches above ground level. For metal fire pits, place the metal fire ring or bowl on top of the gravel foundation.
Safety is paramount when building and using a fire pit. Always keep a bucket of water or a fire extinguisher nearby in case of emergencies. Regularly clean out ashes and debris to maintain airflow and prevent blockages. When not in use, cover the fire pit to protect it from the elements.
Enhance the ambiance of your fire pit area by arranging comfortable seating around it. Consider using weather-resistant chairs, benches, or even DIY log stools for a rustic touch. Adding cushions and blankets can make the space even more inviting.
By following these steps, you can create a functional and aesthetically pleasing DIY fire pit that will serve as a focal point for outdoor gatherings, providing warmth and a cozy atmosphere for memorable evenings.
Vertical Gardens: Maximizing Space and Beauty
Creating vertical gardens offers an innovative solution for those looking to maximize limited backyard space while adding a unique visual element. Vertical gardens not only enhance the aesthetic appeal of your outdoor area but also allow for more efficient use of space, making them ideal for small backyards or urban environments. Here, we explore various types of vertical gardens and provide guidelines on how to build and maintain them.
One popular option for a vertical garden is wall-mounted planters. These can be as simple or intricate as you desire. To create a basic wall-mounted garden, start by selecting a sturdy wall that receives adequate sunlight. Next, choose durable, weather-resistant planters and secure them to the wall using appropriate brackets and screws. Plants such as herbs, succulents, and small flowering plants thrive in wall-mounted planters.
Trellises offer another excellent method for vertical gardening. By training climbing plants like ivy, jasmine, or climbing roses to grow on trellises, you can create a beautiful green wall. To install a trellis, select a strong material like wood or metal, and anchor it firmly into the ground or attach it to an existing structure. Regularly prune and guide the plants to ensure even growth and coverage.
Stacked pots provide a versatile and visually appealing option for vertical gardens. This DIY project involves stacking pots of varying sizes to create a tower-like structure. Begin by filling each pot with soil and planting your chosen flora, such as cascading petunias or trailing vines. As you stack the pots, ensure stability by anchoring them with a central rod or using a tiered stand. This arrangement allows for easy access and maintenance while providing a striking vertical display.
When selecting plants for your vertical garden, consider their light and water requirements. Plants with similar needs should be grouped together. Regular watering is crucial, especially for wall-mounted planters and stacked pots, as they can dry out quickly. Drip irrigation systems or self-watering planters can be useful in maintaining consistent moisture levels. Fertilizing your plants periodically will also promote healthy growth and vibrant blooms.
Maintaining a vertical garden involves regular pruning to manage growth and prevent overcrowding. Inspect your plants frequently for signs of pests or diseases, and address any issues promptly. By following these guidelines, your vertical garden will thrive, transforming your backyard into a lush, green haven.
Outdoor Furniture: Crafting Your Own Comfort
Creating your own outdoor furniture can significantly enhance the comfort and appeal of your backyard. DIY projects allow you to customize pieces to your specific tastes and needs, adding a personal touch that store-bought items often lack. Here, we will explore various types of outdoor furniture you can craft, such as benches, tables, and lounge chairs using materials like wood, pallets, or repurposed items.
One of the simplest yet most effective DIY outdoor furniture projects is building a wooden bench. Start by selecting durable wood, such as cedar or redwood, which are naturally resistant to the elements. Measure and cut the wood according to your desired bench size, ensuring all pieces fit together snugly. Assemble the bench using screws or nails, and sand the surfaces to prevent splinters. Finish by applying a weatherproof sealant to protect against moisture and UV rays.
For those interested in a more rustic look, pallet furniture offers a charming and eco-friendly option. Pallets can be repurposed into various furniture pieces, including coffee tables, sofas, and lounge chairs. Begin by sourcing clean, undamaged pallets. Disassemble them to retrieve the individual planks, then measure and cut them to size. Assemble your furniture piece by nailing or screwing the planks together, and sand any rough edges. Customize your creation with a coat of paint or stain, and add cushions or pillows for added comfort.
Repurposing old items into new furniture is another creative DIY approach. For example, an old door can be transformed into an outdoor dining table. Simply sand down the door, attach sturdy legs, and apply a weatherproof finish. Additionally, vintage crates can be stacked and secured to form unique storage benches or side tables.
When customizing your DIY furniture, consider incorporating decorative elements like stencils, mosaic tiles, or outdoor fabric. These additions can elevate the aesthetic appeal and make your pieces stand out. To ensure longevity, regularly maintain your furniture by resealing wood surfaces, tightening screws, and storing items indoors during harsh weather conditions.
By investing time and effort into crafting your own outdoor furniture, you can create a personalized and inviting backyard space that reflects your style and meets your comfort needs. Whether you’re building from scratch or repurposing old items, the possibilities are endless and the rewards are plentiful.


