Introduction to Upcycling
Upcycling has emerged as a popular trend, offering a creative and eco-friendly alternative to traditional recycling. While recycling involves breaking down materials to create new products, upcycling focuses on transforming old or discarded items into something of greater value or utility. This approach not only reduces waste but also allows individuals to engage in creative projects that can enhance their living spaces while saving money.
The importance of reducing waste cannot be overstated in today’s world. Landfills are overflowing, and the environmental impact of excessive waste is becoming increasingly evident. Upcycling presents a practical solution, enabling individuals to repurpose items that might otherwise be discarded. By giving new life to these objects, we can conserve resources, reduce our carbon footprint, and contribute to a more sustainable future.
Household items that can be upcycled are diverse and plentiful. From old furniture and clothing to glass jars and wooden pallets, the possibilities are endless. With a bit of imagination and some basic DIY skills, almost any item can be transformed into something useful or decorative. For instance, an old ladder can become a stylish bookshelf, or worn-out jeans can be turned into a unique tote bag.
In this blog post, we will explore ten exciting DIY projects that demonstrate the potential of upcycling. These projects are designed to be accessible to beginners and seasoned DIY enthusiasts alike. By following these step-by-step guides, readers can expect to create functional, beautiful pieces while simultaneously reducing waste and saving money. Whether you’re looking to revamp your home decor, organize your space, or simply enjoy a fulfilling creative activity, upcycling offers a myriad of benefits and endless opportunities for innovation.
Project 1: Stylish Storage Containers
Turning glass jars into stylish storage containers is a practical and aesthetically pleasing DIY project. You can use these containers in your kitchen for spices, grains, or in your bathroom for cotton balls and bath salts.
Materials: Glass jars, adhesive labels, chalkboard paint or printable labels, ribbon or twine, and a paintbrush.
Instructions:
1. Clean the glass jars thoroughly and remove any stickers or residue.
2. Apply a coat of chalkboard paint on the jar lids and let them dry completely.
3. Write the name of the contents on the labels or directly on the chalkboard-painted lids using chalk or a chalk marker.
4. Decorate the jars with ribbon or twine around the neck for an added touch.
Creative Tip: Use different sizes and shapes of jars for a more eclectic look. You can also paint the entire jar with glass paint to add a pop of color that matches your kitchen or bathroom decor.
Project 2: Decorative Lanterns or Candle Holders
Creating decorative lanterns or candle holders from glass jars can add a cozy and inviting ambiance to any space. This project is perfect for both indoor and outdoor settings.
Materials: Glass jars, tea light candles or LED candles, sand or small pebbles, wire or twine, and decorative elements like lace or beads.
Instructions:
1. Clean the glass jars and dry them completely.
2. Fill the bottom of the jars with a layer of sand or small pebbles to create a stable base for the candles.
3. Place the tea light or LED candles on top of the sand or pebbles.
4. Decorate the jars’ exterior with lace, beads, or other embellishments using glue.
5. Attach a handle made from wire or twine around the neck of the jars if you wish to hang them.
Creative Tip: Use colored sand or pebbles to match the theme of your decor. Additionally, you can create patterns on the jars using glass paint or etching cream for a more personalized touch.
Project 3: Terrarium or Mini Herb Garden
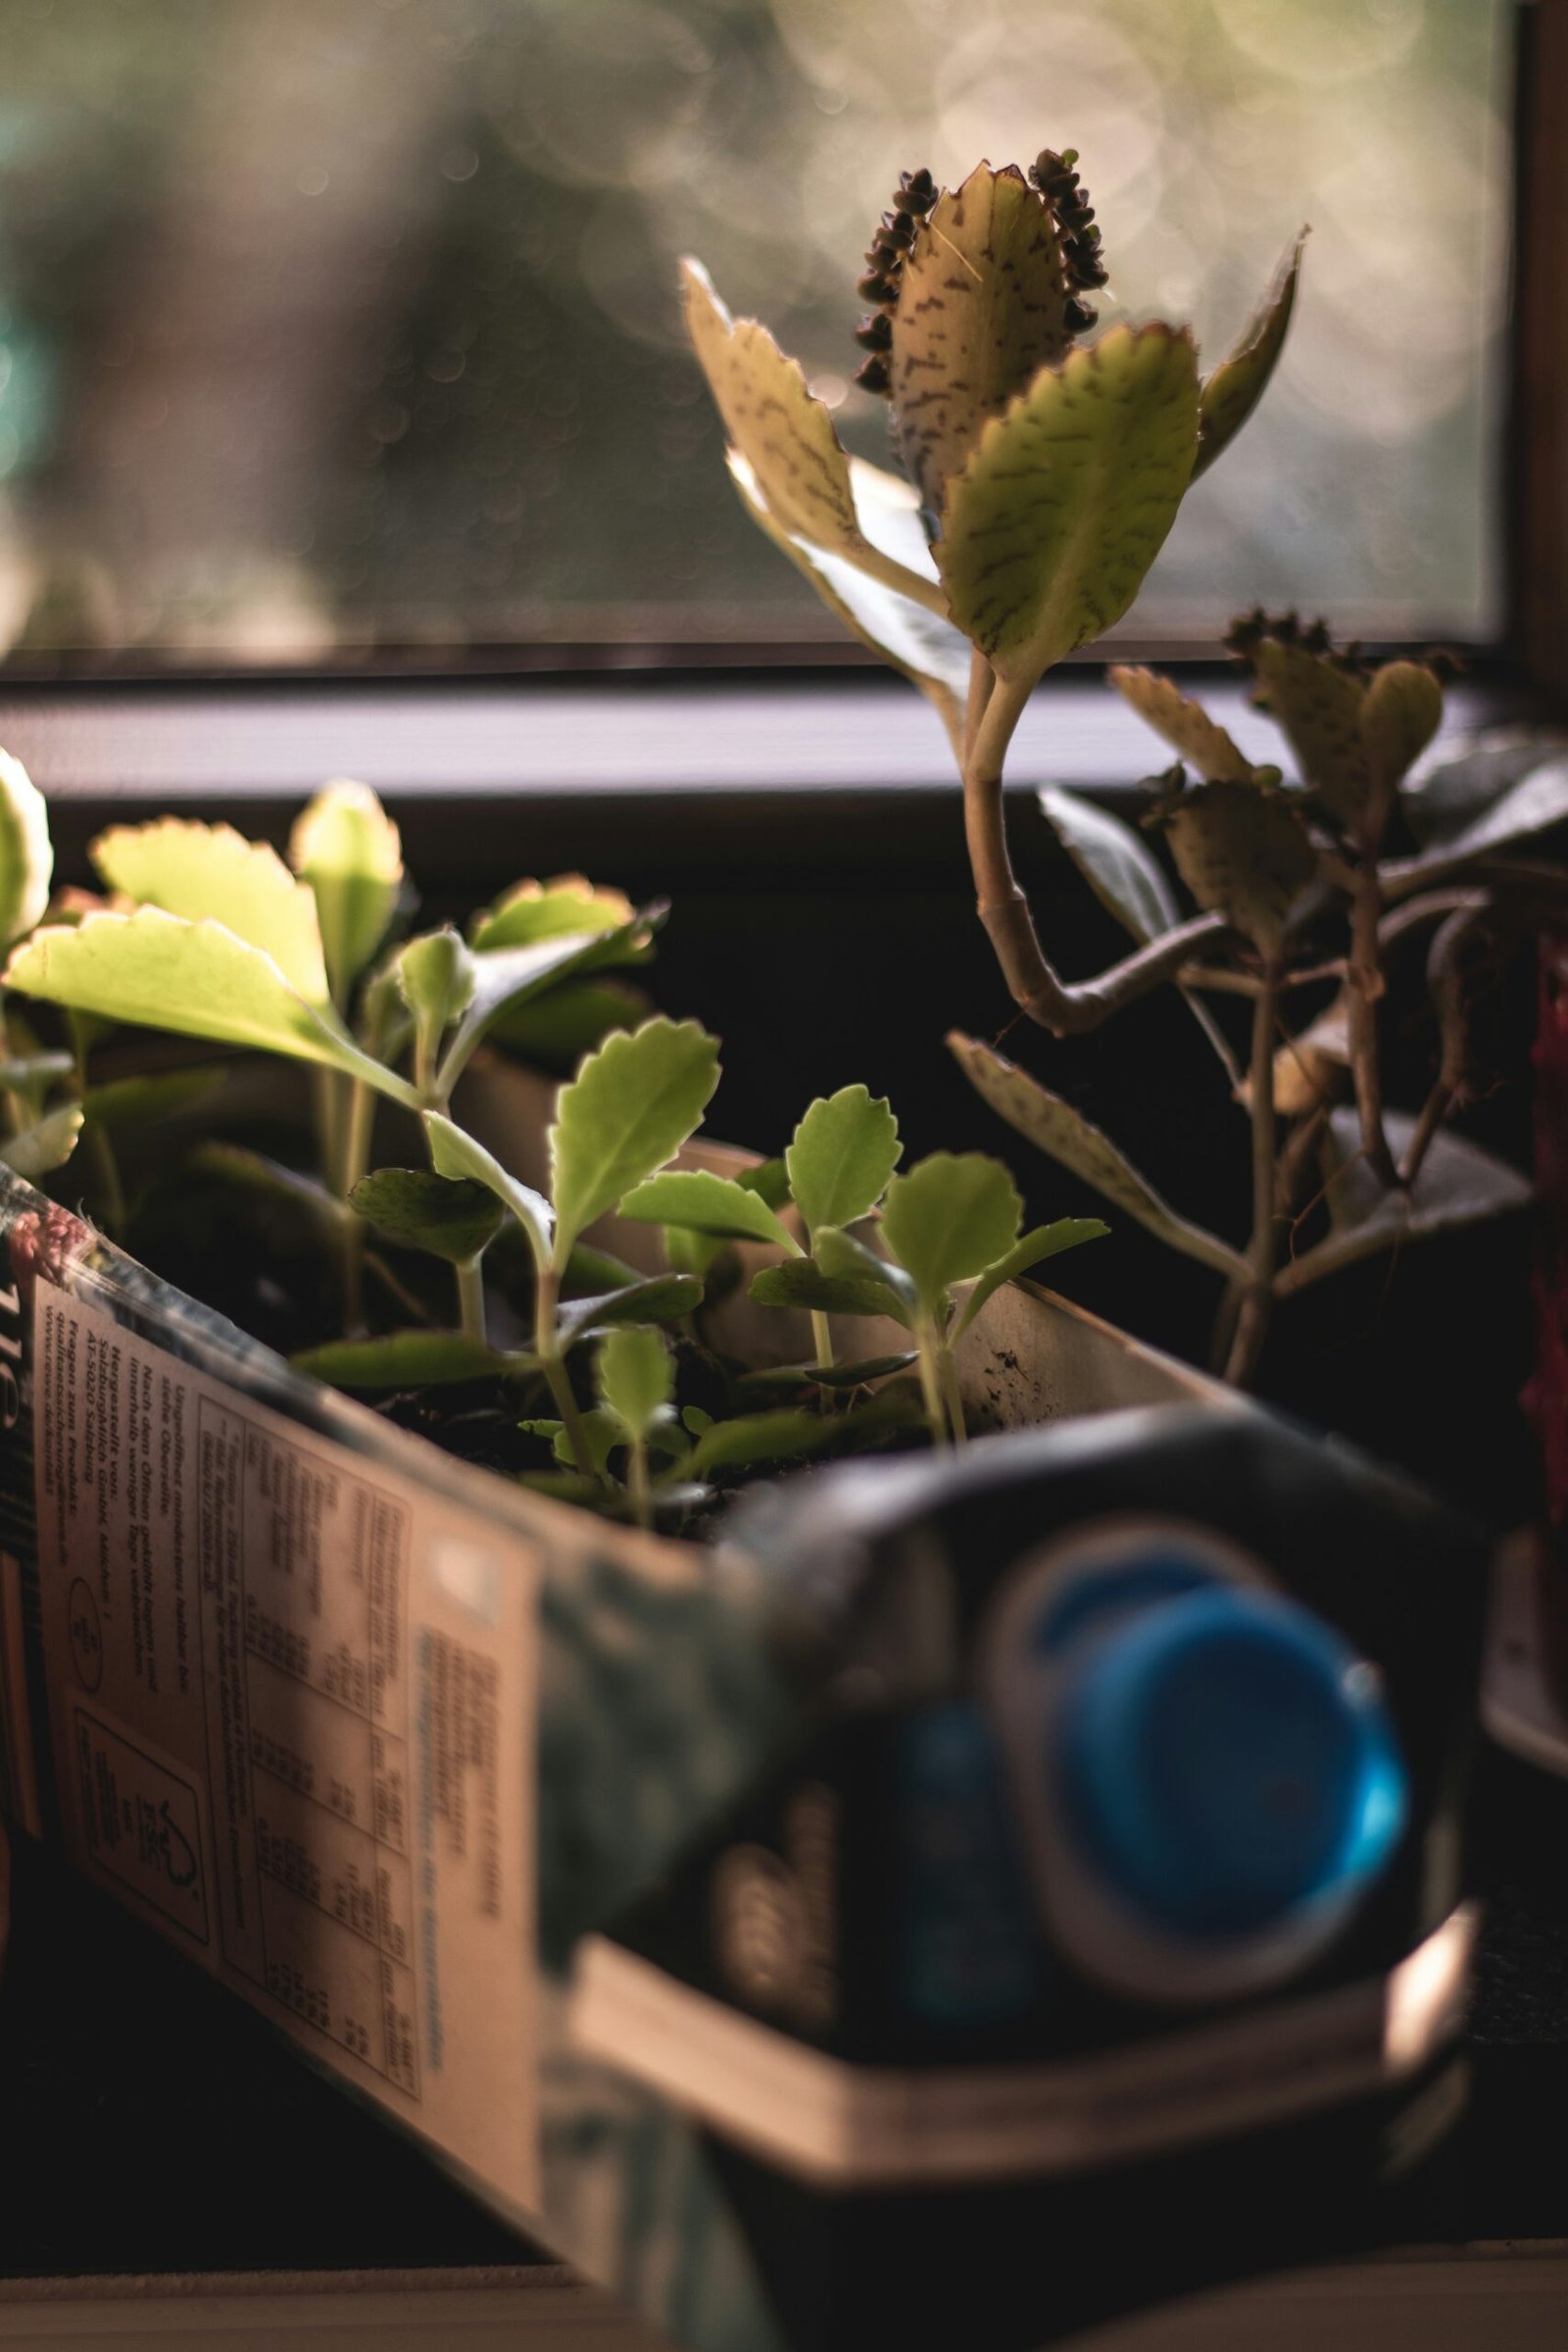
Transforming glass jars into terrariums or mini herb gardens is an excellent way to bring a bit of nature into your home. This project is both decorative and functional, providing a green touch to your living space.
Materials: Glass jars, small plants or herb seeds, potting soil, small stones or gravel, and moss (optional).
Instructions:
1. Clean the glass jars thoroughly and ensure they are completely dry.
2. Place a layer of small stones or gravel at the bottom of the jars for drainage.
3. Add a layer of potting soil on top of the stones, leaving enough space for the plants.
4. Plant the small plants or herb seeds into the soil and gently press them into place.
5. Optionally, add a layer of moss on top of the soil for additional moisture retention and decoration.
Creative Tip: Choose a variety of plants with different shapes and colors to create an interesting and visually appealing terrarium. For a mini herb garden, select herbs that you frequently use in cooking, such as basil, mint, or parsley.
Project 4: Painting and Stenciling an Old Dresser
Revamping an old dresser with paint and stencils can breathe new life into a dated piece of furniture. Begin by sanding the dresser to remove any existing finish, ensuring a smooth surface for the new paint. Use a primer to prepare the surface, followed by a coat of your chosen paint color. Once the paint is dry, choose a stencil pattern that complements your decor. Secure the stencil to the dresser using painter’s tape and apply a contrasting paint color with a stencil brush. Carefully remove the stencil and allow the paint to dry completely. For added durability, apply a clear topcoat. Tools and materials needed include sandpaper, primer, paint, stencils, painter’s tape, and a stencil brush. To add a unique touch, consider replacing the dresser knobs with stylish new hardware.
Project 5: Repurposing a Wooden Pallet into a Coffee Table or Rustic Bookshelf
Wooden pallets offer versatile DIY opportunities, such as transforming them into a charming coffee table or a rustic bookshelf. For a coffee table, start by selecting a pallet in good condition and sanding it to remove any rough edges. Cut the pallet to your desired size and attach caster wheels to the bottom for mobility. Optionally, add a glass top for a polished look. For a rustic bookshelf, disassemble the pallet and use the wood planks to create shelves. Sand the planks and assemble them into a bookshelf frame, securing the shelves with nails or screws. Finish by staining or painting the wood to match your decor. Essential tools and materials include a saw, sander, nails or screws, caster wheels, and paint or stain. Personalize your piece with decorative accessories or by adding a custom nameplate.
Project 6: Reupholstering a Worn-Out Chair or Bench
Reupholstering a tired chair or bench can dramatically enhance its appearance and comfort. Begin by removing the old fabric and padding, being careful to preserve the original structure. Measure and cut new fabric and padding to fit the chair or bench. Attach the padding first, followed by the fabric, using a staple gun to secure it in place. Pay special attention to corners and curves, ensuring the fabric is smooth and taut. Finish by reattaching any trim or decorative elements. Tools and materials needed include fabric, padding, a staple gun, and scissors. To give your reupholstered piece a distinctive look, choose fabric with bold patterns or textures. Adding decorative trim or tufting can also elevate the overall aesthetic.
Project 7: Fabric Tote Bag from Old T-Shirts
Transforming old t-shirts into fabric tote bags is a simple yet effective DIY project. To begin, gather the following materials: old t-shirts, scissors, a sewing machine or needle and thread, and fabric chalk or a marker. Start by cutting off the sleeves and neckline of the t-shirt. Turn it inside out and sew the bottom hem closed. For added durability, consider sewing a double seam. Next, create handles by cutting two strips from the discarded sleeves. Attach these strips to the top of the bag. You can customize your tote by adding pockets or decorative elements using fabric paint or patches. This eco-friendly project not only reduces waste but also provides you with a reusable bag perfect for shopping or daily use.
Project 8: Decorative Wall Art from Scrap Paper or Magazines
Creating decorative wall art using scrap paper or magazines is an excellent way to upcycle materials. Begin by collecting old magazines, colored paper, glue, a canvas or sturdy cardboard, and scissors. Cut out shapes, patterns, or images from the magazines and paper. Arrange these cutouts on your canvas to form a cohesive design or collage. Once satisfied with the layout, glue the pieces in place. For a more polished look, consider framing the artwork. This project allows for endless customization based on your personal style and the materials at hand. It’s a cost-effective way to add a unique touch to your home decor while reducing paper waste.
Project 9: Bird Feeder from a Plastic Bottle
Building a bird feeder from a plastic bottle is a simple DIY project that benefits your local wildlife. You will need a plastic bottle, two wooden spoons, a utility knife, twine, and birdseed. Start by making two small holes opposite each other near the bottom of the bottle to insert the handles of the wooden spoons. These will act as perches for the birds. Cut larger holes above the perches to allow the birdseed to spill out onto the spoons. Fill the bottle with birdseed and secure the cap. Finally, use twine to hang the feeder from a tree branch or hook. This project not only recycles plastic but also provides a valuable food source for birds.
Project 10: Jewelry Organizer from an Old Picture Frame
Crafting a jewelry organizer from an old picture frame combines functionality with aesthetic appeal. Materials needed include an old picture frame, chicken wire or mesh, a staple gun, and decorative hooks or knobs. Start by removing the glass and backing from the frame. Cut the chicken wire or mesh to fit the frame and staple it securely to the back. Attach hooks or knobs to the bottom of the frame for hanging necklaces and bracelets. For added flair, consider painting or decorating the frame to match your personal style. This project not only repurposes an old frame but also provides an elegant solution for organizing and displaying your jewelry.


