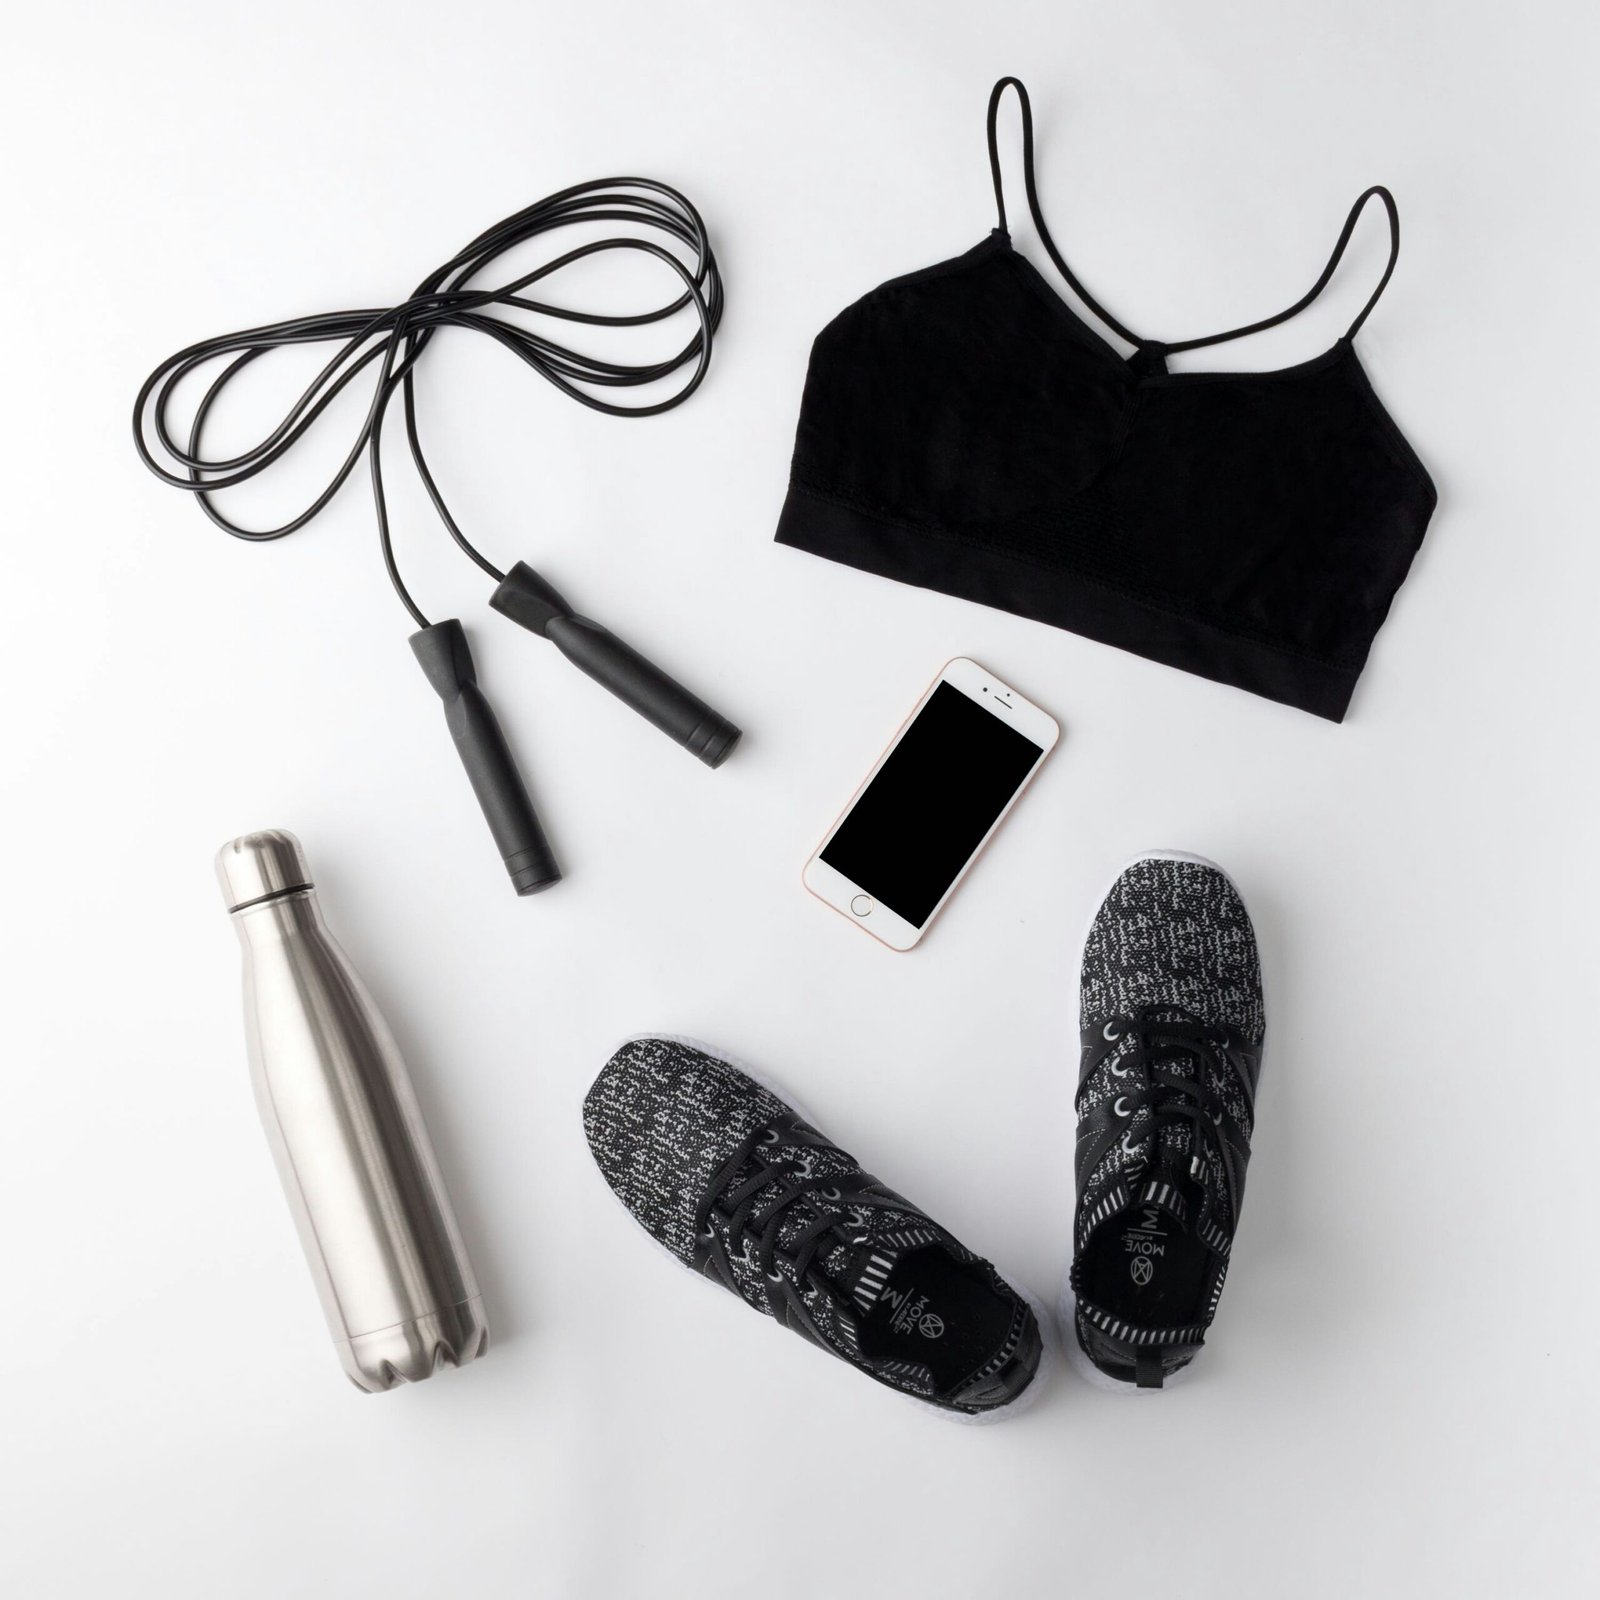
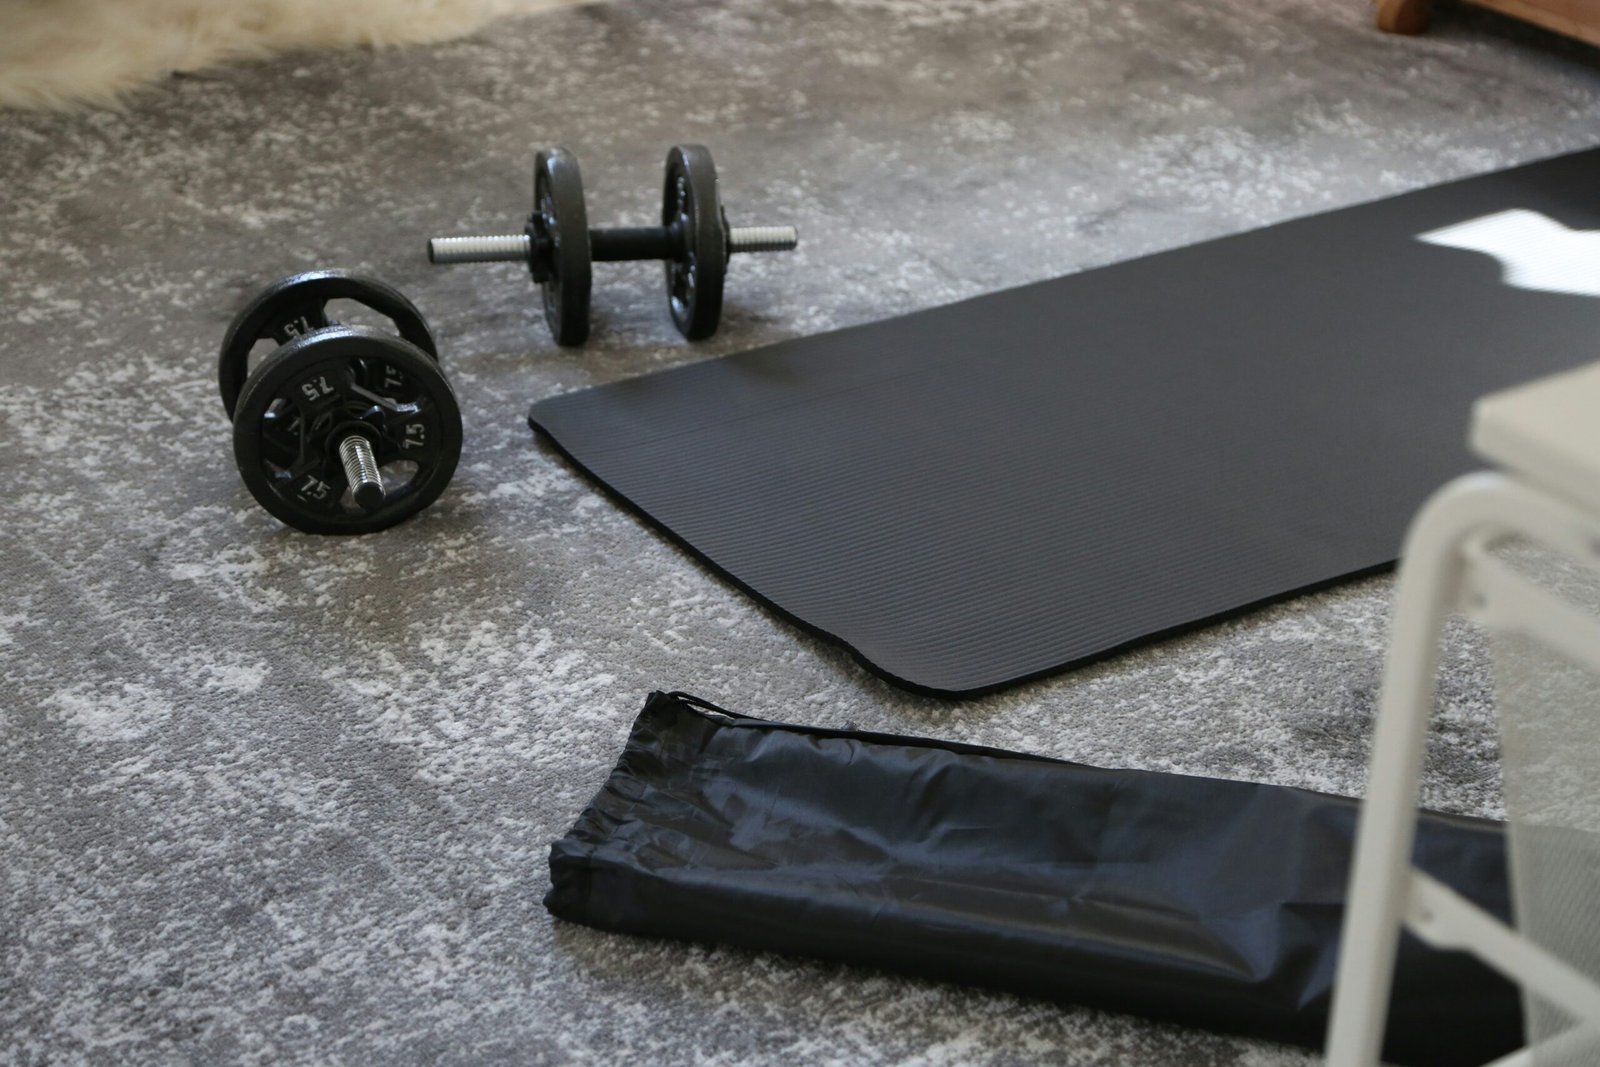
In recent years, the trend of DIY fitness equipment has gained substantial momentum, driven by the rising costs of commercial gym memberships and exercise machinery. This movement towards self-made workout tools offers a compelling and cost-effective alternative for fitness enthusiasts looking to achieve their goals without breaking the bank. Traditional fitness equipment can be prohibitively expensive, often deterring individuals from pursuing their fitness objectives. By contrast, DIY fitness equipment enables users to harness the power of customization, tailoring their workout apparatus to meet specific fitness requirements.
One of the primary advantages of constructing your own fitness equipment is the potential for significant financial savings. Purchasing high-end gym equipment can set one back hundreds, if not thousands, of dollars. Conversely, DIY fitness projects can often be completed with minimal expenditure by repurposing everyday household items or sourcing inexpensive materials. This practical approach not only minimizes costs but also offers an eco-friendly alternative by reducing the need for new resources.
Moreover, DIY fitness equipment allows individuals to exercise a high degree of creativity and hands-on skills. Whether building a set of adjustable dumbbells from discarded pipes or constructing a sturdy pull-up bar in a home garage, the process itself can be rewarding and educational. This creative endeavor fosters a deeper connection to one’s fitness journey, promoting a sense of accomplishment beyond the physical benefits of exercise.
Customization is another significant benefit of DIY fitness equipment. Unlike generic gym machines that cater to a wide audience, self-made fitness tools can be designed to meet personal health and fitness objectives. This customization ensures greater adaptability, allowing for exercises that specifically target desired muscle groups and fitness goals. For example, a homemade resistance band station can be configured to provide the precise amount of tension needed, which is often more challenging to achieve with commercial equipment.
In conclusion, the surge in popularity of DIY fitness equipment is a testament to its cost-effectiveness, creative potential, and customizability. Embracing this innovative approach offers an accessible and enriching pathway for individuals to enhance their fitness regimes without the financial burden of traditional gym setups.
Essential Tools and Materials
Creating your own fitness equipment can be both a cost-effective and highly rewarding endeavor. To get started, you’ll need to gather a selection of basic tools and materials, many of which are readily available and affordable. Key items include PVC pipes, duct tape, sand, wood, screws, and other common materials known for their durability and versatility.
PVC pipes are particularly useful for constructing a variety of fitness equipment due to their light weight, strength, and ease of manipulation. These pipes can be used to build items such as parallel bars and even lightweight barbells. When cutting and assembling PVC pipes, ensure that you use a hacksaw or PVC cutter for precision and safety. Duct tape is another essential item, serving as a versatile binding material that can add an extra layer of durability to your creations.
Sand can serve multiple purposes in DIY fitness equipment. For instance, it can be used as a filler in homemade weights or sandbags. When handling sand, consider using sturdy plastic bags and canvas covers to prevent leaks and extend the lifespan of the equipment. Application of duct tape around these bags can further enhance their durability.
Wood is a versatile and robust material that can be used for making different types of equipment, such as plyometric boxes and even weightlifting platforms. When selecting wood, prioritize quality to ensure stability and longevity. Plywood sheets and 2×4 wooden planks are excellent choices for various projects. Screws and nails are necessary for joining wooden parts securely. It’s advisable to use heavy-duty screws that can withstand substantial stress and repetitive use.
Safety is paramount in any DIY project, particularly when building fitness equipment. Always ensure that your creations are stable, durable, and capable of bearing the intended load. Regular inspections of your equipment can also help in identifying wear and tear before they become hazardous.
When it comes to sourcing materials, you can often find cost-effective supplies at local hardware stores, where staff can also offer valuable advice. Online marketplaces are another excellent source, providing a wide range of options that can be delivered directly to your door. Buying in bulk can also be economical, especially for items like screws and duct tape.
By carefully selecting and sourcing the right materials, you can construct durable and practical fitness equipment that suits your specific needs while saving money and enjoying the satisfaction that comes from a DIY project.
Step-by-Step Guide to Popular DIY Equipment
Creating your own fitness equipment can be a cost-effective and rewarding endeavor that allows for personalization and resourcefulness. Below are detailed, easy-to-follow instructions for making a sandbag, pull-up bar, resistance bands, and a medicine ball.
DIY Sandbag
Materials: Heavy-duty canvas or duffel bag, plastic sealable bags, playground sand, duct tape.
- Fill plastic bags with sand, ensuring to leave a small amount of air. Seal each bag tightly.
- Reinforce each bag by wrapping it with duct tape for enhanced durability.
- Place the sand-filled bags into the canvas or duffel bag.
- Securely close the primary bag using strong tape or by sealing it with a robust zipper.
Safety Tip: Ensure the primary bag is sturdy to prevent sand from leaking out during use.
DIY Pull-Up Bar
Materials: Steel or galvanized pipe (around 1 inch in diameter), pipe flanges, screws, wall anchors.
- Identify a stable wall or door frame to install the pull-up bar.
- Fix the pipe flanges to the wall or frame using appropriate screws and wall anchors.
- Screw the steel pipe into the flanges to complete the setup.
- Test the pull-up bar cautiously to ensure it is secure before use.
Safety Tip: Regularly check the bar and mounting points for any signs of wear or potential weakness.
DIY Resistance Bands
Materials: Heavy-duty latex tubing, small carabiners, duct tape, nylon straps.
- Cut the latex tubing to the desired length.
- Loop each end of the tubing and secure with duct tape to prevent unraveling.
- Attach carabiners to the looped ends for easy connection to various anchor points.
- Use nylon straps if necessary to create handles or ankle straps.
Safety Tip: Inspect the tubing regularly for any signs of wear or tear to avoid snapping during use.
DIY Medicine Ball
Materials: Old basketball, sand or rice, duct tape.
- Cut a small slit in the basketball.
- Using a funnel, fill the basketball with sand or rice.
- Seal the slit securely with duct tape, ensuring the tape is layered for extra security.
- Optionally, wrap the entire ball with duct tape for added durability.
Safety Tip: Ensure the filling is firmly packed and the ball is evenly balanced.
For best results, use accompanying photos or diagrams to visualize each step effectively. Remember, safety is paramount; always test your equipment before incorporating it into your fitness routine.
Incorporating DIY Equipment into Your Workout Routine
Integrating DIY fitness equipment into your workout routine is a cost-effective way to enhance your exercise regimen. Whether you’re focused on strength training, cardio, or flexibility exercises, homemade equipment offers versatile options for all fitness levels. Here, we explore examples of exercises using DIY gear and discuss how to seamlessly incorporate them into your daily workouts.
For strength training, consider using homemade sandbags and resistance bands. Sandbags filled with rice or sand can be used for squats, deadlifts, and lunges, effectively targeting the glutes, quadriceps, and hamstrings. Improvised resistance bands made from durable elastic materials can assist with exercises such as bicep curls, tricep extensions, and chest presses, working the upper body muscles.
On the cardio front, you can craft a jump rope using a sturdy rope or cord. Jumping rope is an excellent full-body workout that improves cardiovascular fitness and burns calories rapidly. Additionally, consider assembling a set of stepping blocks using stacked wooden boards; these can be used for step aerobics, which enhance cardiovascular endurance and target the lower body.
For flexibility exercises, DIY yoga props can be particularly beneficial. Create yoga blocks from firm foam or folded towels, which assist in maintaining correct posture and balance during poses. A DIY yoga strap, fashioned from an old belt or fabric, helps deepen stretches and improves flexibility.
To create a balanced fitness plan with your DIY equipment, aim to incorporate a mix of strength, cardio, and flexibility workouts throughout the week. For instance, alternate between days focused on strength training with sandbags and resistance bands, cardio sessions with jump ropes and stepping blocks, and flexibility routines using homemade yoga props. This varied approach ensures comprehensive muscle engagement, cardiovascular health, and enhanced flexibility.
By integrating DIY fitness equipment into your workout routine, you can achieve a well-rounded and sustainable fitness plan without breaking the bank. The versatility of these homemade tools makes them ideal for diverse workouts, contributing to overall physical health and wellbeing.

