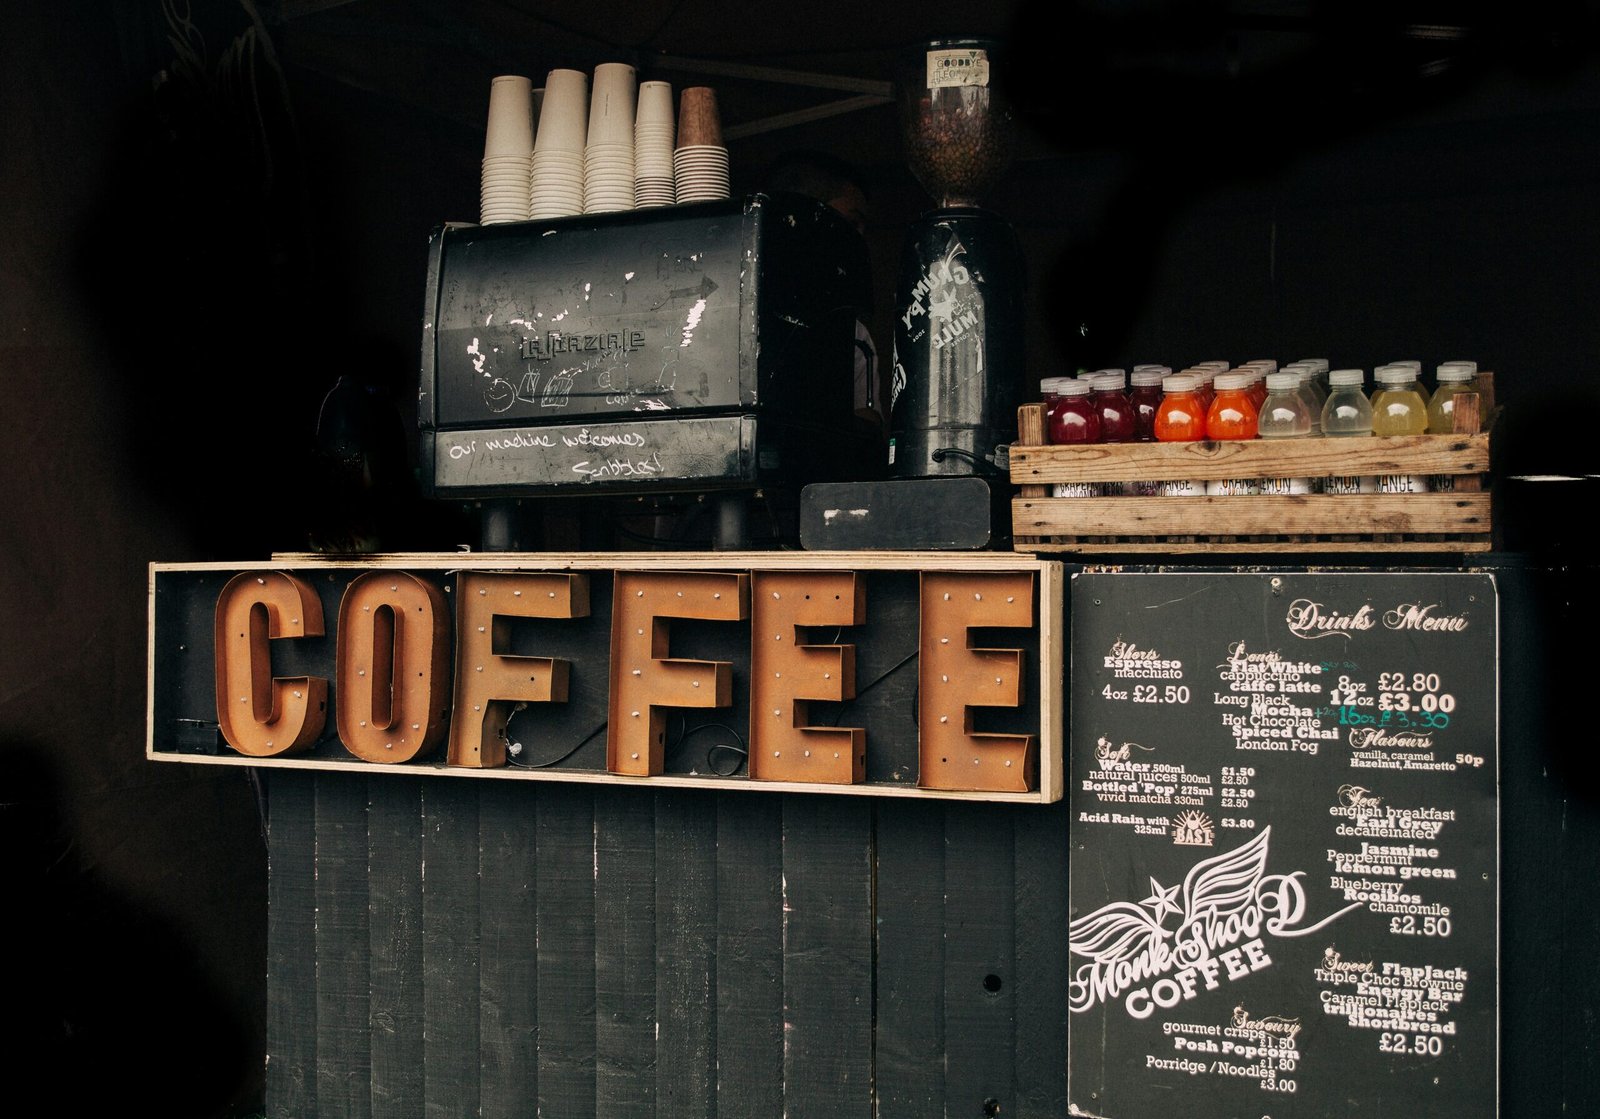
In recent years, the popularity of DIY chalkboard signs has surged, becoming a favored choice for numerous events and applications. Whether you are planning a wedding, organizing a party, enhancing your home decor, or promoting a business, these versatile signs offer an aesthetically pleasing and functional solution. DIY chalkboard signs are celebrated for their adaptability and the charm they bring to both formal and casual settings.
One of the key benefits of creating your own chalkboard signs is the significant cost savings they offer. Commercially available chalkboard signs can be quite expensive, especially when custom-designed. By making your own, you can achieve a similar, if not superior, result at a fraction of the cost. This budget-friendly approach allows for extensive customization, letting you personalize each sign to fit the specific theme or ambiance of your event or space.
Additionally, the customization potential of DIY chalkboard signs is virtually limitless. You can tailor the size, shape, color, and design to suit your exact needs and preferences. This bespoke element ensures that your chalkboard signs stand out and reflect your unique style or brand identity. From elegant and sophisticated looks for weddings to vibrant and playful designs for birthdays, the flexibility of chalkboard signs makes them suitable for any occasion.
Crafting your own chalkboard signs also adds a personal touch that can significantly enhance the atmosphere and experience of your event or venue. The effort and creativity invested in making these signs contribute to a more intimate and memorable setting. Whether you are labeling food at a buffet, guiding guests with directional signs, or displaying inspirational quotes in your home, the handmade aspect of chalkboard signs can convey warmth and thoughtfulness.
In summary, the appeal of DIY chalkboard signs lies in their versatility, cost-effectiveness, and the personal touch they bring to any occasion. By opting to create your own, you not only save money but also ensure that each sign perfectly aligns with your vision and needs.
Materials and Tools You Will Need
Creating DIY chalkboard signs requires a few essential materials and tools to ensure a polished and durable end product. The first consideration is the chalkboard surface itself. Popular options include wood, metal, and canvas. Wooden surfaces offer a rustic, classic look while metal provides a sleek, modern finish. Canvas is lightweight and versatile. These surfaces can be purchased at craft stores or online retailers. To save on costs, consider repurposing items such as old picture frames, wooden boards, or metal trays by applying chalkboard paint to them.
Next, you’ll need chalk and chalk markers. Traditional chalk comes in an array of colors and is ideal for a vintage appearance. Chalk markers, available in fine or bold tips, offer a more precise, vibrant option that is often preferable for detailed work. Look for high-quality, non-toxic options at art supply stores or online vendors.
Sealants are crucial for preserving your chalkboard signs, especially if they will be used outdoors or handled frequently. Spray sealants offer an easy application method, while brush-on sealants provide more control. It is important to select a sealant designed for your specific surface type to ensure longevity.
To add decorative elements, consider using stencils, ribbons, and frames. Stencils can help achieve uniform lettering and intricate designs, while ribbons and frames add a finished touch to your signs. These can often be found at craft stores, dollar stores, or even created at home with some creativity.
For those interested in eco-friendly options, upcycling household items is an excellent route. Old picture frames can be turned into ornate chalkboard signs with a coat of chalkboard paint. Wooden serving trays or metal sheets can be repurposed similarly. This not only saves money but also adds a unique, personal touch to your DIY project.
By carefully selecting your materials and tools, and exploring creative upcycling opportunities, you can create unique and sustainable chalkboard signs for any occasion, all while staying within budget.
Step-by-Step Guide to Making DIY Chalkboard Signs
Creating your own DIY chalkboard signs can be a fulfilling and creative project suitable for any occasion. Follow this comprehensive guide to ensure your chalkboard signs are both attractive and professionally finished.
1. Prepare the Surface
The first step in making a DIY chalkboard sign involves preparing the surface. You can use various materials such as wood, metal, or even glass. Sand the surface smoothly to ensure that the chalkboard paint adheres properly. Clean it thoroughly to remove dust and debris, as these can affect the paint’s finish.
2. Apply Chalkboard Paint
Once the surface is prepared, apply a coat of chalkboard paint. This can be found in most craft stores and is available in a range of colors. Use a smooth, even stroke to apply the paint, ensuring there are no bubbles or streaks. Let the first coat dry completely, typically for at least four hours, before applying a second coat. After the final coat, allow the surface to cure for 24-48 hours.
3. Plan Your Design
While the paint dries, take some time to plan your design. Sketch your layout on paper first, deciding on the text and any illustrations you’d like to include. Consider using stencils for neat and uniform lettering, or practice free-hand designs if you feel confident. Having a clear plan will help ensure your final product looks polished.
4. Transferring Design to Chalkboard
Once the chalkboard is fully cured, lightly rub a piece of chalk over the entire surface and then wipe it off with a soft cloth. This process, known as seasoning, helps prevent ghosting. Use a piece of chalk or a chalk marker to carefully transfer your design onto the chalkboard. Work slowly to maintain accuracy, and use a ruler for any straight lines.
5. Fixing Mistakes
If you make a mistake, don’t worry. Gently erase errors with a damp cloth or cotton swab. For stubborn marks, a bit of baking soda on a damp cloth can do the trick. Just be careful not to scrub too hard, as you may remove the chalkboard paint.
6. Achieving a Professional Finish
To achieve a professional finish, take your time with the final touches. After the design is complete, consider using a fixative spray made for chalk art to set your work and prevent smudging. This will make your DIY chalkboard sign durable and suitable for repeated use.
By following these steps and incorporating these tips and tricks, you’ll be able to create beautiful and personalized chalkboard signs perfect for any occasion.
Creative Ideas and Inspiration
Creating DIY chalkboard signs offers endless opportunities to tailor your decorations to any occasion. Whether you’re hosting a wedding, celebrating a birthday, or simply want to spruce up your home office, a custom chalkboard sign can add both practicality and charm to your space. Here are a few inspiring ideas to get your creative juices flowing.
For weddings, consider designing a chalkboard seating chart to guide guests to their tables. Incorporate elegant calligraphy, floral motifs, and perhaps a monogram of the couple’s initials to make it truly special. For a rustic wedding, you might opt for weathered wood frames and vintage-inspired fonts, while a minimalist ceremony could benefit from sleek, modern typography on a crisp blackboard.
Birthday parties also present a perfect opportunity to use chalkboard signs. A whimsical welcome sign at the entrance can set a festive tone for the celebration. Using bright colors and playful fonts can create a cheerful mood. You can go a step further by adding photos, balloons, or themed decorations to complement the sign and enhance the party atmosphere.
An excellent way to use chalkboards in your daily life is by crafting a weekly menu board for your kitchen. Not only does it help keep your meal planning organized, but it also serves as a charming decor piece. Try different design elements each week—like doodles, borders, or themed illustrations—to keep things fresh and engaging.
For those working from home, a chalkboard featuring motivational quotes is a fantastic addition to a home office. Choose words of encouragement or your favorite inspirational sayings to boost your productivity and morale. Consider accents like gold frames or minimalist designs to match the aesthetic of your workspace.
Don’t be afraid to inject your own style into your chalkboard creations. Whether you prefer a rustic, vintage appeal with distressed frames and ornate drawings, or a sleek, modern look with clean lines and muted tones, make your signs a reflection of your personality and the occasion at hand. Personal touches like unique fonts, color schemes, and illustrations can make your DIY chalkboard signs all the more special.


