Creating Custom Storage Solutions
Designing and building custom storage solutions can transform your kitchen into a more organized and efficient space. Not only does this increase functionality, but it also adds a personalized touch to your home. Here, we discuss various DIY projects including floating shelves, custom-built cabinets, and drawer organizers, alongside materials, methods, and helpful tips for optimal space utilization.
Floating shelves are a versatile and straightforward option that offer additional storage without overwhelming your space. To start, you’ll need materials such as pine boards, brackets, screws, stud finders, and a level. First, find and mark the studs on your wall. Next, hold the brackets to the wall and mark where to drill, ensuring they’re level. After securing the brackets, attach the pine boards, completing your floating shelf setup. These shelves are perfect for storing spices, cookbooks, or displaying decorative items.
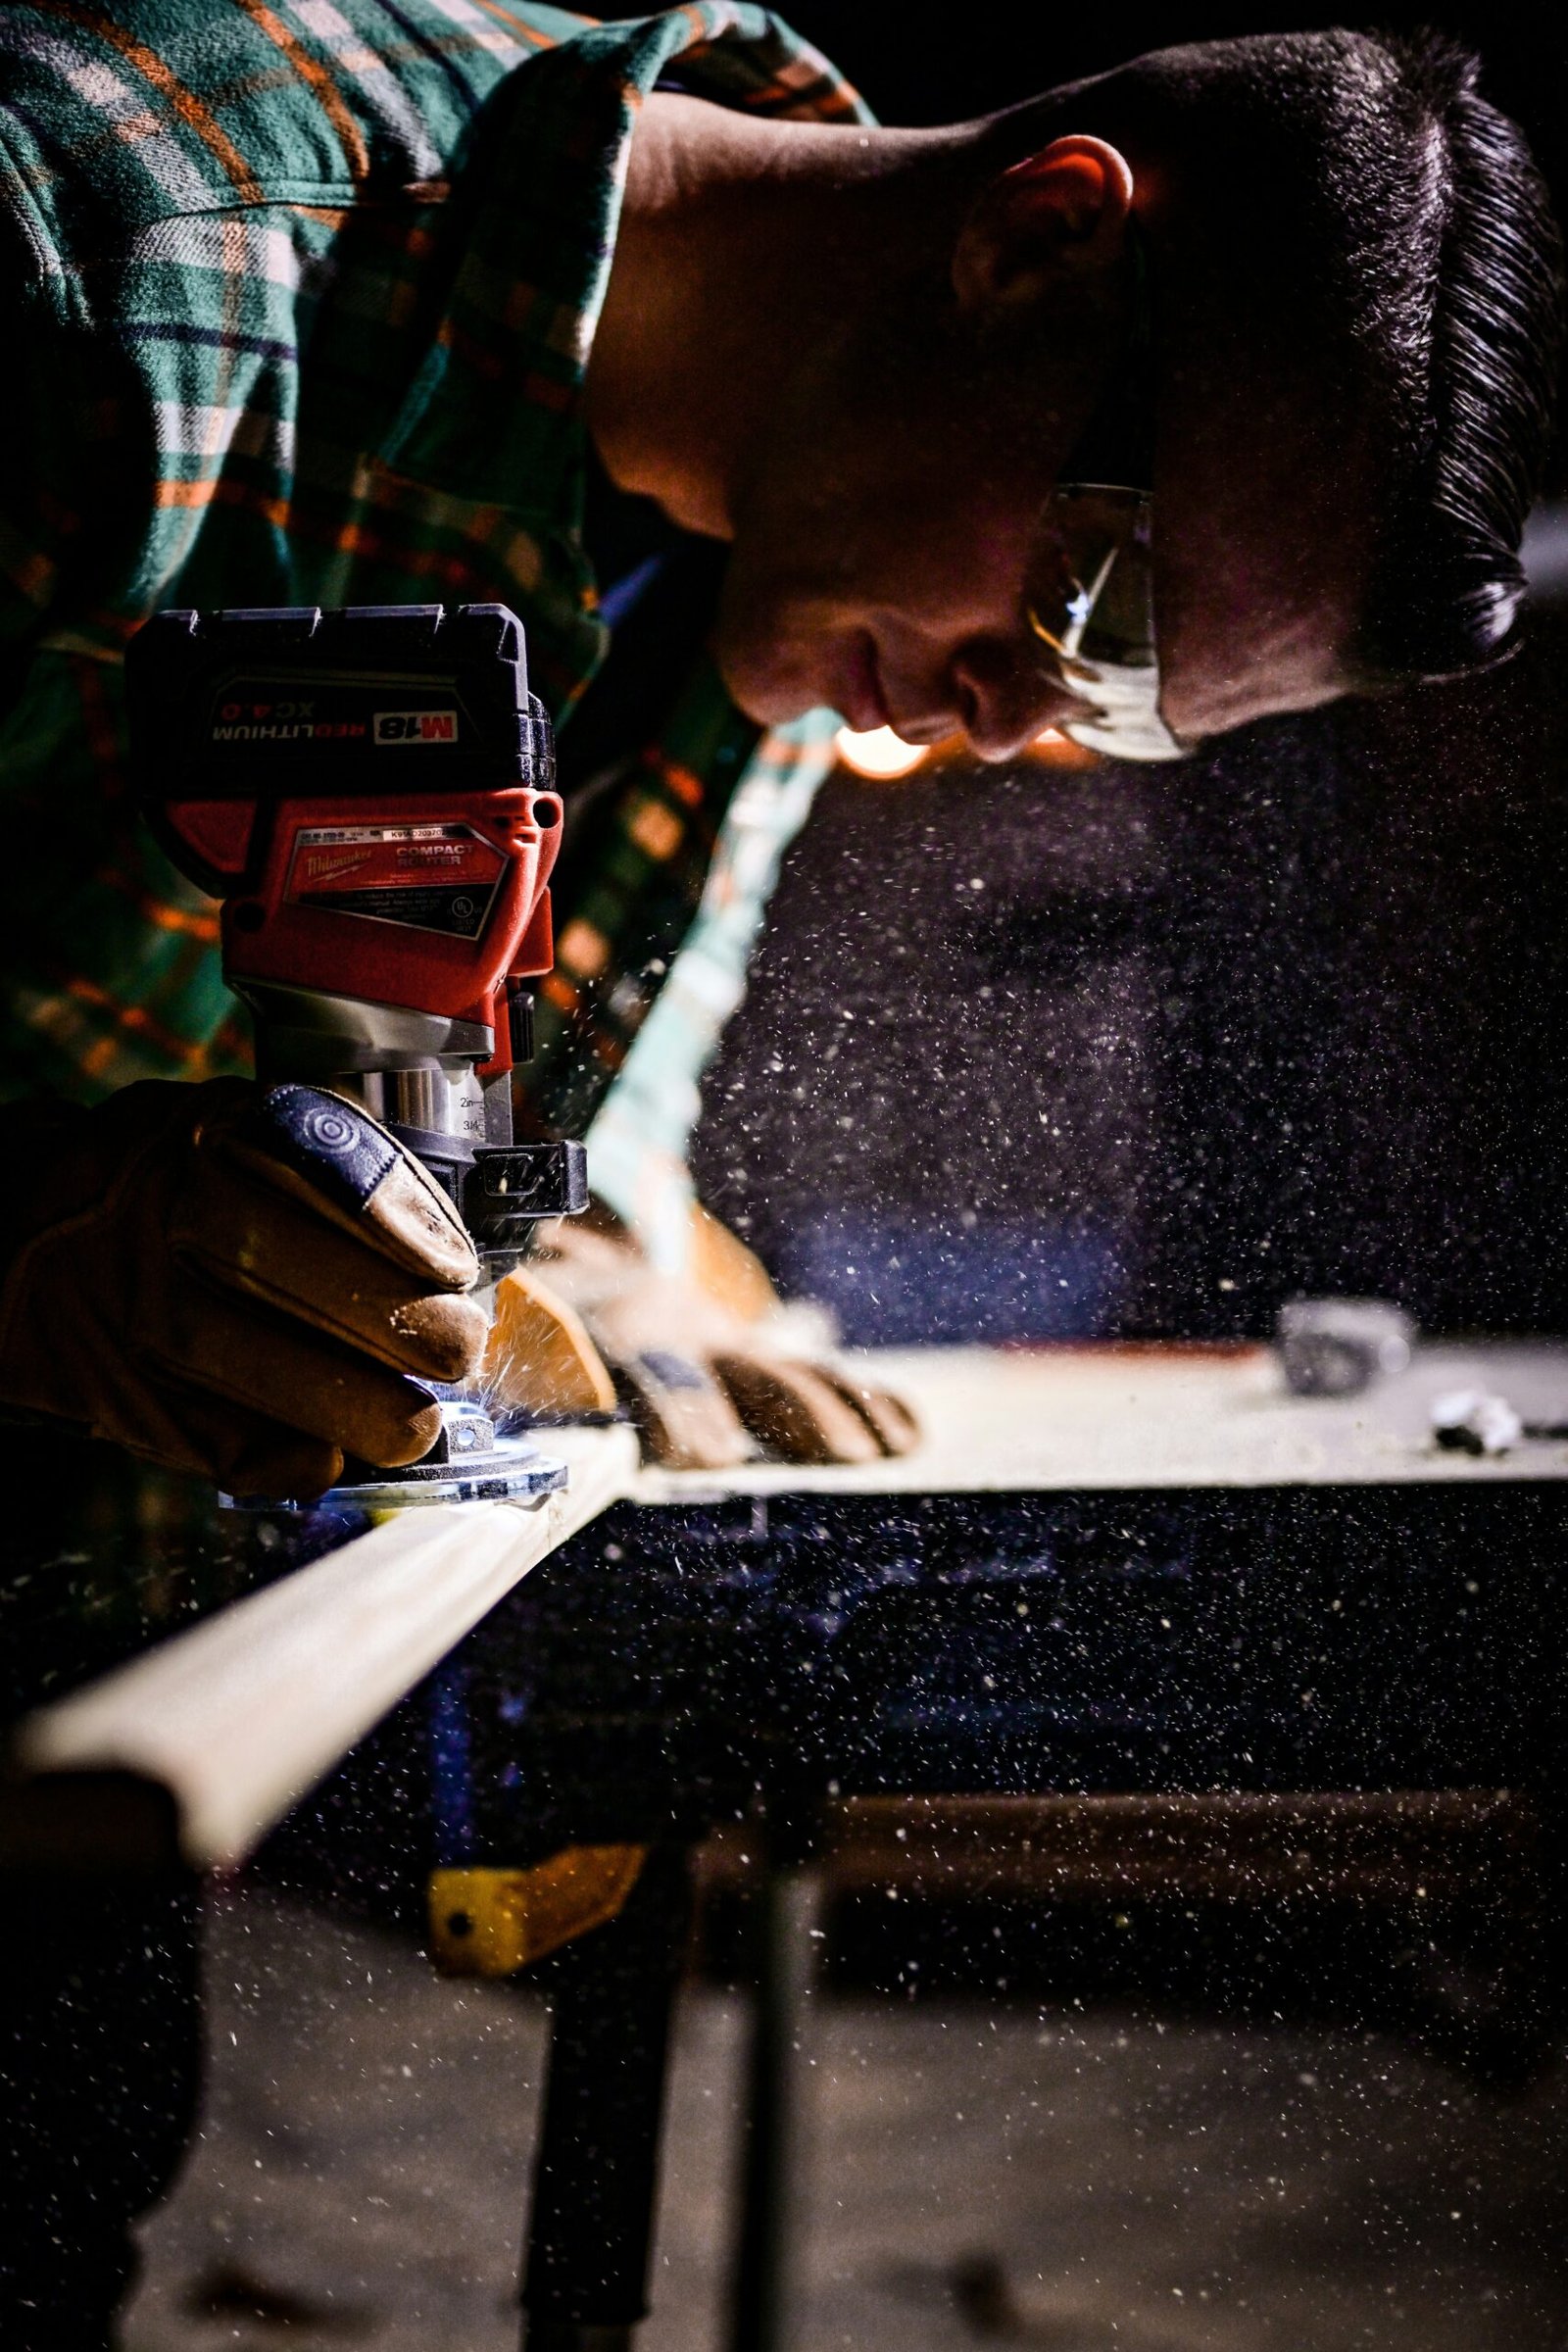
For more substantial storage needs, custom-built cabinets can be the answer. Begin by measuring your available space and planning your cabinet dimensions accordingly. You will need plywood, wood glue, nails, and a saw for cutting both the plywood and trim. Cut the plywood according to your measurements, then assemble the pieces using wood glue and nails for support. Attach the cabinet doors with hinges, and finish with a coat of paint or varnish. Custom cabinets enable you to utilize otherwise underused space, such as awkward corners or gaps between appliances.
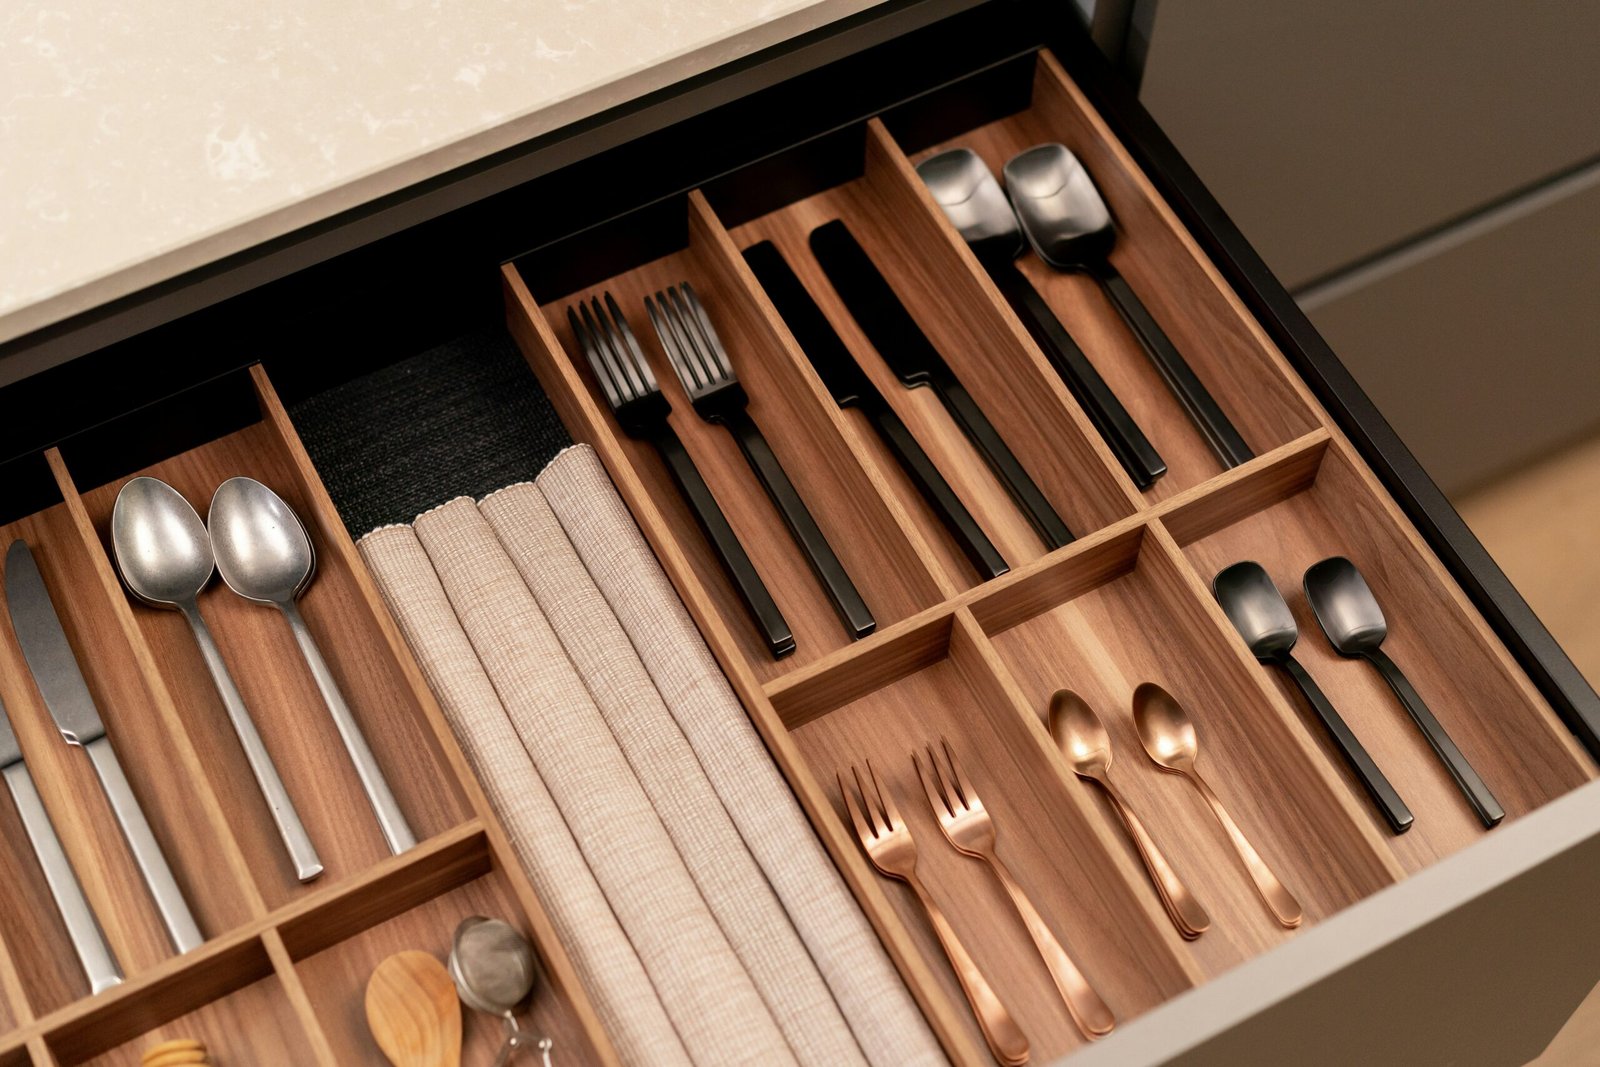
Drawer organizers are another essential component for a well-ordered kitchen. To create these, you’ll require thin plywood or MDF, a saw, and wood glue. Measure the inside dimensions of your drawers and cut the material to fit. Arrange the pieces to form small compartments within the drawer, then secure them with wood glue. This setup is ideal for organizing utensils, ensuring everything has its place.
The benefits of a well-organized kitchen are profound. Having designated spots for every item simplifies meal preparation and keeps your cooking environment cleaner, reducing clutter and making it easier to maintain day-to-day. Real-life examples show that these DIY storage projects not only enhance functionality but also add aesthetic value.
Incorporating custom storage solutions tailored to your specific needs will not only beautify your kitchen but also ensure it operates seamlessly, making your daily culinary activities more enjoyable and less stressful.
Repurposing Everyday Items for Kitchen Use
Repurposing everyday household items can transform your kitchen into a well-organized and aesthetically pleasing space. With a bit of creativity, you can give new life to items you already have, contributing to a more sustainable and cost-effective approach to kitchen organization. This section will explore some inventive DIY projects, including step-by-step tutorials, to help you get started.
One popular project is converting old mason jars into storage containers for dry goods such as flour, sugar, and pasta. To do this, you’ll need clean mason jars, labels, and a permanent marker. Simply wash the jars thoroughly, dry them completely, and fill them with your chosen goods. Label the jars for easy identification and arrange them on your kitchen shelf or countertop for a charming yet functional display.
Another useful idea involves using tension rods to create extra storage space under your sink. Tension rods are easy to install and can support the weight of spray bottles and other cleaning supplies. All you need are adjustable tension rods, which can be found at most hardware stores. Fit them snugly under your sink and drape your cleaning supplies over them. This simple addition can free up significant cabinet space and make your supplies more accessible.
If you’re looking to add a rustic touch, consider turning an old ladder into a pot rack. This project requires a sturdy wooden ladder, hooks, and a drill. First, clean and sand the ladder to remove any rough edges or splinters. Drill holes along the ladder’s rungs and attach the hooks. Secure the ladder to your ceiling with strong brackets, and use the hooks to hang your pots and pans. This creative solution not only saves storage space but also adds a unique farmhouse charm to your kitchen.
The environmental and financial benefits of repurposing items are substantial. By giving new life to unused household items, you reduce waste and save money that would have been spent on new products. Additionally, these projects often require minimal materials, making them cost-effective and eco-friendly alternatives to traditional kitchen organizers.
Many DIY enthusiasts have successfully implemented these repurposing ideas in their kitchens. For example, blogger Jane Doe turned her collection of mason jars into a visually pleasing and practical spice rack, while DIY expert John Smith transformed an old ladder from his garage into an eye-catching pot rack. These real-life examples underscore the versatility and simplicity of repurposing household items for kitchen use.
DIY Kitchen Décor Ideas to Enhance Aesthetics
When it comes to giving your kitchen a fresh look, DIY projects offer affordable and unique solutions. Custom backsplash tiles can serve as a breathtaking focal point. Opt for ceramic, glass, or even peel-and-stick tiles for an easy installation. Materials typically required include the tiles of your choice, tile adhesive, and a sealant. While ceramic and glass tiles may cost around $5-$20 per square foot, peel-and-stick tiles range from $1-$10 per square foot. Begin by measuring your backsplash area, then apply adhesive or follow the instructions for peel-and-stick tiles. Finally, seal the tiles to ensure longevity and shine.
Pumping new life into your cabinets is another excellent DIY venture. Whether you choose to paint or stain them, this project can dramatically refresh your kitchen’s appearance. Necessary materials are paint or stain, sandpaper, painter’s tape, and brushes or rollers. For a budget-friendly option, a gallon of paint or stain might cost between $20-$50. Start by sanding the cabinet surfaces to remove the old finish, apply primer if painting, and coat with your chosen paint or stain. Multiple thin coats usually yield the best results, finished with a protective sealant.
Creating DIY wall art or a chalkboard menu board adds a personal touch to your kitchen. For wall art, you can use canvas, fabric, or repurposed wood, along with paint and other embellishments. A chalkboard menu board requires plywood, chalkboard paint, and either liquid chalk or traditional chalk sticks. Crafting these artistic elements involves painting your chosen medium and framing or hanging it appropriately. With costs generally under $50, these are cost-effective ways to infuse character into your kitchen.
Integrating personalized décor projects not only reflects your unique style but also elevates your kitchen’s ambiance, making it a more enjoyable space. Before-and-after photos reveal the transformative impact of these projects and serve as inspiration. From backslashes to cabinets and wall art, simple yet impactful DIY solutions can significantly enhance your kitchen’s aesthetics.
Smart and Stylish Kitchen Hacks
Transforming your kitchen into a more organized and aesthetically pleasing space doesn’t have to be a daunting task. By implementing a few simple, yet effective, DIY projects, you can significantly enhance both the functionality and beauty of your kitchen. Here, we present a compilation of smart and stylish kitchen hacks that are easy to execute and affordable.
Magnetic Strips for Knives and Utensils
One effortless way to declutter your kitchen drawers and make your cooking tools easily accessible is by installing magnetic strips. These strips can be mounted on your backsplash or under cabinets, offering a space-efficient solution for storing knives and metal utensils. Here’s a quick guide on how to set it up:
Materials: Magnetic strip, screws, screwdriver, measuring tape, level.
Steps:
- Use the measuring tape to determine the desired length of the magnetic strip.
- Mark the area where you want to mount the strip, ensuring it is level.
- Screw the strip into place securely using the screwdriver.
- Place your knives and metal utensils on the strip.
Installing Under-Cabinet Lighting
Under-cabinet lighting can drastically enhance the ambience of your kitchen while providing practical illumination for meal prepping and cooking. LED strip lights are an excellent option for this project. Here’s how to install them:
Materials: LED strip lights, double-sided tape, scissors, power supply.
Steps:
- Measure the length of the area where you want to install the lights.
- Cut the LED strips to the appropriate length.
- Use double-sided tape to affix the strips under the cabinets.
- Plug the strips into the power supply and ensure they are securely connected.
- Turn on the lights and adjust their position as needed.
Employing Drawer Dividers
Maximize your drawer space with dividers that help keep your utensils orderly and easily accessible. This hack prevents you from sifting through a jumble of tools when you need something specific. Follow these steps to create custom dividers:
Materials: Drawer dividers or thin plywood, measuring tape, pencil, saw, sandpaper.
Steps:
- Measure the dimensions of your drawer and mark where you want the dividers to go.
- Cut the dividers or plywood to the necessary size using a saw.
- Sand the edges to smooth out any rough spots.
- Place the dividers into the drawer and arrange your utensils accordingly.
By incorporating these sophisticated yet straightforward kitchen hacks, you can optimize your kitchen space, making it more organized and visually appealing without heavy financial or time investments. These projects not only elevate the function of your kitchen but also add a stylish touch to the heart of your home.


