Introduction: The Joy of DIY Outdoor Furniture
Creating your own outdoor furniture is a fulfilling endeavor that not only enhances your outdoor space but also offers an array of personal and financial benefits. In recent years, there has been an increasing trend towards DIY projects, as more people discover the joy and satisfaction of crafting something unique with their own hands. One of the primary advantages of building your own outdoor furniture is the potential for significant cost savings. Ready-made furniture can be expensive, but by sourcing your own materials and investing time in a DIY project, you can achieve a high-quality result at a fraction of the price.
Customization is another compelling reason to consider DIY outdoor furniture. When you create your own pieces, you have complete control over the design, materials, and finishes, allowing you to tailor each item to your specific tastes and needs. Whether you prefer rustic, modern, or eclectic styles, DIY projects give you the flexibility to bring your vision to life. Additionally, the process of building something yourself can be incredibly rewarding. Each completed piece stands as a testament to your skills and creativity, providing a sense of accomplishment and pride.
Embarking on a DIY furniture project can also be a fun and educational hobby. It offers an opportunity to learn new skills, from woodworking and metalworking to painting and finishing techniques. Along the way, you’ll gain valuable experience that can be applied to future projects, further enhancing your ability to create beautiful and functional items. This blog post will guide you through the process of building your own outdoor furniture, offering detailed plans and step-by-step instructions. By the end, you will have the knowledge and confidence to tackle your own DIY projects, transforming your outdoor space into a personalized haven.
Essential Tools and Materials
Embarking on the journey to build your own outdoor furniture necessitates a well-rounded understanding of the essential tools and materials. To streamline the process, we have categorized the necessities into basic tools, safety equipment, and materials. Proper preparation ensures the durability and quality of your finished product.
Basic Tools
The cornerstone of any DIY outdoor furniture project is a reliable set of basic tools. Essential items include:
- Saw: A handsaw or circular saw for cutting wood to size.
- Drill: A power drill with a variety of bits for creating holes and driving screws.
- Sander: An orbital sander to smooth wood surfaces.
- Measuring Tape and Square: For accurate measurements and ensuring right angles.
- Clamps: To hold pieces in place while assembling.
- Screwdriver: Both flathead and Phillips head for different screw types.
Safety Equipment
Safety should always be a priority when undertaking any DIY project. Equip yourself with the following:
- Gloves: To protect your hands from splinters and sharp edges.
- Goggles: Safety goggles to shield your eyes from dust and debris.
- Dust Mask: To prevent inhalation of sawdust.
- Ear Protection: Especially when using loud power tools.
Materials
The choice of materials significantly impacts the longevity and appearance of your outdoor furniture. Consider the following:
- Wood: Opt for durable, weather-resistant types such as cedar, teak, or pressure-treated lumber. These are less prone to rot and insect damage.
- Screws and Nails: Stainless steel or galvanized to prevent rusting.
- Paint or Stain: Exterior-grade options to protect the wood and enhance its aesthetic appeal.
- Wood Glue: For additional bonding strength between joints.
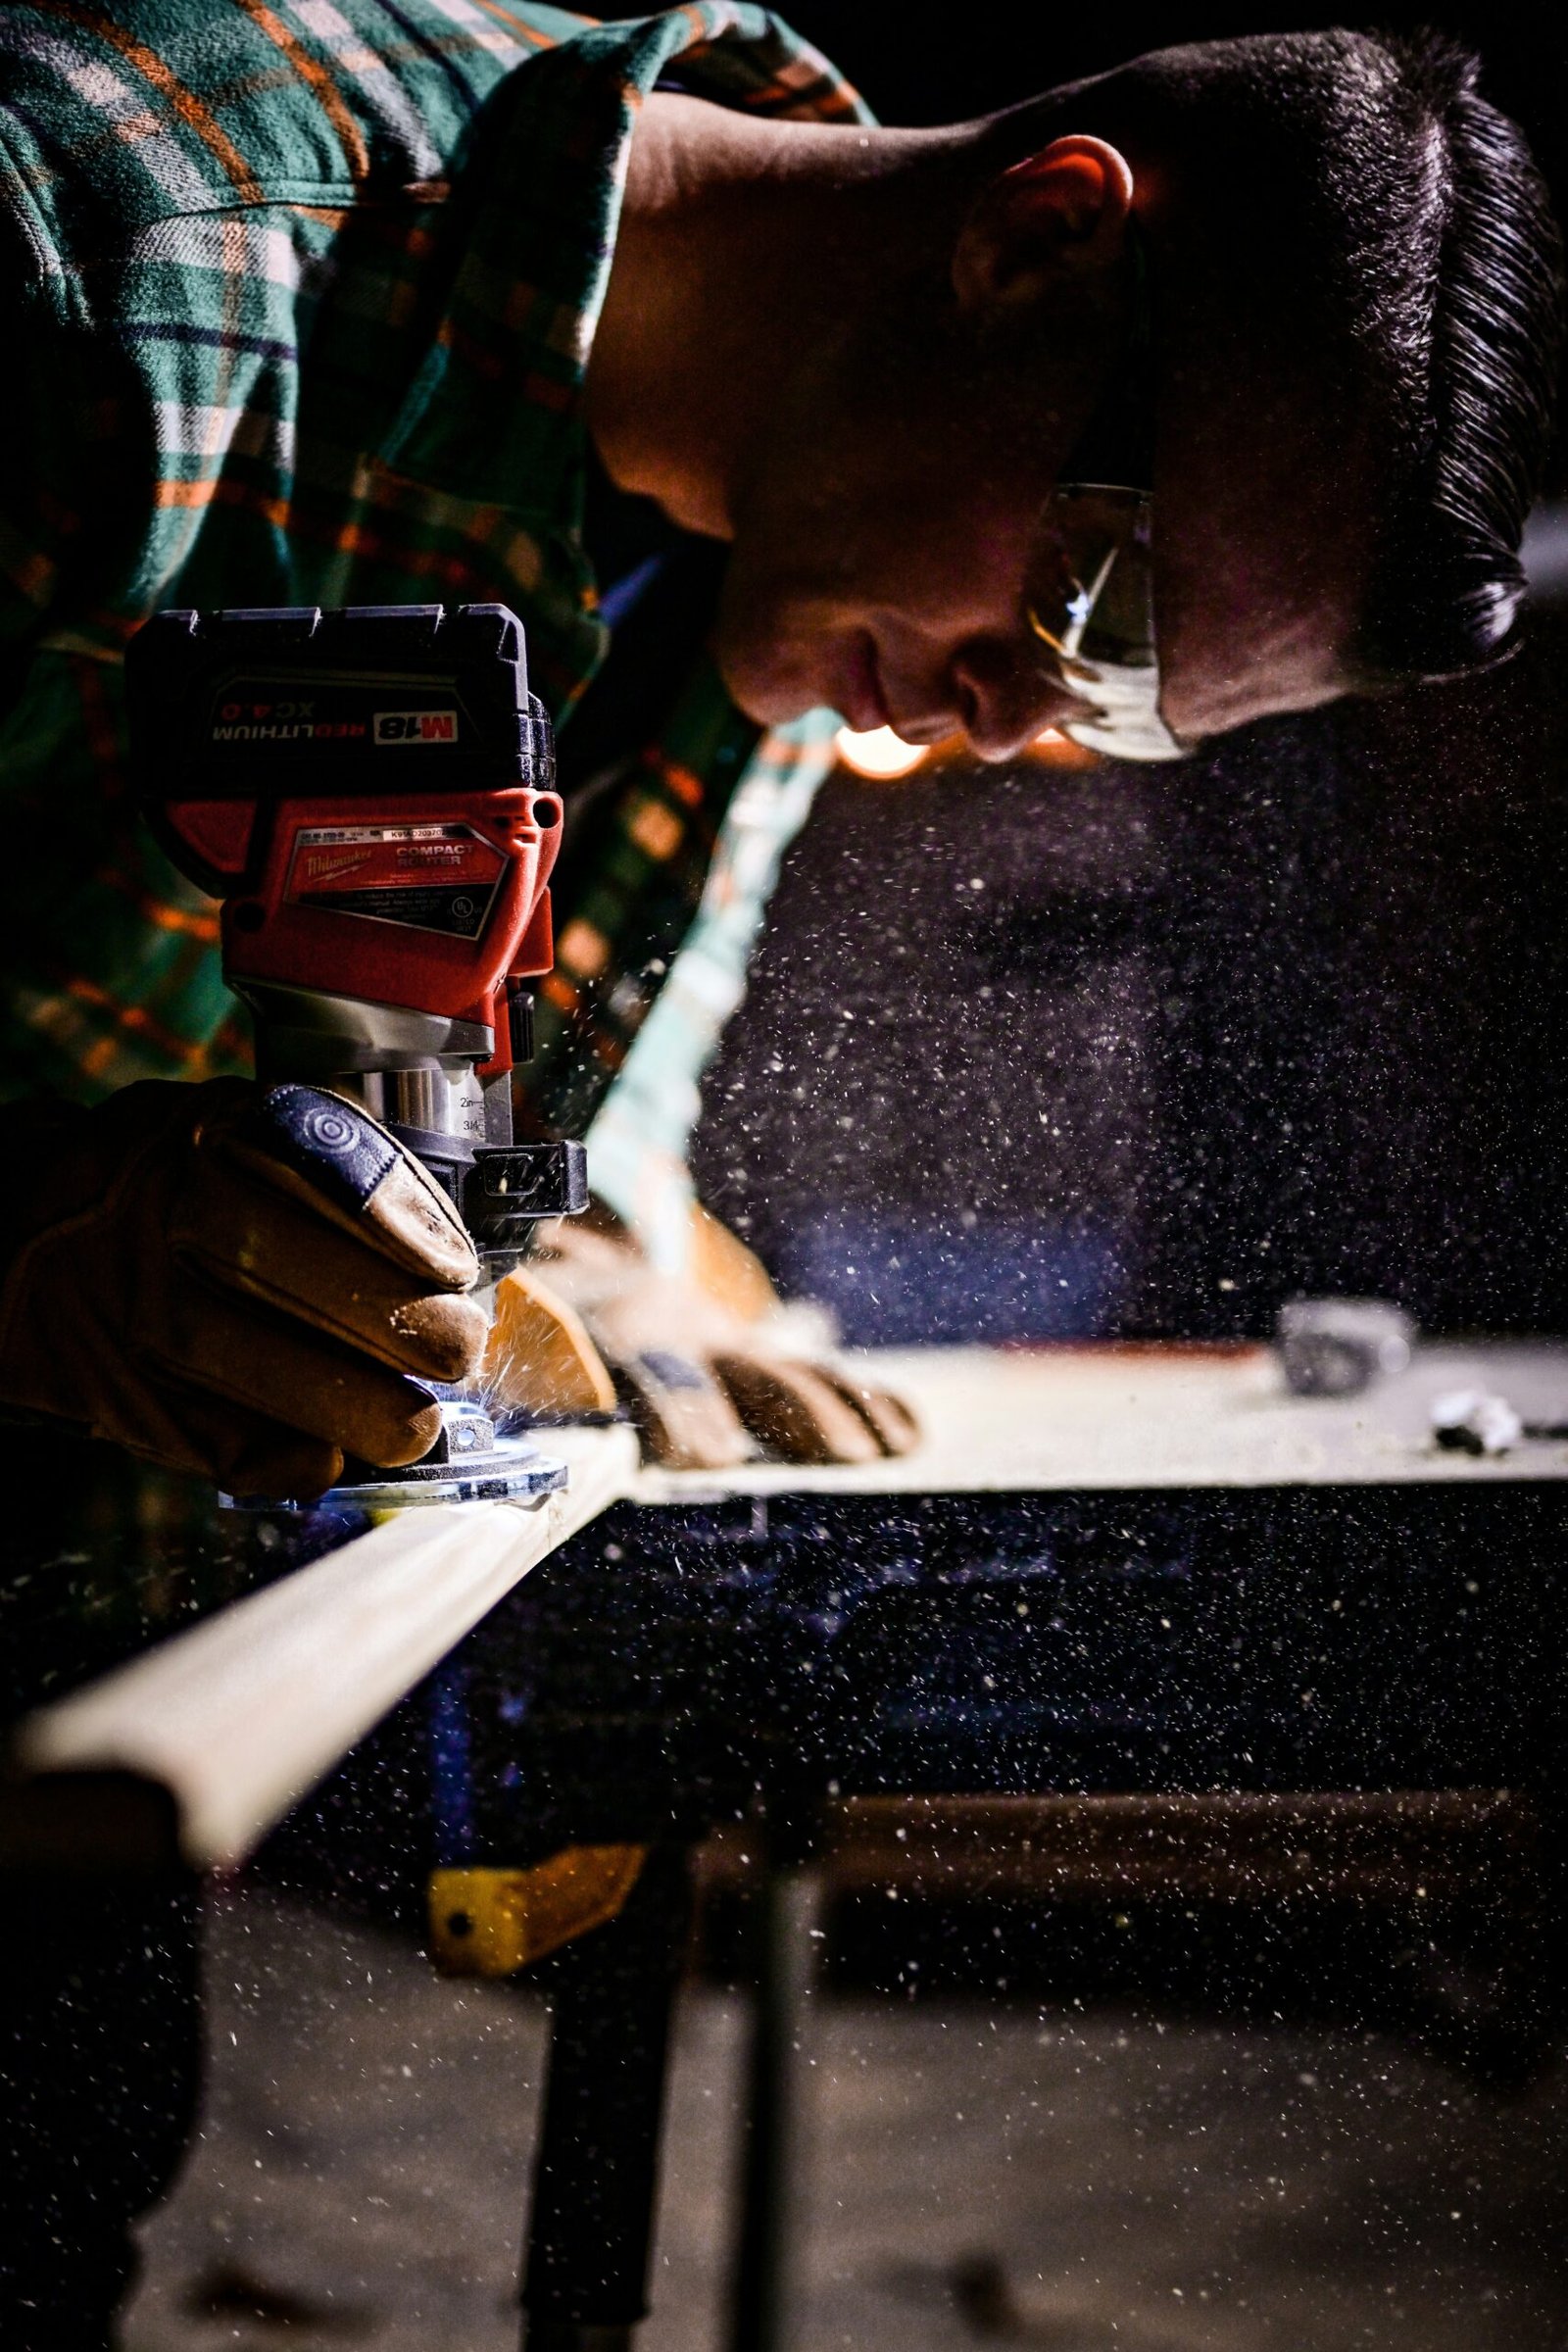
For those looking to add a professional touch, consider optional tools like a router for decorative edges or a jigsaw for intricate cuts. These can significantly enhance the final product’s polish.
When sourcing your tools and materials, local hardware stores offer the advantage of hands-on selection, while online retailers can provide a broader range of options and competitive prices. Choosing quality materials and the right tools will set the stage for a successful DIY outdoor furniture project.
Step-by-Step DIY Plans for Popular Outdoor Furniture Pieces
Building your own outdoor furniture can be a rewarding and cost-effective way to enhance your garden or patio. Below, we provide detailed DIY plans for constructing several popular outdoor furniture pieces: a garden bench, an Adirondack chair, a picnic table, and a planter box. Each subsection will guide you through the materials, tools, and steps required for each project, ensuring a professional and sturdy result.
Garden Bench
Materials: Pressure-treated wood, screws, wood glue, varnish.
Tools: Saw, drill, measuring tape, clamps, sander.
Start by measuring and cutting the wood into the required lengths for the legs, seat, and backrest. Assemble the legs using screws and wood glue, ensuring they are square and level. Attach the seat slats to the legs, spacing them evenly, and secure them with screws. Finally, add the backrest, screwing it securely to the legs. Sand the entire bench to smooth out any rough edges, and apply varnish to protect the wood from the elements.
Adirondack Chair
Materials: Cedar wood, screws, wood glue, outdoor paint.
Tools: Jigsaw, drill, measuring tape, clamps, sander.
Begin by cutting the wood into the shapes needed for the seat, backrest, and armrests. Use a jigsaw for curved sections. Assemble the base and attach the seat slats, followed by the backrest slats. Attach the armrests, ensuring they are level and secure. Sand the entire chair for a smooth finish, and paint it with outdoor paint for weather resistance.
Picnic Table
Materials: Pressure-treated lumber, bolts, wood glue, outdoor stain.
Tools: Circular saw, drill, measuring tape, wrench, sander.
Cut the lumber according to the dimensions for the tabletop, seats, and legs. Assemble the legs and supports, making sure they are stable. Attach the tabletop boards, spacing them evenly, and secure with screws. Add the seat boards to the supports and secure. Sand all surfaces, then apply outdoor stain to protect the wood.
Planter Box
Materials: Cedar wood, screws, wood glue, protective finish.
Tools: Saw, drill, measuring tape, clamps, sander.
Measure and cut the wood for the sides, bottom, and legs of the planter box. Assemble the sides and attach the bottom piece, ensuring it is secure. Attach the legs for added support. Sand the entire box to remove any rough edges, and apply a protective finish to prolong its lifespan.
Accurate measurement and cutting, along with proper assembly techniques, are crucial for creating durable and attractive outdoor furniture. Follow these plans carefully, and enjoy your new DIY garden pieces.
Finishing Touches: Painting, Staining, and Sealing
After constructing your DIY outdoor furniture, the final step involves applying finishing touches to enhance both its appearance and longevity. Selecting the appropriate paint, stain, or sealant is crucial, depending on the type of wood used and the specific outdoor conditions. Properly finished furniture not only looks attractive but also withstands the elements more effectively.
When choosing a finish, consider the wood type and the environment. Paint offers a variety of color options and provides a protective barrier against moisture and UV rays. For a more natural look, stains penetrate the wood, highlighting its grain while offering some protection. Sealants, often used in conjunction with stains, add an additional layer of defense against water and sunlight.
Before applying any finish, it’s essential to prepare the wood surface. Begin by sanding the furniture with fine-grit sandpaper to ensure a smooth surface. This step helps the finish adhere better and results in a more polished look. After sanding, clean the wood thoroughly to remove any dust or debris.
When applying paint, use a primer first to ensure better adhesion and durability of the top coat. Apply the paint in thin, even layers, allowing each coat to dry thoroughly before adding the next. For stains, use a brush or cloth to apply an even coat, following the wood grain. Allow the stain to penetrate for the recommended time before wiping off any excess. To seal the wood, apply a clear sealant with a brush, ensuring even coverage. Multiple coats may be necessary, with adequate drying time between each.
Customizing your outdoor furniture can be a delightful endeavor. Consider incorporating color schemes that complement your outdoor décor, or experiment with patterns like stripes or geometric designs. Additional decorative elements, such as stencils or hand-painted details, can add a unique touch to your pieces.
Maintaining your outdoor furniture is essential to preserve its beauty and functionality. Regularly check for signs of wear and reapply finishes as needed. Clean the furniture periodically with mild soap and water, and store it in a sheltered location during harsh weather conditions. With proper care, your DIY outdoor furniture will remain a charming and durable addition to your outdoor space.


