Understanding Accent Walls
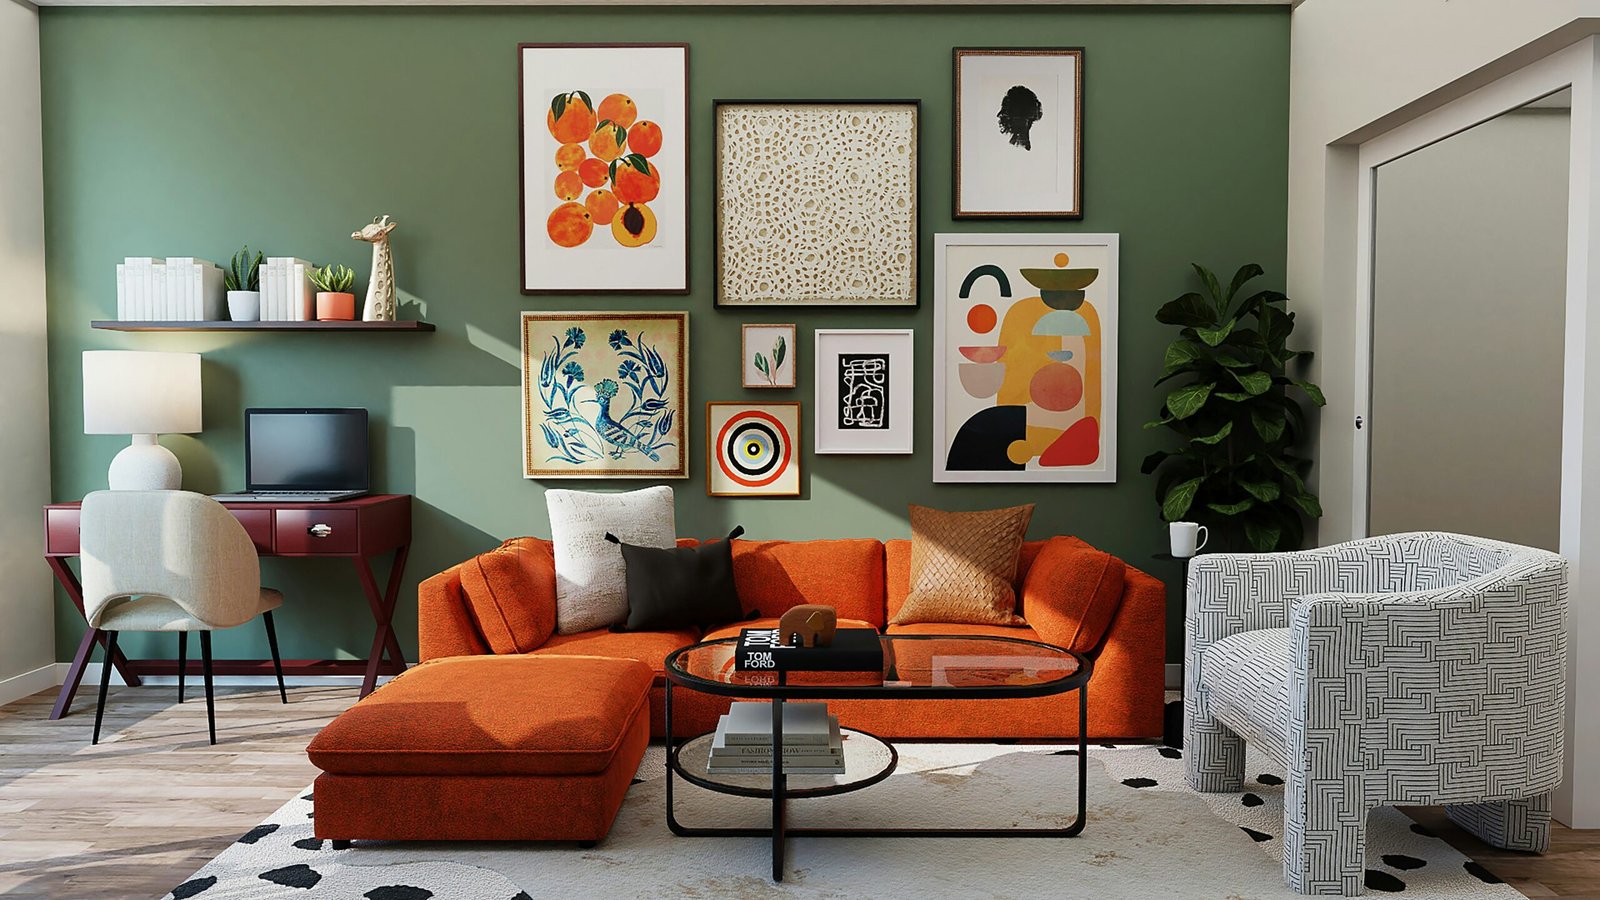
Accent walls have emerged as a prominent element in modern interior design, serving as a focal point that adds depth and visual interest to a space. An accent wall is defined as a single wall within a room, painted or decorated in a different color or pattern than the adjacent walls. This design technique can significantly impact the perception and atmosphere of any room, drawing attention to specific areas or features.
The psychology behind color choices plays a pivotal role in this transformation. Different colors invoke varying emotions and reactions; for instance, warm colors such as red and orange can energize a space, while cool colors like blue and green can create a calming effect. By selecting the right color for an accent wall, homeowners can influence mood and ambiance, enhancing the overall experience within the room.
Moreover, accent walls can incorporate a vast array of styles, ranging from bold geometric patterns to intricate textures. DIY enthusiasts often embrace the use of stencils to create unique designs that resonate with their personal style while ensuring that the accent wall harmonizes with the overall décor. Subtle textures, such as wallpaper or wood paneling, can also offer a sophisticated touch, adding layers of interest without overwhelming the senses.
The flexibility of accent walls allows them to complement various design themes, whether it be contemporary, rustic, or eclectic. When thoughtfully executed, a well-designed accent wall can transform a mundane space into a visually appealing environment that reflects the homeowner’s taste and preferences. As such, they should not be overlooked in the realm of interior design; instead, they should be embraced as an opportunity to personalize one’s living space.
Choosing the Right Stencil and Paint
Creating a DIY accent wall begins with carefully selecting the right stencil and paint to achieve the desired aesthetic. The first step is to consider color coordination with your existing décor. Assess the primary and secondary colors in the room, including furniture, curtains, and artwork. Aim for a harmonious color palette that either complements or contrasts to create a striking focal point. For instance, if your room features warm tones, opting for stencils in rich golds or soft creams can add a touch of elegance. Alternatively, using a bold color that contrasts sharply with the surroundings can make your accent wall truly stand out.
The type of paint used is equally important, as various surfaces require different formulations. For smooth walls, water-based acrylic paints provide a durable and easily cleanable finish. Conversely, if your wall has texture or patterns, like stucco or brick, consider using a thicker paint designed for such surfaces to ensure proper coverage. Additionally, remember that finishes matter; a matte finish may soften the look while a glossy finish can enhance brightness and vibrancy.
When it comes to sourcing stencils, a range of options is available. Many craft stores offer a variety of pre-made stencils, catering to different design preferences, from geometric patterns to floral motifs. Alternatively, DIY enthusiasts can create custom stencils with materials like plastic sheets or cardboard. There are also numerous online platforms where you can find printable stencils tailored to your unique vision. For environmentally conscious individuals, look for eco-friendly paint options that are low in volatile organic compounds (VOCs) to promote a healthier indoor environment while remaining mindful of sustainability.
Preparation and Technique: Steps to Create Your Wall
Creating a stunning accent wall with stencils and paint requires diligent preparation and effective techniques. Start by thoroughly cleaning the wall to remove any dust, dirt, or grease that may hinder paint adhesion. A simple mixture of warm water and mild detergent can be used for this task. Make sure to rinse and dry the wall completely before proceeding to the next step.
Next, priming the wall is essential, especially if you are transitioning from a dark color to a lighter paint. Use a quality primer suited for your paint type, as it creates a uniform surface that enhances the stencil’s appearance. Allow the primer to dry fully, which usually takes around one to two hours, depending on the product used and climatic conditions.
Once the wall is primed, it is critical to mark off the areas where you intend to apply the stencils. This can be accomplished using painter’s tape to outline regions accurately. A level and measuring tape will ensure that your stencils are aligned correctly, which is vital for achieving a polished look. When selecting your stencil, consider patterns that complement your overall decor theme while ensuring they are durable enough for repeated use.
When applying stencils, use a stencil brush or a foam roller for even coverage. Dip the brush or roller into the paint, lightly shaking off any excess to prevent drips. Apply paint in a tapping motion rather than sweeping it across the stencil, ensuring that the paint doesn’t bleed underneath onto the wall. Layering your paint can create depth and interest; let each layer dry before applying the next to maintain clarity in the design.
Common mistakes, such as using too much paint or inadequate wall preparation, can lead to disappointing results. By adhering to these techniques, you will be well-equipped to realize your vision for a beautifully stenciled accent wall.
Finishing Touches and Maintenance
Once your DIY accent wall is complete, it is important to consider the finishing touches that can significantly elevate its aesthetics. Applying a gloss finish or a sealant will not only enhance the vibrancy of the colors but also provide a layer of protection against wear and tear. These coatings will help resist stains and make cleaning easier, allowing your newly created accent wall to retain its fresh appearance over time. Select a product that complements the paint you used; for instance, a semi-gloss finish can add a subtle sheen that enhances the intricate details of the stencil design.
Maintenance is key to enjoying the beauty of your accent wall in the long run. Regular cleaning using a damp cloth and a gentle cleanser can help avoid the buildup of dust and grime without damaging the paint. Be cautious not to scrub too hard, as this could affect the stencil work. For any imperfections that arise, having touch-up paint on hand will be beneficial. It is advisable to not only keep the original color of paint but also a small brush for applying it, ensuring that any chips or scratches can be easily addressed.
Moreover, personalizing your space after creating your accent wall can further enhance its visual appeal. Consider incorporating décor items that complement the wall, such as framed artwork, shelves with plants, or lighting fixtures that accentuate its features. This not only makes the space feel more cohesive but allows for individual expression. As your tastes evolve, so too can the accent wall, making it a dynamic focal point of your home.
By following these finishing touches and maintenance tips, your DIY accent wall will maintain its charm and charm your guests for years to come.


