Introduction to DIY Bathroom Accessories
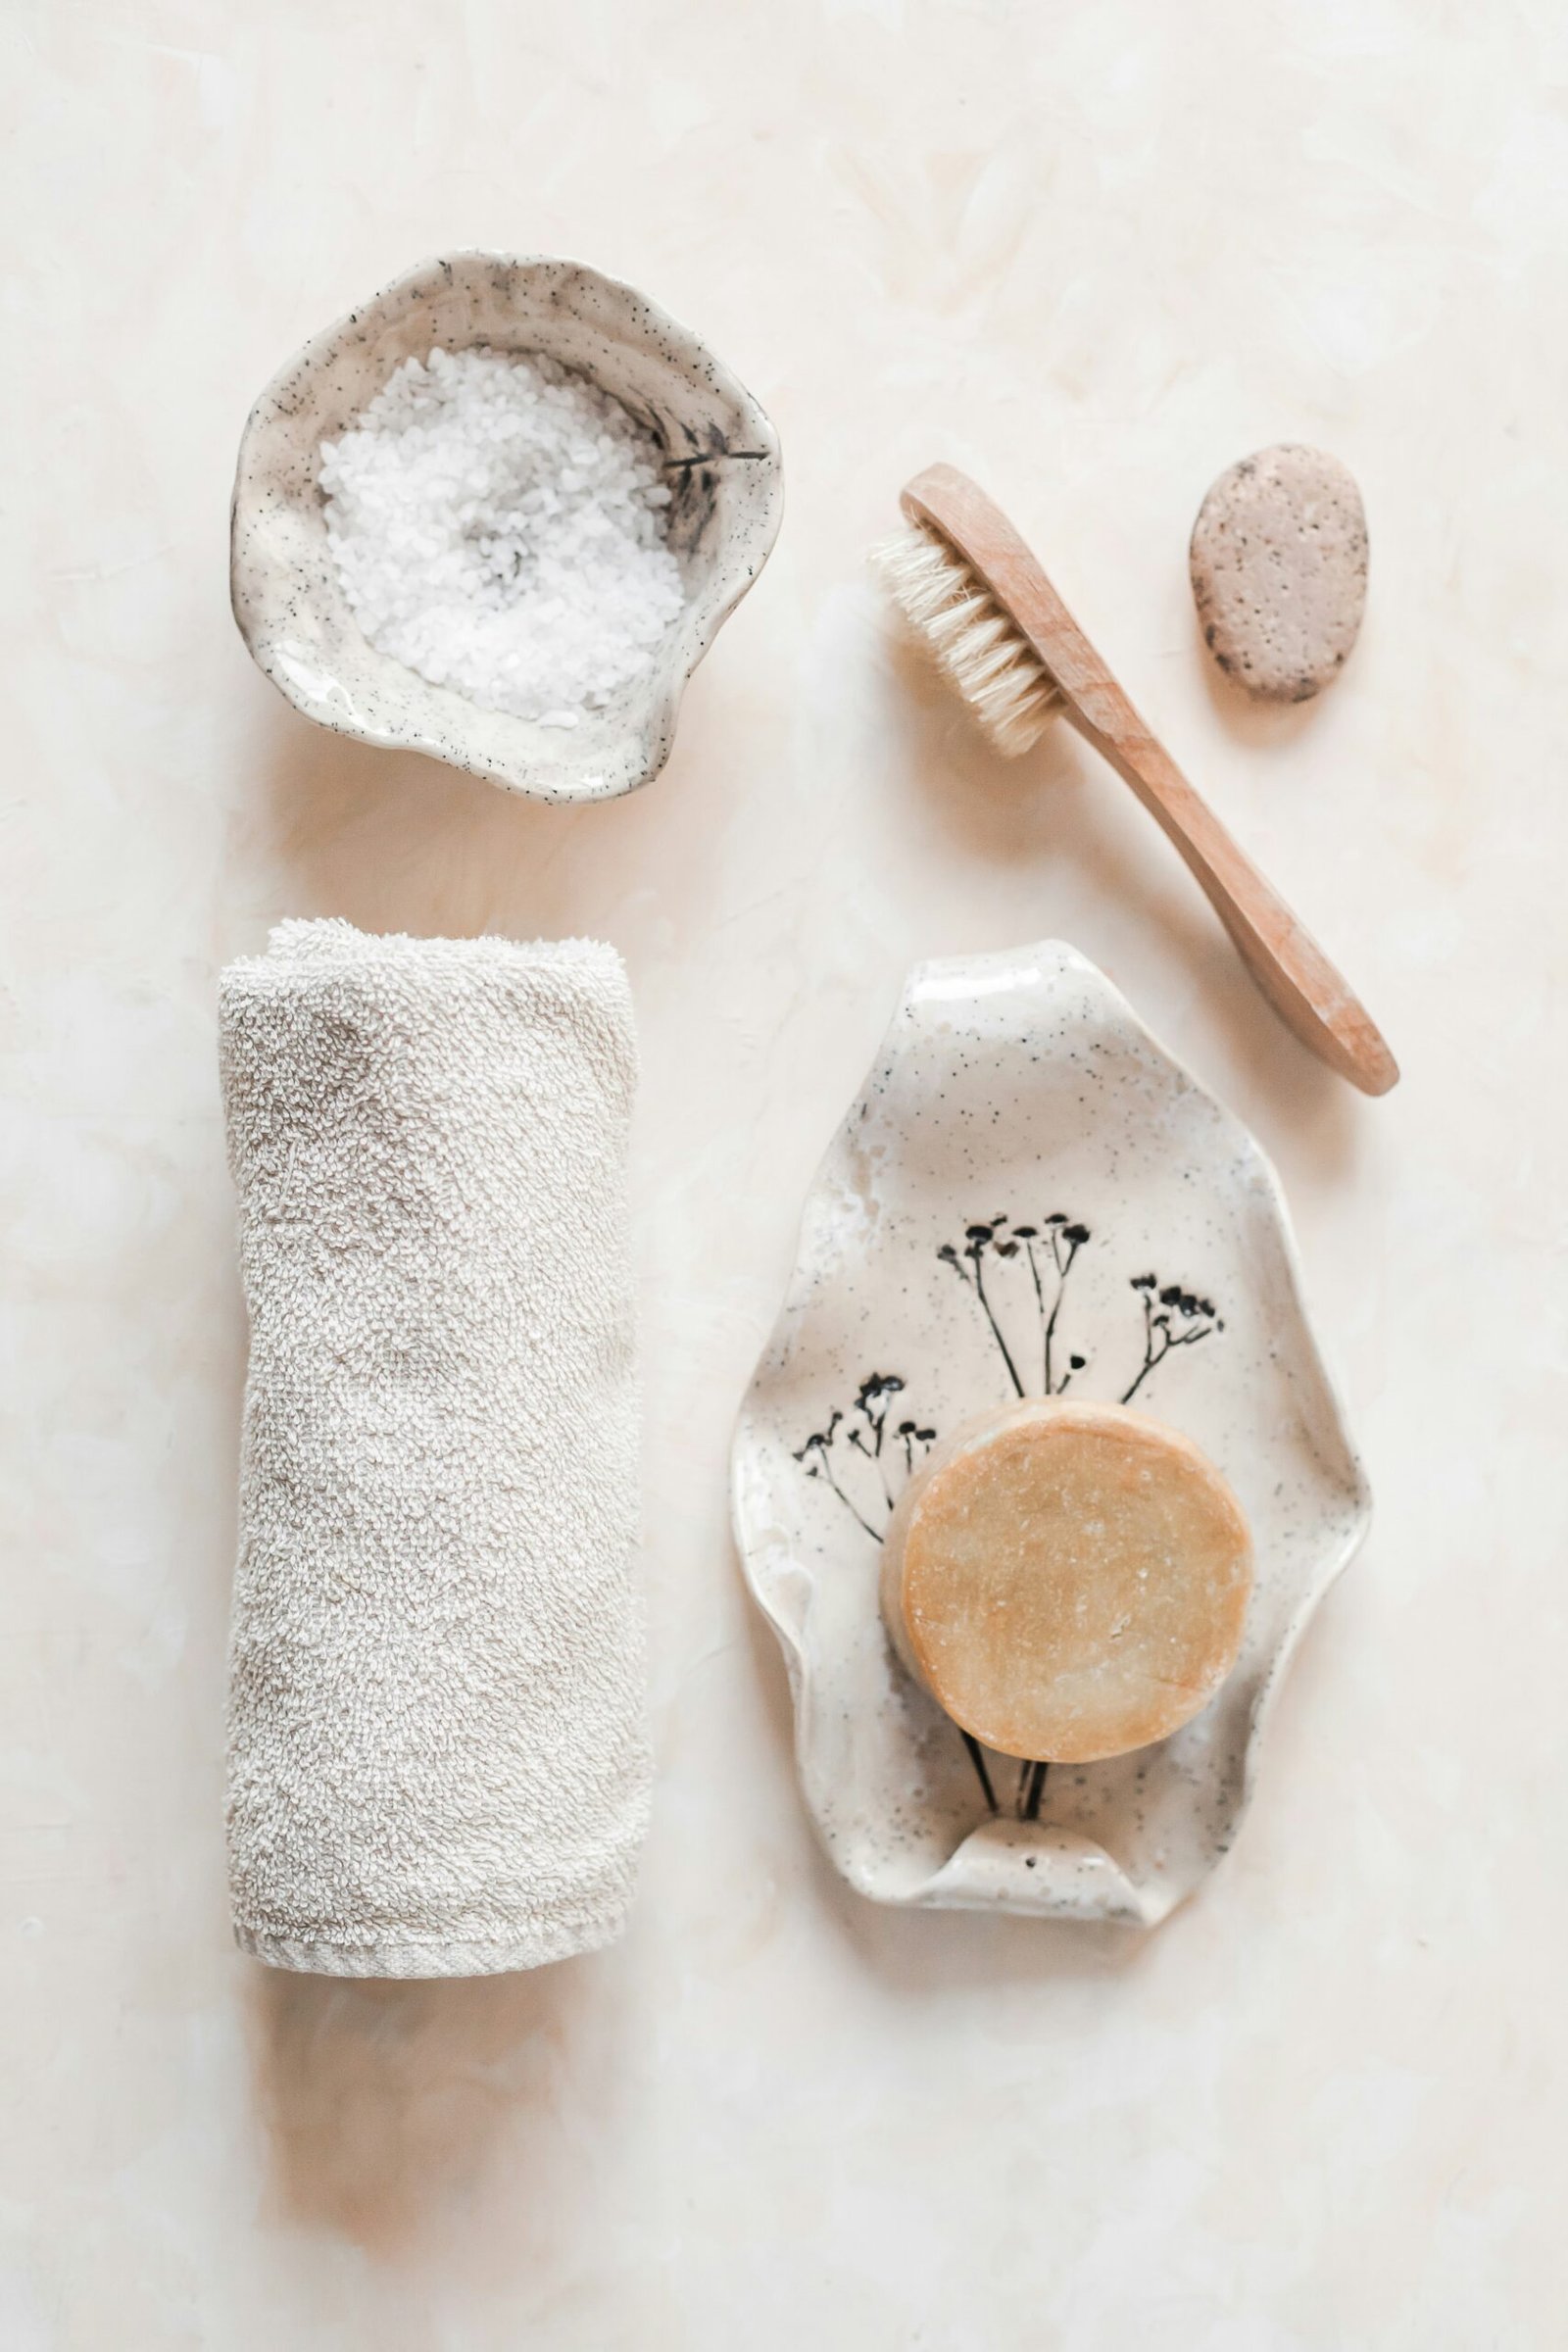
Creating your own DIY soap dispensers and bathroom accessories is an innovative way to enhance your living space while also embracing your creativity. This practice involves repurposing materials and crafting functional items that are not only aesthetically pleasing but also tailored to your personal style. By engaging in DIY, you can express your individuality through the designs and colors you choose, transforming ordinary items into unique pieces that elevate your bathroom’s ambiance.
One of the primary benefits of crafting your DIY bathroom accessories is cost savings. Purchasing ready-made items can be expensive, often resulting in a lack of customization options. However, by utilizing materials you may already have around the house or sourcing affordable options, you can create beautiful items for significantly less. This approach allows you to allocate your budget towards more meaningful projects, rather than overpaying for mass-produced alternatives.
In addition to financial savings, creating DIY accessories promotes sustainability. Many commercial products contribute to waste, both in terms of materials used and packaging. By choosing to repurpose and reuse materials in your DIY projects, you can play a part in minimizing your environmental impact. This practice fosters a mindset of mindfulness, encouraging you to reconsider how you consume and discard goods.
As we move forward with this tutorial, readers can anticipate a structured guide outlining the necessary skills and materials required to embark on their DIY journey. Even those who may not consider themselves particularly crafty will find the steps approachable and easy to follow. Each project will offer insight into fundamental crafting techniques that empower individuals to create their own stylish and functional bathroom accessories, enriching their home environment with personalized touches.
Essential Tools and Materials Needed
Creating your own DIY soap dispensers and bathroom accessories can be an enriching and satisfying project. To begin your journey into the world of DIY, it is essential to gather the necessary tools and materials that will help bring your creative visions to life. Below is a comprehensive list of what you will need.
First and foremost, consider using empty bottles, which can serve as the foundation for your soap dispensers. Glass or plastic bottles can easily be repurposed; however, ensure they are thoroughly cleaned and free of labels before starting your project. Additionally, various types of paints can enhance the aesthetic aspect of your designs. Look for acrylic paints, spray paints, or even chalk paint, all of which can add a personalized touch to your finished products.
Next, decorative materials such as washi tape, stickers, or stencils can help you add intricate designs. Glue is another vital component, as it will be required for securing decorative items to your dispensers. Craft glue or hot glue guns can be particularly effective in this regard, ensuring longevity and a polished appearance.
Along with these basic materials, it is beneficial to have specialized tools on hand. Scissors will be indispensable for cutting any decorative elements. If you opt to create holes for spouts or additional sections, a drill will be required for that level of customization. A ruler may also come in handy for precise measurements, ensuring consistency across your pieces.
For those interested in sustainable sourcing, consider utilizing items you already have at home. Old kitchen jars, cosmetic containers, or even repurposed household items can all be transformed into beautiful DIY creations. This approach not only fosters creativity but also supports a sustainable lifestyle.
Step-by-Step Guide to Making Soap Dispensers
Creating your own DIY soap dispenser at home can be both a practical and enjoyable project. With numerous materials available, this guide will walk you through the process of crafting unique soap dispensers using items such as glass jars, plastic bottles, or even upcycled containers. By incorporating various techniques like painting, decoupage, or using embellishments, you can truly personalize each piece to fit your home decor.
To begin, gather your materials. For a basic glass jar dispenser, you will need an empty glass jar, a soap dispenser top, and your choice of paint or decorative paper for embellishment. Start by cleaning the jar thoroughly and ensuring it is completely dry. If you want to paint your jar, select a non-toxic paint suitable for glass surfaces. Apply an even coat and allow it to dry completely according to the manufacturer’s instructions.
If you prefer using decoupage, choose decorative paper that matches your style. Cut the paper into desired shapes, then use decoupage glue to adhere it to the jar’s surface. Ensure that you apply a thin layer of glue, smoothing out any air bubbles as you go. After applying the paper, sealer is recommended to ensure durability. Let it dry thoroughly before proceeding to the next step.
Once the decorating phase is complete, attach the soap dispenser top. If you are using a plastic bottle, simply repurpose an existing pump from a store-bought soap. Make sure the opening of the bottle fits securely with the pump to avoid leakage. Test the pump to ensure it dispenses soap smoothly.
Finally, troubleshoot any issues that may arise, such as pump clogging or leaks. Regularly clean the dispenser to maintain its functionality and aesthetic appeal. This DIY project not only enhances your bathroom or kitchen decor but also adds a touch of your personal style.
Creating Complementary Bathroom Accessories
To enhance the aesthetic of your bathroom and create a unified decor theme, crafting complementary bathroom accessories is a rewarding and creative endeavor. After designing your DIY soap dispensers, consider extending that creativity to additional items like toothbrush holders, storage jars, and decorative trays. These accessories can be tailored to match the color and design of your soap dispenser, ensuring a cohesive look.
Starting with a toothbrush holder, one simple option is to repurpose a wide-mouth jar. You can decorate it by wrapping twine or washi tape around the neck of the jar, allowing the natural texture to add character. If you prefer a more polished approach, consider painting the jar in a color that matches your soap dispenser. By applying a coat of waterproof sealant, you also ensure durability against moisture.
For storage jars that can hold cotton balls, swabs, or other small items, you might opt for glass jars with lids. Decorating these jars can be a fun DIY project; you can apply vinyl decals for a personalized touch or paint the jars in colors that resonate with the rest of your bathroom decor. An aesthetically pleasing yet functional tray can also be made from materials like wood or ceramic. Staining or painting the tray can introduce a pop of color, while serving as a neat organizer for smaller items.
When crafting these pieces, consider the importance of design coordination. Utilizing a consistent color palette and complementary materials across all DIY projects allows for a more sophisticated and harmonious appearance. Each element should reflect your unique style, combining both function and artistry while encouraging a relaxing atmosphere. This thoughtful approach not only enhances your space but also transforms it into a reflection of your personality and creativity.


