Introduction to DIY Blanket Ladders
A DIY blanket ladder is an innovative and aesthetically pleasing solution for storing and displaying blankets and throws in your home. Its simple design allows it to blend seamlessly into various interior styles, while serving a practical purpose. By utilizing a blanket ladder, homeowners can not only keep their living spaces organized but also enhance the overall décor of the room, adding a touch of rustic charm that many desire in their homes.
The versatility of a DIY blanket ladder makes it an appealing project for both seasoned crafters and newcomers to the world of home improvement. As DIY culture continues to gain momentum, the creation of a blanket ladder offers not only functionality but also an opportunity for personalization. Each ladder can be designed to suit individual tastes, whether that means choosing the type of wood, the finish, or even the size, allowing homeowners to infuse their personality into the home environment.
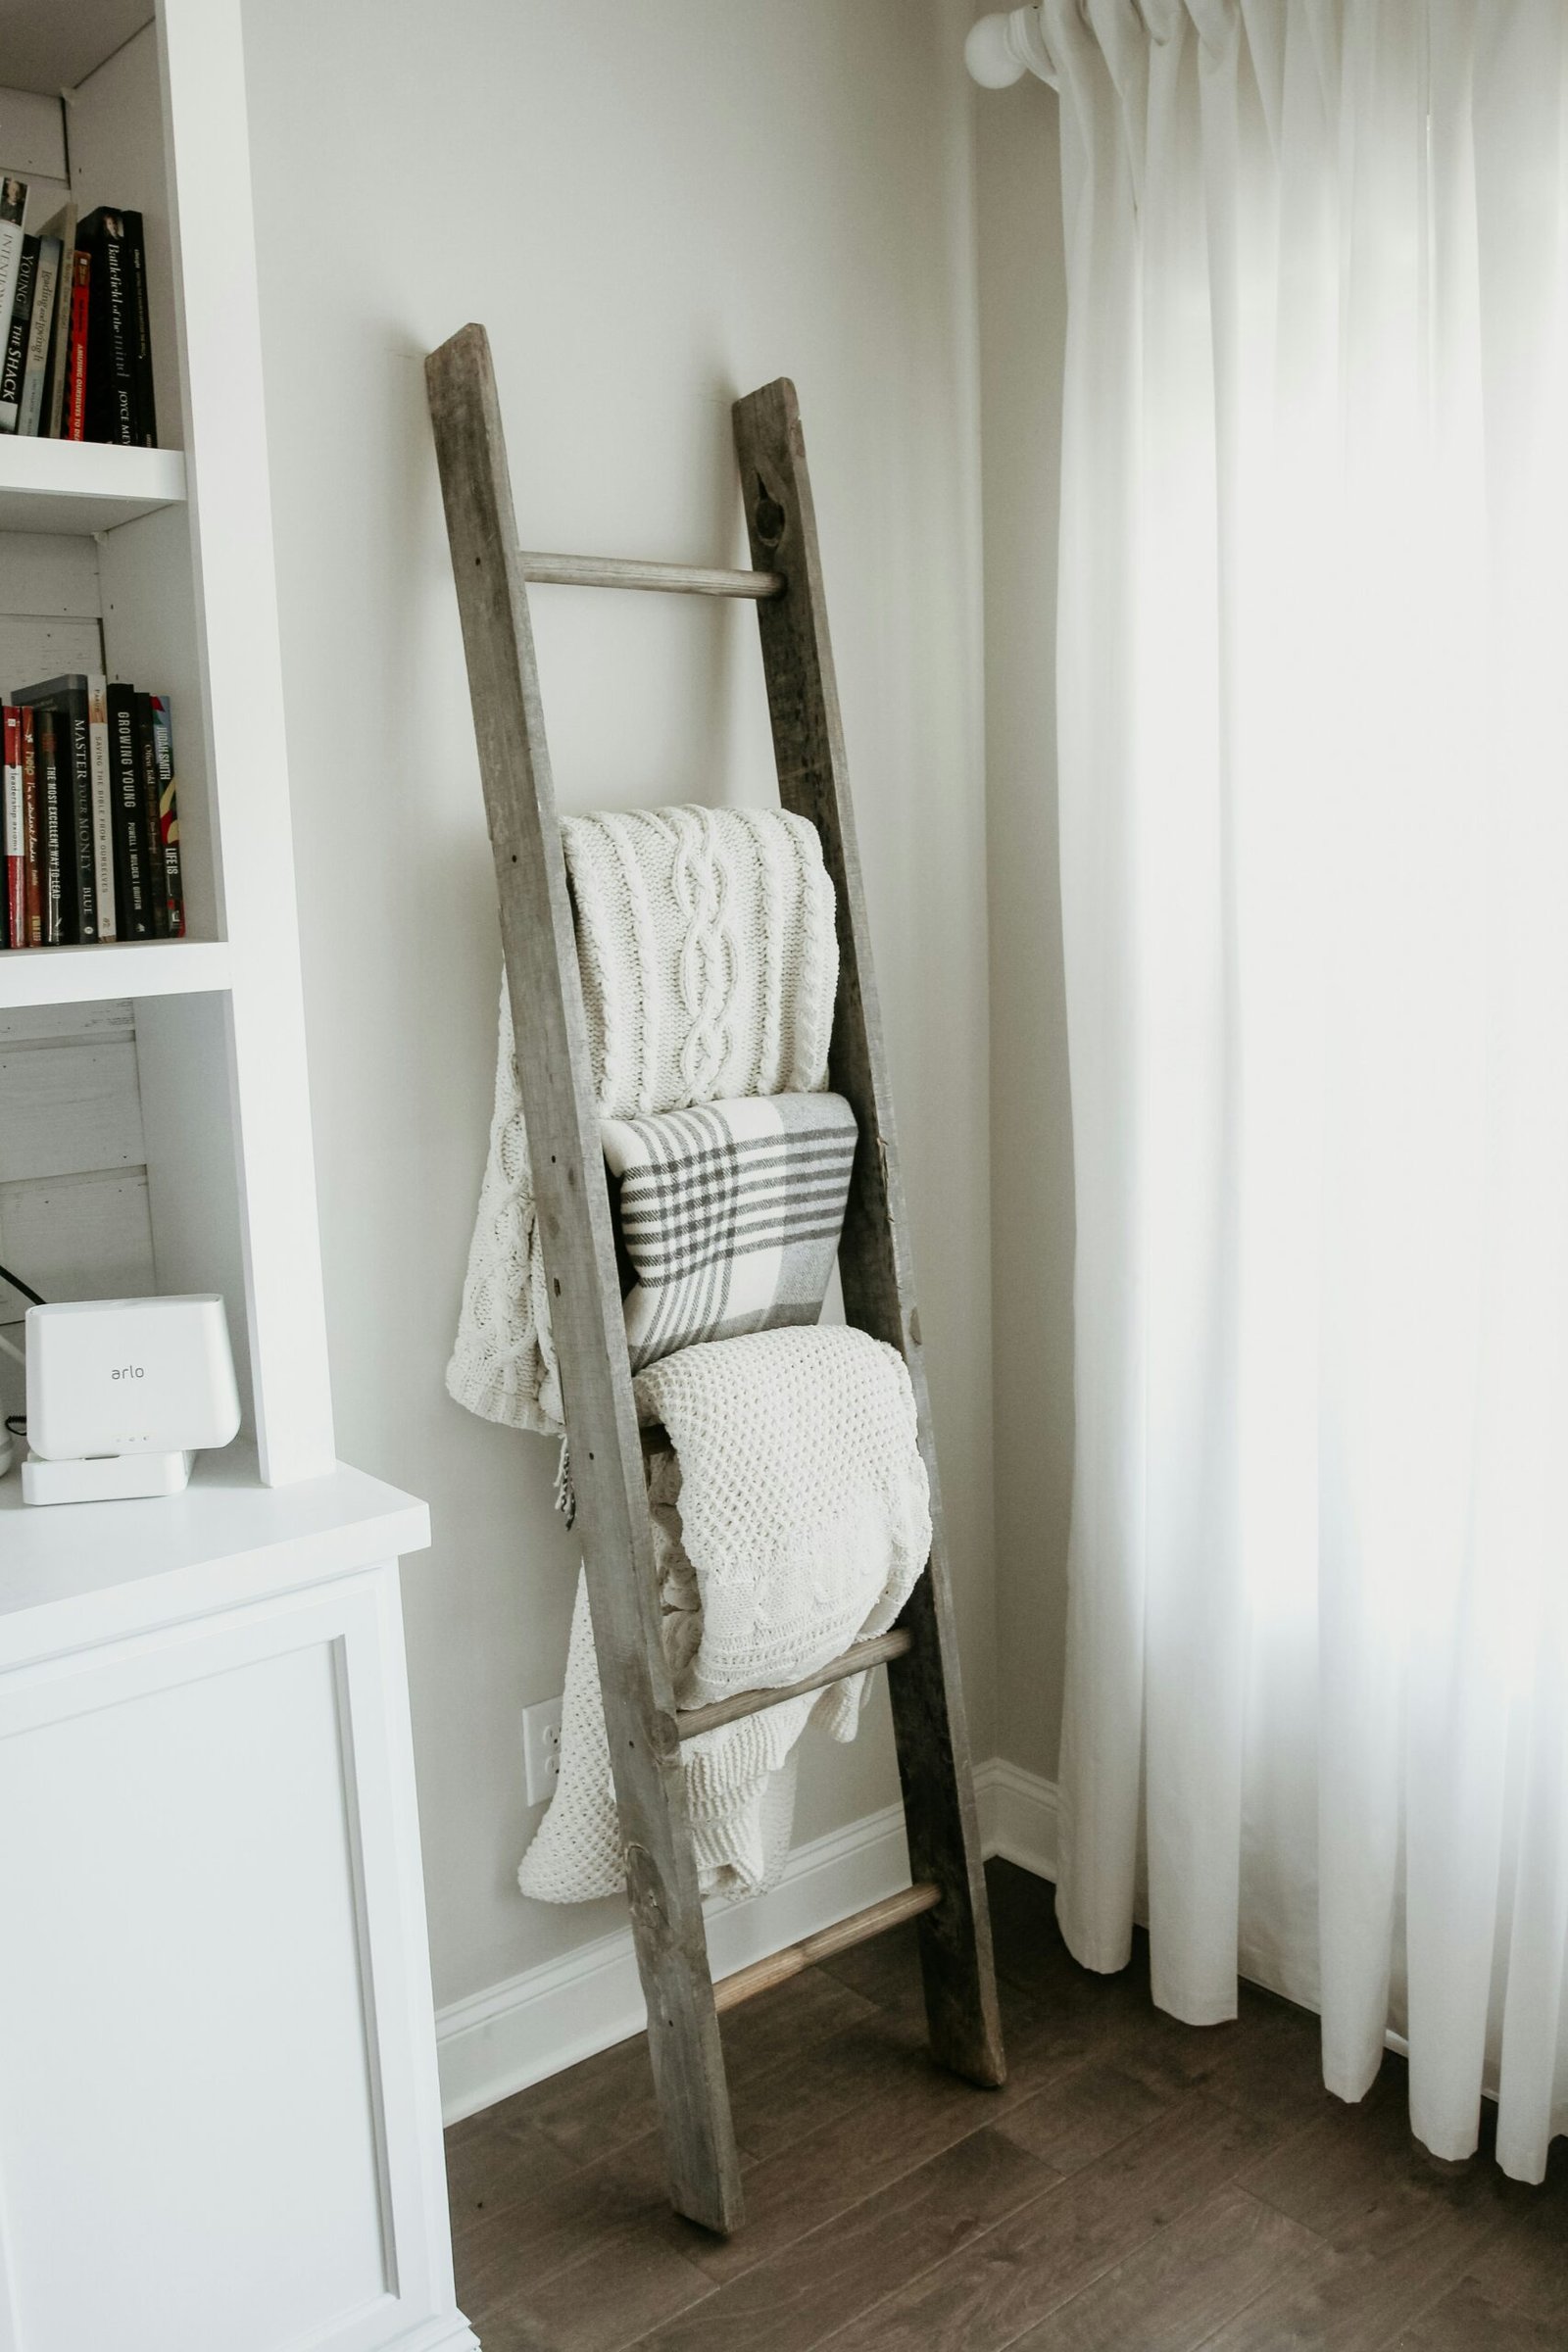
Beyond its organizational benefits, a blanket ladder serves as a unique piece of art that can elevate the ambiance of a space. It can be leaned against the wall in a living room, adding a pop of texture and warmth while making blankets easily accessible for chilly evenings. In a bedroom, it can showcase cozy throws and blankets, contributing to a feeling of comfort and inviting relaxation. The DIY aspect allows for creativity, with many individuals opting to paint, stain, or embellish their ladders to match existing décor.
As people increasingly turn toward DIY projects, the blanket ladder stands out as a functional and attractive addition to any home. It embodies creativity and resourcefulness, illustrating the growing trend of merging practicality with artistic expression in living spaces.
Materials and Tools Needed
Creating a DIY blanket ladder can not only enhance your decor but also provide practical storage solutions. To begin your project, it is essential to gather the right materials, which can typically be categorized into wood types, screws, wood finishes, and additional decorative elements.
For the wood, popular choices include pine, cedar, and poplar. Pine is a cost-effective option, known for its light weight and ease of handling, making it ideal for beginners. Cedar, while slightly more expensive, offers natural resistance to moisture and insects, making it a durable choice for long-term use. Poplar provides a smooth finish and is great for those looking to paint their ladder, but may not be as sturdy as other woods. Selecting wood based on your budget, aesthetics, and the intended durability will ensure a successful DIY project.
Next, you will require screws that complement your chosen wood type, preferably wood screws with a sufficient length to ensure stability while maintaining a clean finish. Additionally, consider incorporating wood finishes such as stains or sealers to enhance the appearance of the ladder while providing protection against wear and tear.
Additional decorative elements such as hooks or paint can personalize your ladder to suit your space. This allows you to harmonize the blanket ladder with other decor or girl-child’s or boy-child theme, thereby elevating its design appeal.
As for tools, a cordless drill, saw (hand saw or power saw), sandpaper, and measuring tape are essential for assembly. Always adhere to safety guidelines: wear protective eyewear, keep your workspace organized, and use tools as per the manufacturer’s instructions. Proper planning and material choices will render your DIY project both enjoyable and fulfilling, ensuring a charming addition to your home.
Step-by-Step Guide to Building Your Blanket Ladder
Creating your own blanket ladder is a rewarding DIY project that adds both functionality and charm to your living space. To begin, you will need to gather materials, including wooden boards, a tape measure, a saw, wood screws, and sandpaper. Start by determining the desired height and width of your ladder. A common size is approximately 5 to 6 feet tall and 18 inches wide, but feel free to adjust these measurements based on your personal preference and available space.
Once you have your measurements, sketch a simple design to visualize the final product. The basic structure will consist of two side pieces and several rungs. Using a saw, cut two long pieces for the sides and several shorter pieces for the rungs. A good recommendation is three to four rungs spaced evenly apart, typically around 12 to 15 inches apart, providing ample space for blankets to hang without interference.
With the pieces cut, it is essential to sand the edges and surfaces thoroughly to prevent splinters and ensure a smooth finish. Next, lay out the side pieces vertically on a flat surface and mark the height of each rung’s placement. Drill holes at these marked points on the side pieces. Carefully insert each rung into the drilled holes, securing them with wood screws. Ensure everything is level; this is crucial for the stability of your ladder.
After assembling the ladder, you can personalize it by applying stains or paint to match your decor. Options like natural wood finishes or vibrant colors can enhance the appearance. It’s advisable to let the stain dry completely before placing any blankets on the ladder. Remember that your blanket ladder can be customized not only in size but also in style and finish, making it a unique addition to your home.
Styling and Practical Use of Your Blanket Ladder
The completed DIY blanket ladder is not only a functional piece of furniture but also an aesthetic addition to your home decor. To effectively style your blanket ladder, consider the color palette of the room in which it will reside. Choosing blankets and throws that complement the existing hues can create a cohesive look. Layering different textures and patterns is another effective technique; combine chunky knit blankets with lightweight throws to add depth and visual interest. Seasonal displays can also enhance the ambiance. For example, in winter, opt for plush fabrics in warm colors, while in summer, lightweight cotton throws in fresh, bright colors can invigorate your space.
In terms of practicality, a blanket ladder provides easy access to your favorite blankets and throws, making them readily available for colder months. Position the ladder near seating areas where family members gather, ensuring that comfort is a mere reach away. This convenience not only serves the function of warmth but also encourages a cozy atmosphere during family movie nights or when entertaining guests.
Beyond blankets, consider alternative uses for your ladder to maximize its potential. It can be an excellent display for rolled-up towels in a bathroom, showcasing a neat, inviting look. Alternatively, utilize it to organize magazines in a living area, providing a decorative yet functional touch. Adding decorative items such as potted plants or framed photographs can personalize the ladder, seamlessly integrating it into your overall interior design. With a bit of creativity, your DIY blanket ladder can transform from a simple storage unit to a versatile decor element that enhances multiple rooms.


