Introduction to Floating Shelves
Floating shelves have emerged as a popular decor feature in modern homes, providing both aesthetic appeal and practical functionality. Unlike traditional shelving units, floating shelves appear to “float” on the wall, creating an illusion of space, which is particularly advantageous in smaller rooms. This minimalist design is not only visually striking but also allows homeowners to display their personal style without the bulk of conventional furniture.
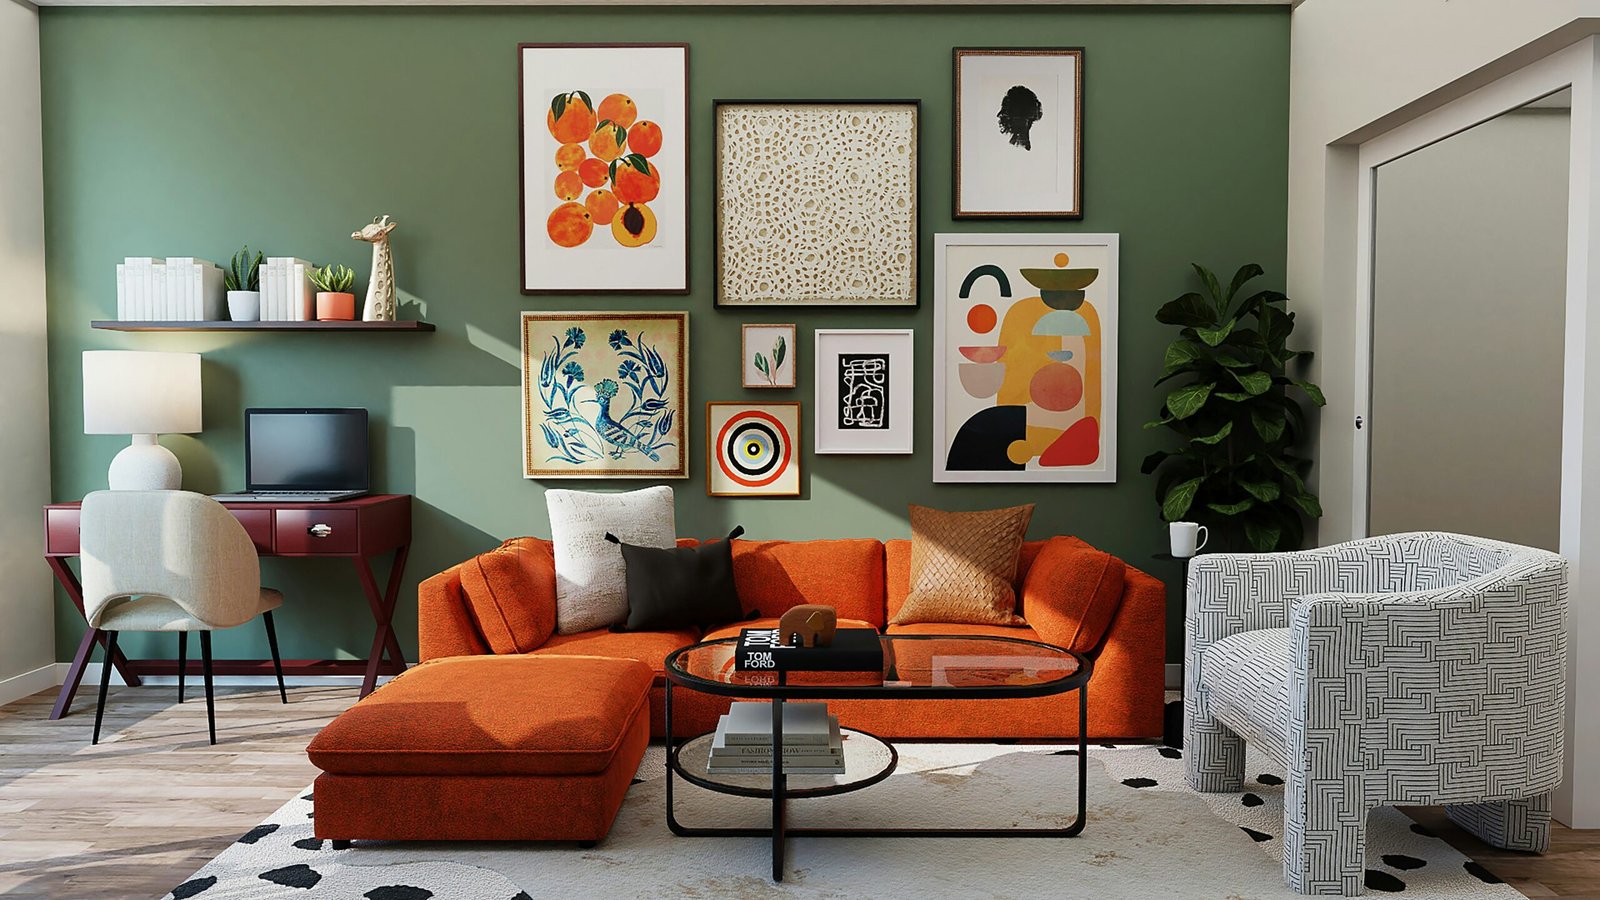
The versatility of floating shelves makes them suitable for a variety of applications throughout the home. In living rooms, they can be used to showcase decorative items, photos, or books, enhancing the overall decor and making a personalized statement. In kitchens and bathrooms, they serve as practical storage solutions for herbs, spices, or toiletries, maximizing every inch of available space. The ability to customize the placement and arrangement of floating shelves adds to their appeal, allowing individuals to create unique and functional layouts tailored to their specific needs.
As the trend of DIY projects continues to gain momentum, many homeowners are turning to floating shelves as an accessible and rewarding weekend project. Building your own shelves not only fosters creativity but also promotes a sense of accomplishment. The process of selecting materials, measuring, and constructing the shelves empowers individuals to add a personal touch to their living spaces. Furthermore, DIY floating shelves can be designed to match individual tastes and existing decor, resulting in a cohesive look throughout the home.
Incorporating floating shelves into your home can greatly enhance both practicality and style, offering an elegant solution to the challenges of space and decor. Whether you are an experienced crafter or a novice seeking a simple project, the possibilities that floating shelves present are limited only by one’s imagination.
Materials and Tools Needed
To embark on creating your own floating shelves through a DIY project, carefully selecting the right materials and tools is crucial for achieving a successful outcome. Firstly, you will need the appropriate type of wood for the shelves. Common choices include plywood, solid wood, and MDF (Medium Density Fiberboard). Plywood is favored for its sturdiness and aesthetic appeal, while solid wood offers durability and a timeless look. MDF, being a more budget-friendly option, can also be vanishingly finished for a polished appearance.
In addition to the wood, selecting suitable brackets is important. Floating shelves require strong brackets that provide both support and stability. There are numerous options available, such as L-brackets, concealed brackets, or shelf cleats. Concealed brackets are particularly popular since they are hidden within the shelf, giving the illusion that the shelf is ‘floating’ without visible support. Depending on your desired aesthetic, you may choose metal or wooden brackets, each offering distinct visual impacts.
Finishes can further enhance the appearance of your shelves. Stains, paints, or sealants can be employed to customize the look to align with your interior decor. Water-based polyurethane is ideal for protecting wooden surfaces without altering their natural color significantly.
When it comes to assembly, having the right tools is essential. A power drill will be one of your main tools, used for making holes and driving screws. A level ensures that your shelves are perfectly aligned, while a saw, whether a hand saw or power saw, is necessary for cutting the wood to size. For safety during this DIY process, it is advisable to wear protective eyewear and gloves to prevent injury.
Step-by-Step Guide to Building Floating Shelves
Constructing your own floating shelves can not only enhance the aesthetics of your space but also provide functional storage solutions. To embark on this DIY project, gather essential materials: wooden boards, brackets, screws, a drill, a level, a measuring tape, and sandpaper. Begin by measuring the wall space where the shelves will be installed. It is crucial to know the dimensions needed to ensure the shelves fit perfectly in the designated area.
Once you have the measurements, cut the wooden boards to the desired length and width. A circular saw works best for clean cuts, but a handsaw can also suffice. After cutting the boards, sand down the edges to remove any splinters and create a smooth surface. This step is vital as it not only improves appearance but also prevents potential injuries during installation.
The next stage involves assembling the shelves. If you intend to give your shelves a more decorative finish, consider applying paint or wood stain at this point. Choose colors that complement your existing decor. Allow the finish to dry completely before proceeding. In preparing to mount the floating shelves, locate the wall studs using a stud finder, as these will provide the necessary support for heavier loads.
Using a level, mark the positions where your brackets will be installed. Install the brackets according to the manufacturer’s instructions, ensuring they are secure and leveled. Then, carefully place the wooden shelves onto the brackets, double-checking their alignment. It is important to use the right anchor types if you’re mounting onto drywall without studs. Finally, once everything is in place, step back and admire your new DIY floating shelves, ensuring they are stable and well-secured.
Styling and Decorating Your Floating Shelves
Once you have completed the installation of your DIY floating shelves, the next exciting step is to style and decorate them in a way that enhances your space. The first consideration is deciding on a theme or aesthetic that resonates with your unique taste. Popular styles include minimalist, bohemian, and rustic, each bringing its own charm to your home. For a minimalist design, choose a limited color palette and sleek, functional decor items. Clean lines and open spaces create an uncluttered look that is both functional and visually pleasing.
If you prefer a bohemian aesthetic, incorporate a mix of textures and rich colors to create a warm, inviting atmosphere. This can be achieved by displaying handmade ceramics, vibrant fabrics, and eclectic art pieces. Layering textured items alongside greenery, such as small potted plants or cascading vines, adds depth and life to your shelves. Combining different heights and materials further accentuates the bohemian vibe, allowing each piece to tell a story.
For those who lean towards rustic aesthetics, natural materials are key. Incorporate wooden decor, vintage finds, and soft, earthy tones to create a cozy yet stylish look. Using reclaimed wood or distressed items can set the tone for a charming country vibe. In this context, consider displaying mason jars, old books, or even framed family photographs that evoke a sense of nostalgia.
Regardless of the chosen theme, balance is essential when curating the items for your floating shelves. Aim to mix decorative pieces with functional items like books, which can serve both an aesthetic and practical purpose. Personalizing your shelves with artwork, mementos from travels, or handcrafted items creates a unique touch that reflects your journey and interests. By experimenting with arrangements and regularly refreshing the decor, you can maintain a dynamic and appealing display on your floating shelves.


