When embarking on a bathroom renovation, thorough planning is essential to facilitate a seamless transformation. Start by establishing a realistic budget that encompasses all necessary materials, labor costs, and a contingency fund for unexpected expenses. Understanding your financial boundaries helps in preventing overspending and ensures that you can complete the renovation without financial strain.
Next, determine the scope of your project by identifying the specific changes you wish to make. Whether it’s a full bathroom overhaul or a few cosmetic updates, clearly define your goals. This could include tasks like replacing fixtures, retiling, or updating lighting. By outlining your project’s scope, you facilitate better logistics and inventory management, avoiding unnecessary purchases or last-minute rushes to the store.
Gathering inspiration is a pivotal step in the planning process. Browse home improvement magazines, websites, and social media platforms to collect ideas. Create a vision board or digital collection of styles, colors, and layouts that appeal to you. This not only aids in visualizing the end result but also in communicating your ideas to contractors if professional assistance is needed.
Creating a detailed timeline is another important aspect. Allocate adequate time for each phase of the renovation, from demolition to installation, to avoid rushing through tasks. Leave room for potential delays, particularly if you anticipate waiting for fixtures or dealing with unforeseen issues.
Assess your DIY skills realistically. While many tasks can be handled independently, certain jobs, such as electrical wiring or extensive plumbing work, may require professional intervention. Knowing your limitations will help you determine which aspects of the renovation you can manage and which should be outsourced to professionals to ensure safety and quality results.
In summary, a well-crafted plan, encompassing budgeting, scope determination, inspiration gathering, and realistic timelines, is the foundation of a successful DIY bathroom renovation. Evaluate your skills and seek expert help when necessary to create a bathroom space that is both functional and aesthetically pleasing.
Selecting Materials and Fixtures
When embarking on a bathroom renovation, choosing the right materials and fixtures is paramount. It begins with selecting suitable surfaces for your bathroom. Tiles, for instance, offer a blend of durability and aesthetic appeal. Ceramic and porcelain tiles are popular choices due to their water resistance and ease of maintenance. Alternatively, stone tiles can provide a luxurious touch, though they may require more care. Aside from tiles, water-resistant paints are essential for protecting your walls. Semi-gloss and high-gloss paints are typically recommended for their moisture repellency and easy cleaning properties.
Flooring is another critical aspect. Vinyl flooring is both cost-effective and resilient, making it a preferred option for many homeowners. For a more upscale appearance, consider laminate or engineered wood flooring, which offers the elegance of wood without the risk of warping. Durability and water resistance should guide your choice regardless of the material.
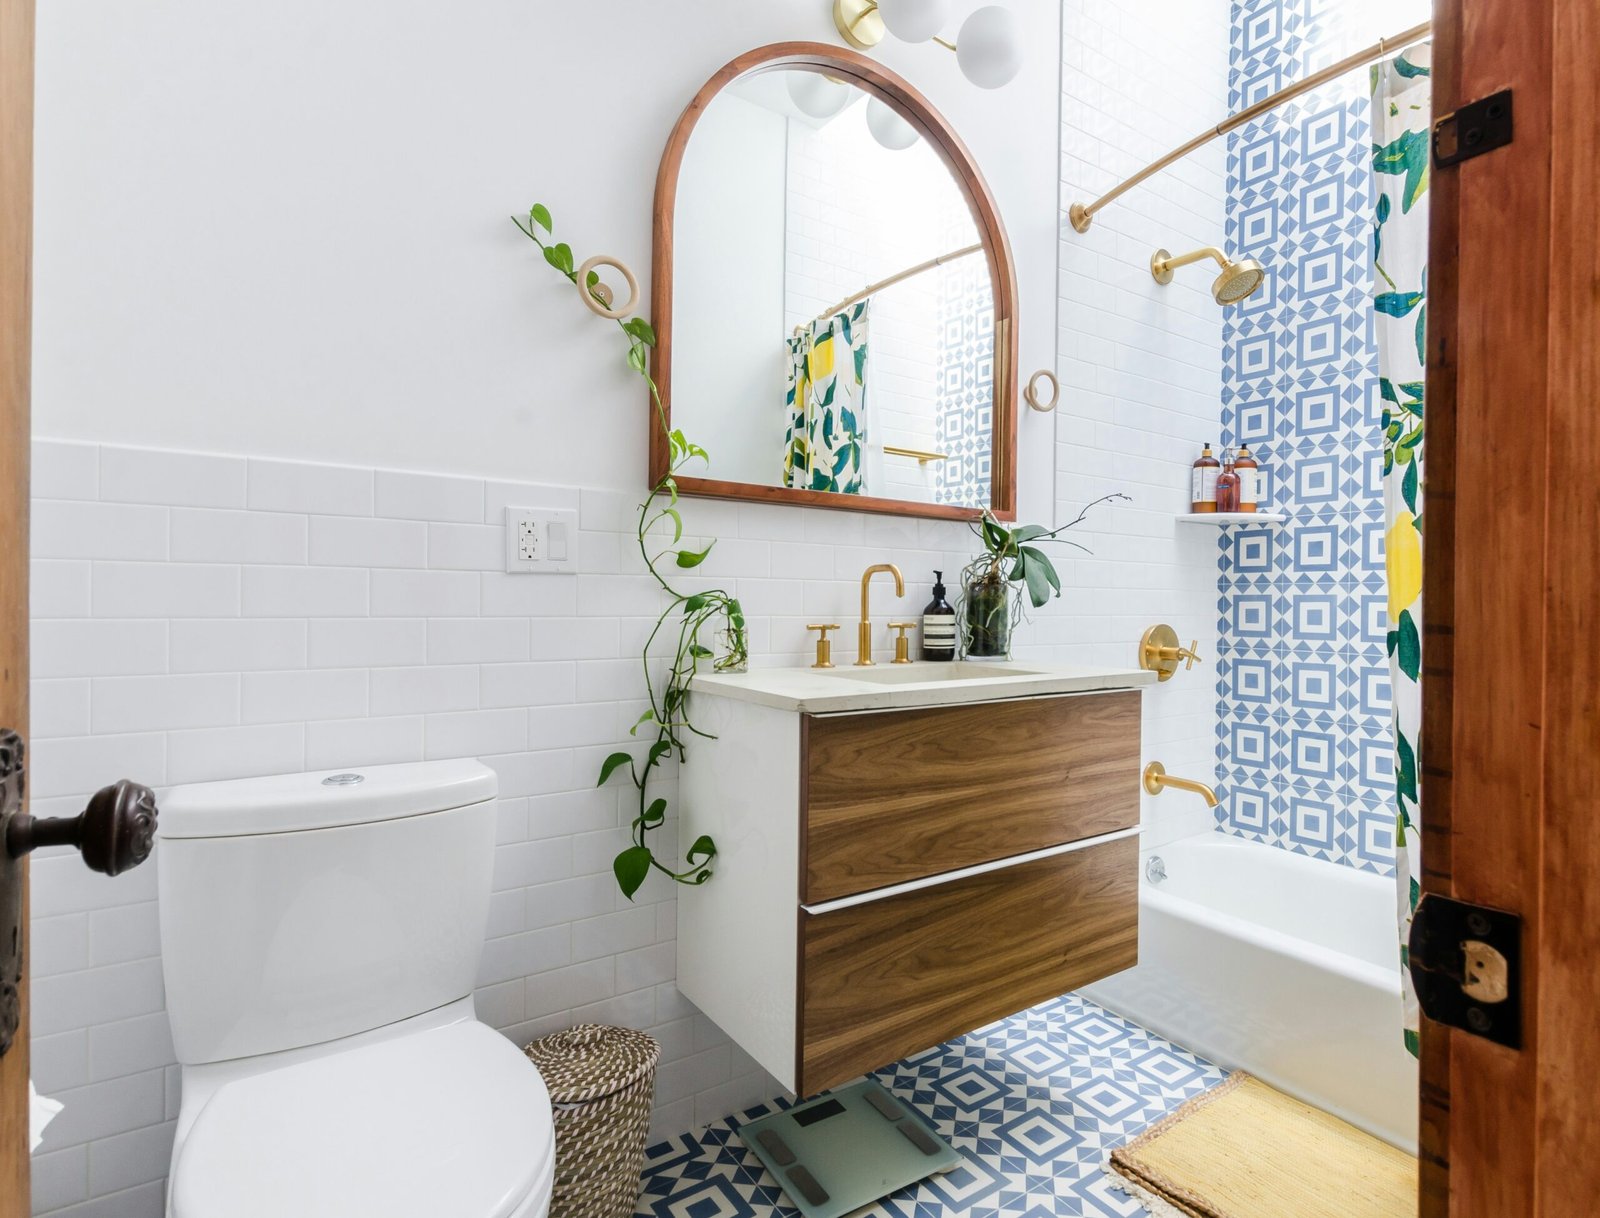
Fixtures, including sinks, faucets, and lighting, significantly influence both the functionality and aesthetics of your bathroom. When selecting a sink, consider materials like porcelain, glass, and stainless steel, each providing varying degrees of durability and style. Faucets should not only complement your sink but also be water-efficient to promote conservation and reduce utility bills. High-efficiency faucets can help achieve this while providing a modern look.
Equally important is choosing the right lighting. Opt for energy-efficient LED lights, which offer bright illumination and longevity. Layering your lighting with vanity lights, ambient ceiling lights, and accent lights can enhance the overall atmosphere of your bathroom.
In all instances, prioritize fixtures and materials that are easy to maintain. This will ensure your bathroom remains pristine and functional with minimal effort. By carefully selecting the materials and fixtures, you can create a bathroom space that is both cost-effective and enduring, reflecting your personal style while optimizing practicality.
Step-by-Step Renovation Process
Transforming your bathroom with a DIY renovation requires meticulous planning and execution. Here, we’ll outline a detailed step-by-step guide to help you achieve a successful renovation. Our guide will walk you through each phase, ensuring you have the knowledge and confidence to transform your bathroom from demolition to the final touches.
1. Demolition
Begin by removing old fixtures and fittings, such as the toilet, sink, bathtub, or shower. Disconnect any plumbing and carefully take out tiles, cabinets, and flooring. Keeping safety in mind, wear protective gear and use the right tools. Consider renting a dumpster for efficient waste disposal.
2. Surface Preparation
After demolition, it’s crucial to prepare the surfaces. Inspect the subfloor and walls for any damage, mold, or mildew. Repair any issues with patching or replacing sections as needed. Thoroughly clean the area to ensure a smooth surface for the next steps.
3. Plumbing and Electrical Work
This phase involves installing or rerouting plumbing and electrical components. Consult with a professional if you’re not comfortable handling these tasks. Plan the placement of new fixtures to ensure the plumbing and wiring align correctly. Always adhere to local building codes and regulations.
4. Installing New Flooring
Select a durable and water-resistant flooring material like ceramic tiles, vinyl, or natural stone. Follow the manufacturer’s instructions for installing your chosen flooring. Ensure the subfloor is level, dry, and free of debris before laying down new materials.
5. Tiling Walls
Tiling walls, especially around wet areas, requires precision. Begin the process by measuring and marking grid lines. Use tile adhesive and spacers to ensure even spacing. Remember to apply grout evenly and clean excess grout from tile surfaces before it hardens.
6. Painting
Painting breathes new life into your bathroom. Choose paint with mildew-resistant properties. Prepare the walls by sanding and priming them to ensure proper paint adhesion. Apply at least two coats of paint for a smooth, uniform finish.
7. Setting Up New Fixtures
Finally, install new fixtures, such as vanities, mirrors, lighting, and accessories. Ensure all plumbing fixtures are securely connected and leak-free. Align electrical fixtures properly to avoid any mishaps. Once installed, give everything a final check to guarantee proper functionality.
By following these steps diligently, you’ll be well on your way to a beautifully renovated bathroom that reflects your style and meets your needs. This thorough approach ensures each component is addressed, mitigating potential issues and enhancing overall results.
After the primary renovation tasks have been meticulously executed, adding personal touches becomes essential to making the bathroom uniquely yours. This phase is where creativity meets functionality, providing the perfect opportunity to elevate both the aesthetic and practical aspects of the space. Begin by selecting a cohesive color scheme that complements the overall design of your bathroom. Neutral tones such as whites and grays offer a timeless elegance, while bolder colors can inject personality and warmth.
Integrating effective storage solutions is another critical step. Consider floating shelves or wall-mounted cabinets to maximize vertical space while keeping the area uncluttered. Open shelving adds a modern touch and allows for easy access to essential items, while vintage wooden crates or baskets can bring a rustic charm to the setting. Additionally, multi-functional furniture like a vanity with built-in storage can further enhance both utility and style.
Incorporating greenery can significantly impact the ambiance of your bathroom. Plants not only improve air quality but also introduce a natural element that can be both calming and invigorating. Opt for low-maintenance varieties such as succulents or ferns, which thrive in humid environments. Hanging planters, window sills, or even a corner shelf can be ideal locations for these botanical adornments.
Artwork and textiles are instrumental in reinforcing the bathroom’s new look. Choose artwork that resonates with your style, whether it’s modern abstracts, serene watercolors, or vintage prints. Artwork can add a personal narrative to the space, reflecting individual taste. When it comes to textiles, invest in high-quality towels, bath mats, and shower curtains that are both plush and visually appealing. Coordinated colors and patterns can tie the entire room together, making it appear thoughtfully designed.
Ultimately, the finishing touches are about creating a sanctuary that reflects your personality and enhances daily routines. Thoughtfully chosen accessories and design elements not only elevate the overall look and feel of your bathroom but also ensure it remains a functional and welcoming retreat.


